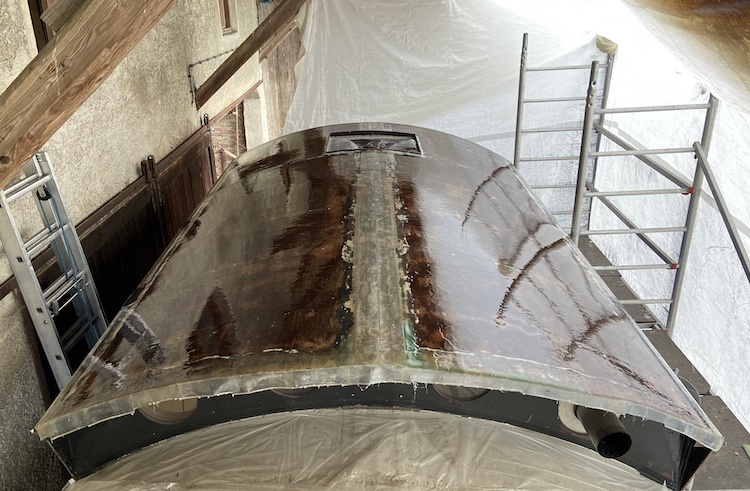
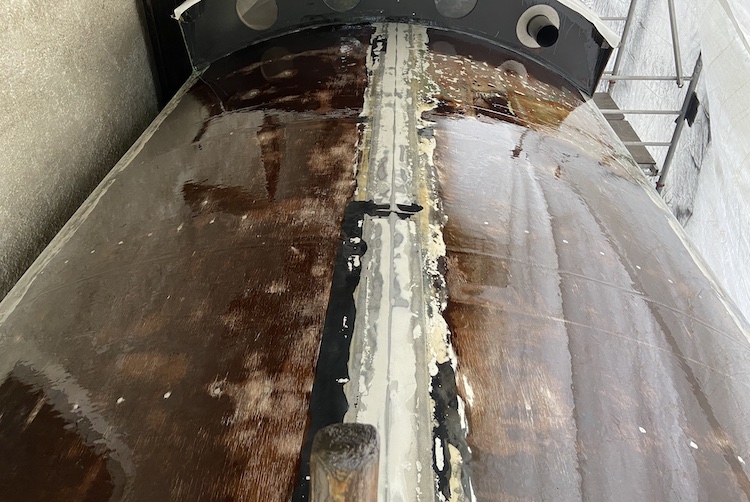
While fixing the cabin, I also continued the work on the roof. To make sure that the front roof was properly protected, I decided to put another layer of epoxy resin on top of the fiberglas and epoxy resin that I had applied during the winter. I slightly sanded the glossy surface to make sure the additional layer would adhere well.
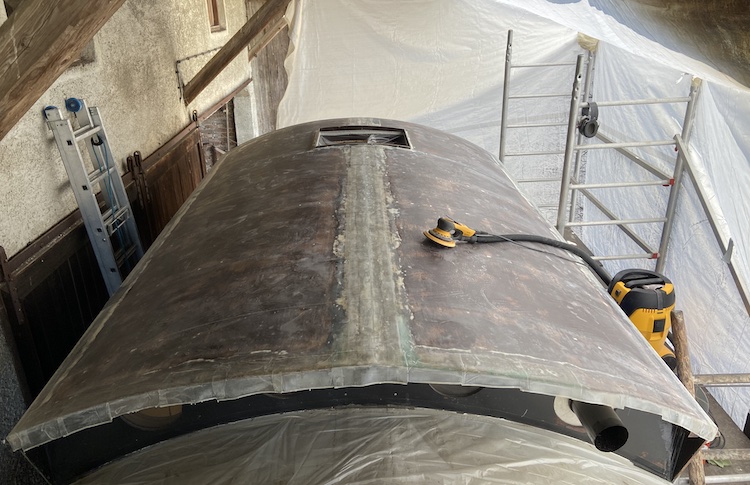
After my adventurous attempt to work with epoxy during the winter, I really appreciated the easiness of processing epoxy resin on a warm and sunny day outside.
The resin became hardened quickly and after a couple of hours the roof was covered with an additional layer of epoxy that looked shiny again.
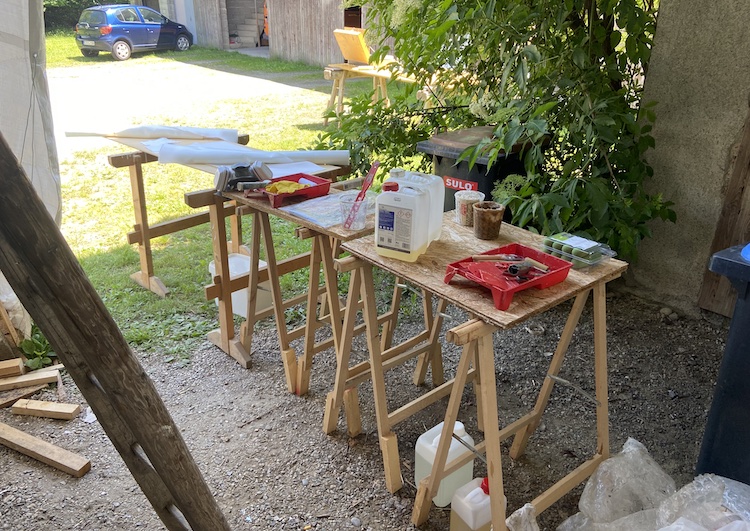
Preparing mounting points for the solar panels
I was planning to cover the entire roof with solar panels which operated more efficient when they were cold, so it seemed reasonable to keep a little distance between the roof and the panels for better ventilation. I envisioned mounting points that seamlessly integrated into the roof and provided threaded screws that would allow me to easily install (and maybe remove) the panels.
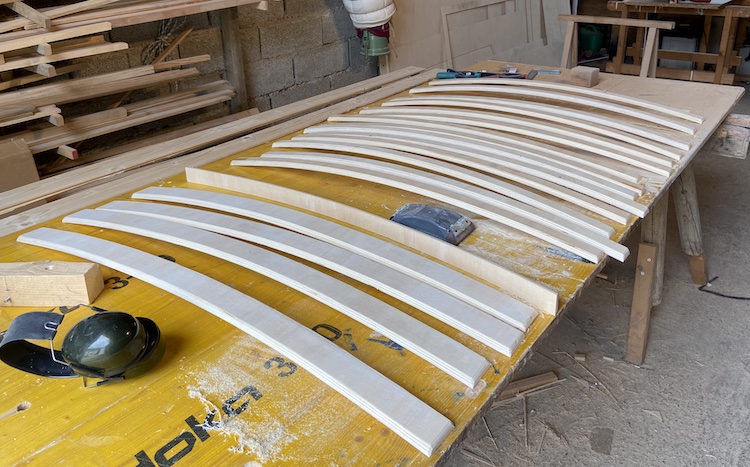
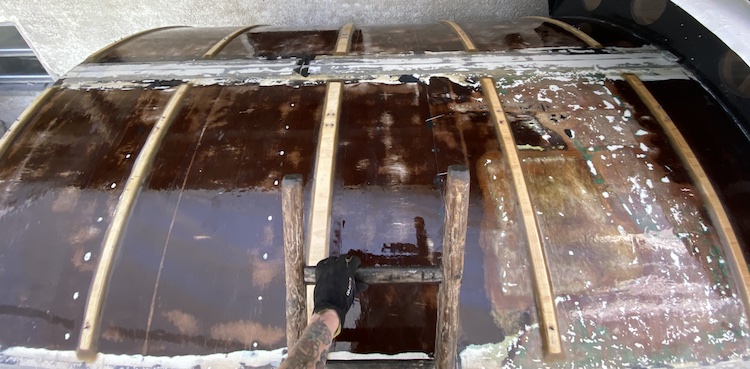
I built a bunch of curved slats by bending two wooden slats and glueing them together under tension.
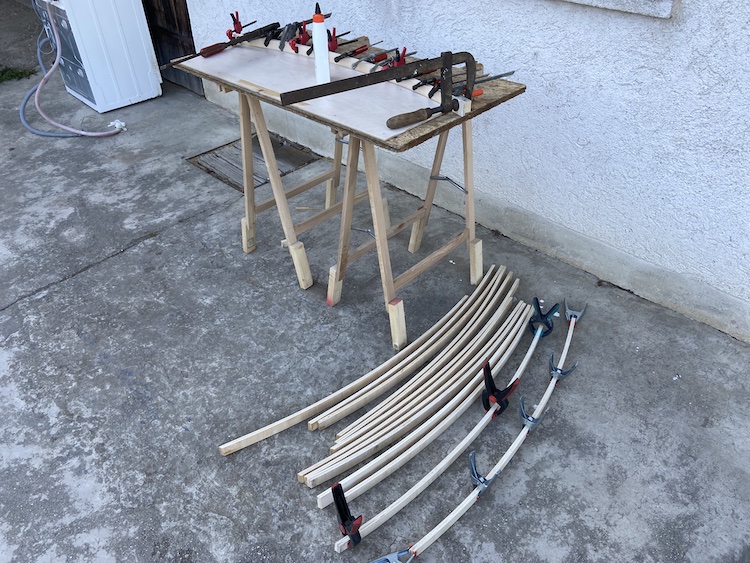
Once the glue became hardened, the slats remained bended and kept their shape.
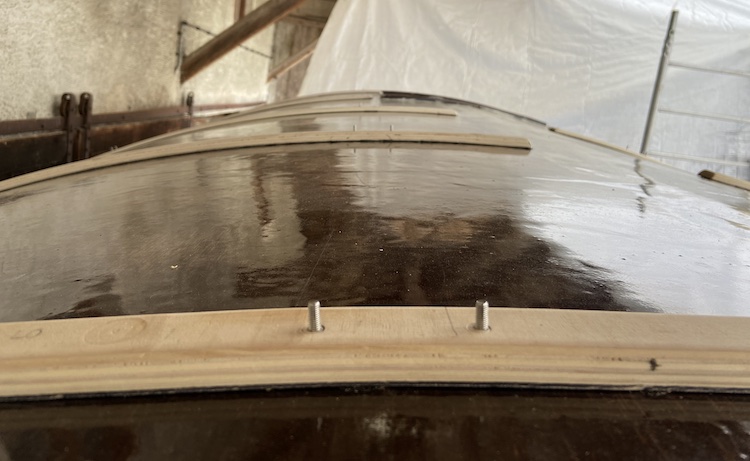
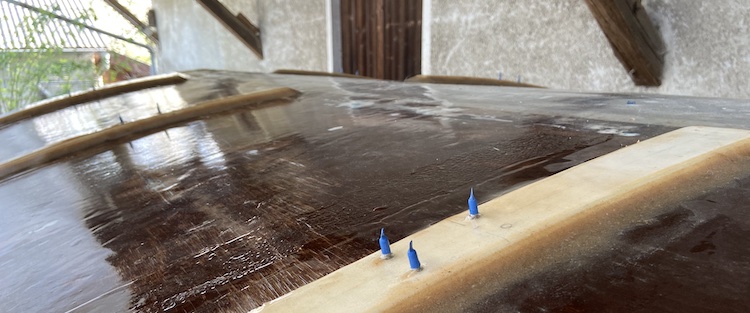
Before adhering the curved slats on the roof, I embedded and fixed threaded screws into the slats.
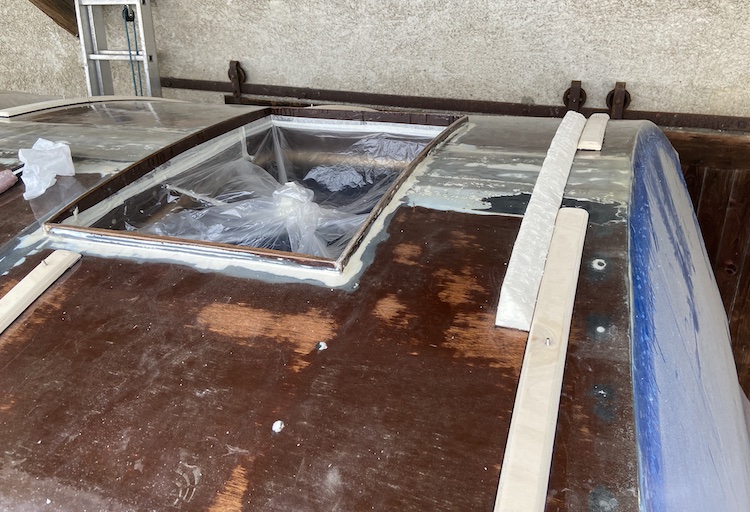
I also carved a little spoiler out of polystyrene that would protect the roof window from the airstream and rain while driving.
I put shrinking hoses on all the screws to make sure the threads would stay clean when applying the paint later on.
The adhesive holding the curved slats seemed very solid, nevertheless I prepared a bunch of fiberglas mats to enforce the mounting points and protect them from the weather.

I applied a viscous paste of saw dust and epoxy resin all around the curved wooden slats and the spoiler that allowed me to comfortably drape the fiberglas mats.
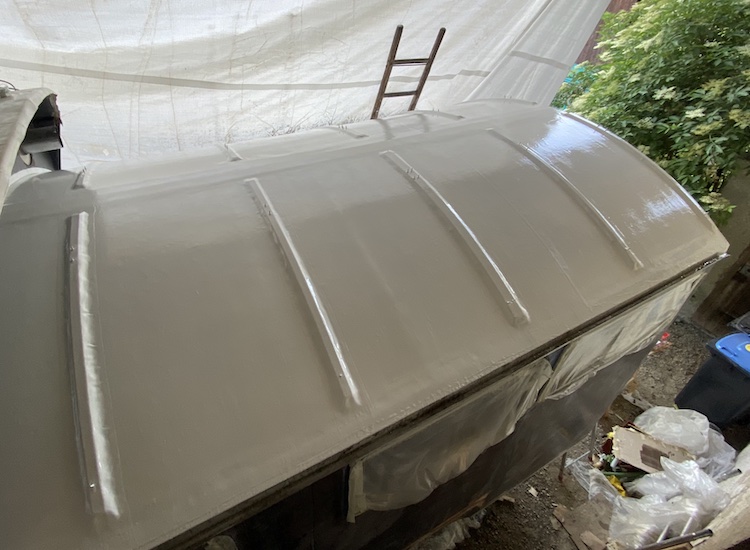
Once the epoxy became hardened the front roof was ready for the final paint job.
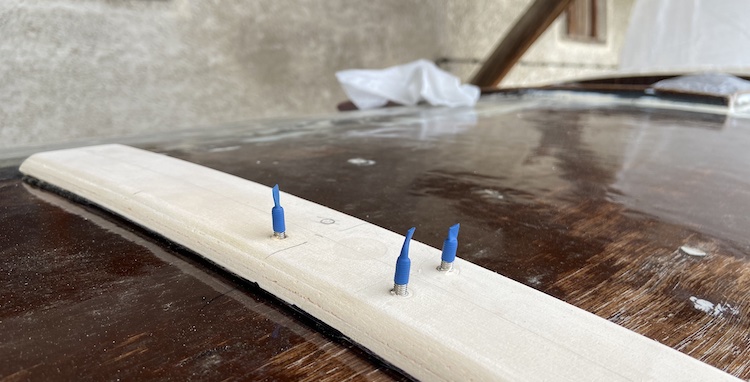
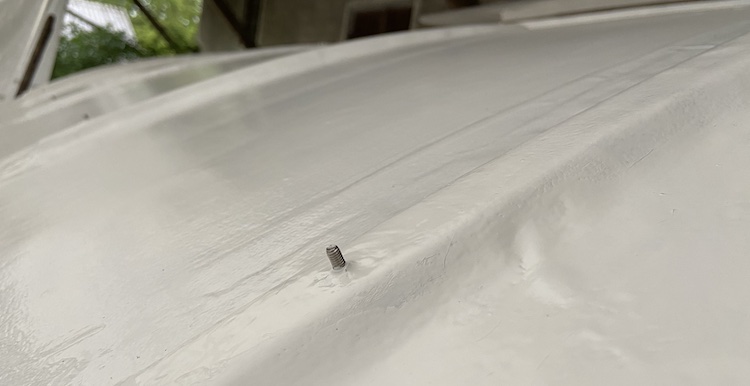
I was really happy with the result. Everything turned out as envisioned and seemed really solid. The roof looked much more weatherproof than before. The mounting points for the solar panels came out great, too. After removing the shrinking hoses the threads nicely popped out of the roof. Even if water would ever sweep along these screws, it would never reach the actual roof construction which was separated by several layers of epoxy and a fiberglas mat from the curved slats that were soaked up with epoxy.
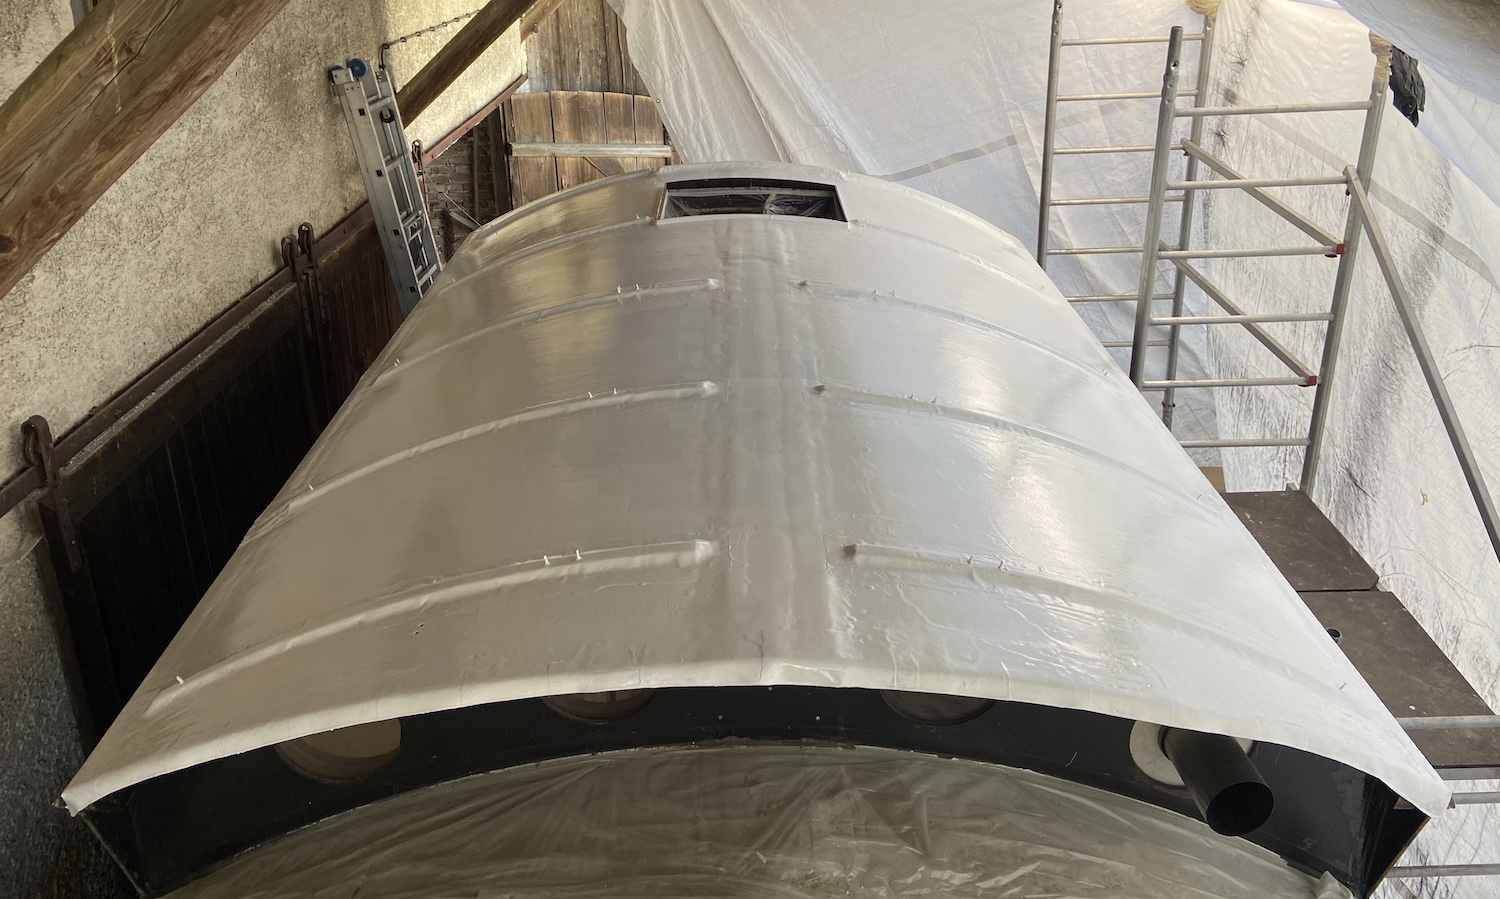
Tackling the back roof
Once I was done with the higher roof in the front, I repeated the same process on the lower roof in the back: Sanding the entire roof,
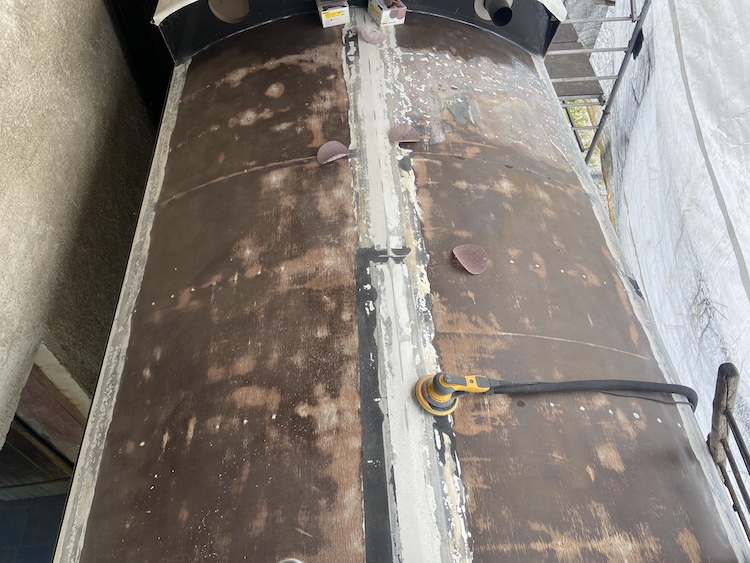
cutting fiberglas mats to size,
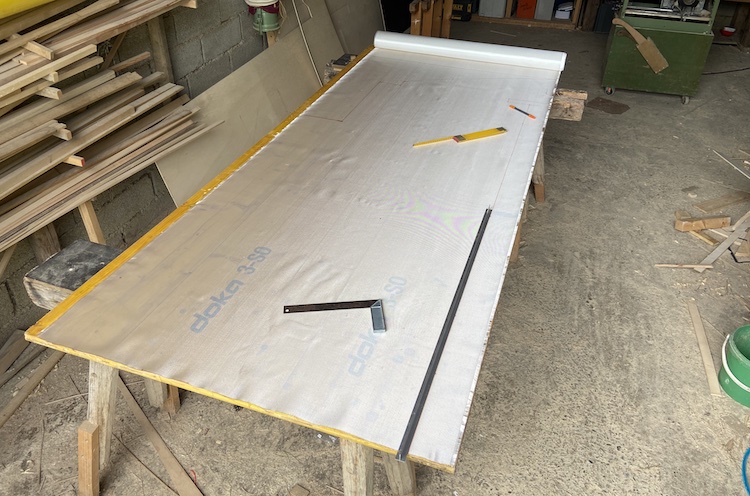
positioning the fiberglas on the roof,

rolling it up again, applying epoxy, rolling it out again, applying another layer of epoxy,
mounting curved slats with threaded screws, applying another layer of fiberglas and epoxy,
and last but not least, the final paint job.
Nice! I had reached a major milestone of my restoration project. The roof seemed finally ready to be exposed to the weather again! I was truly happy! ![]()