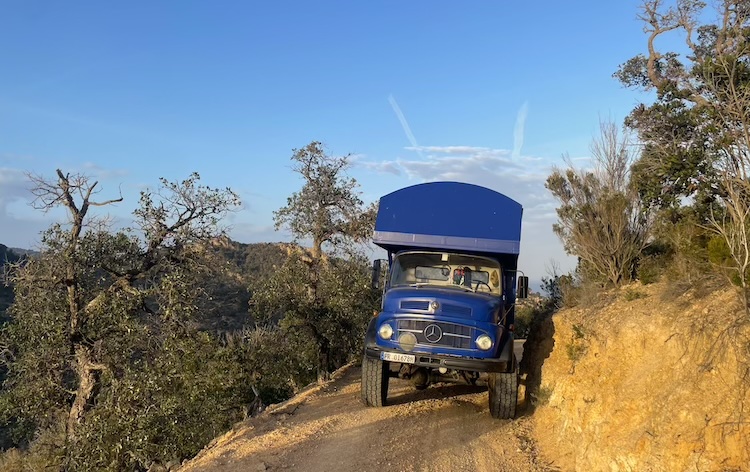
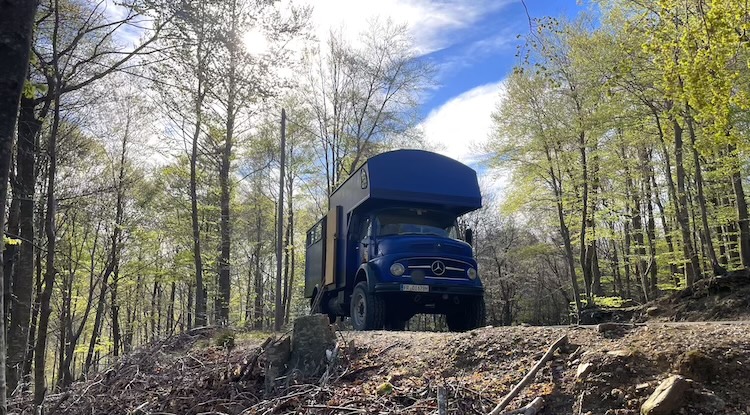
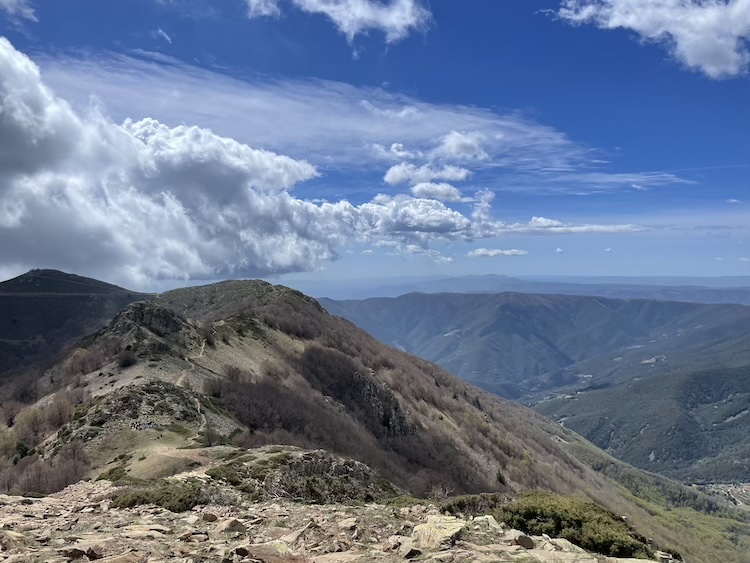
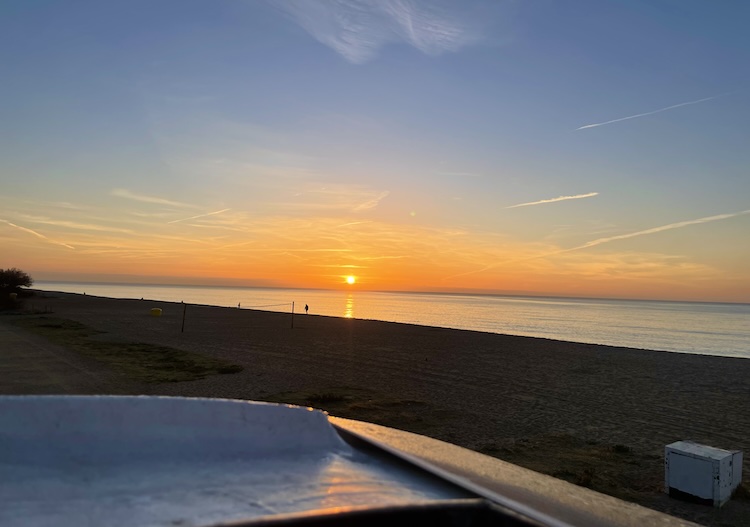
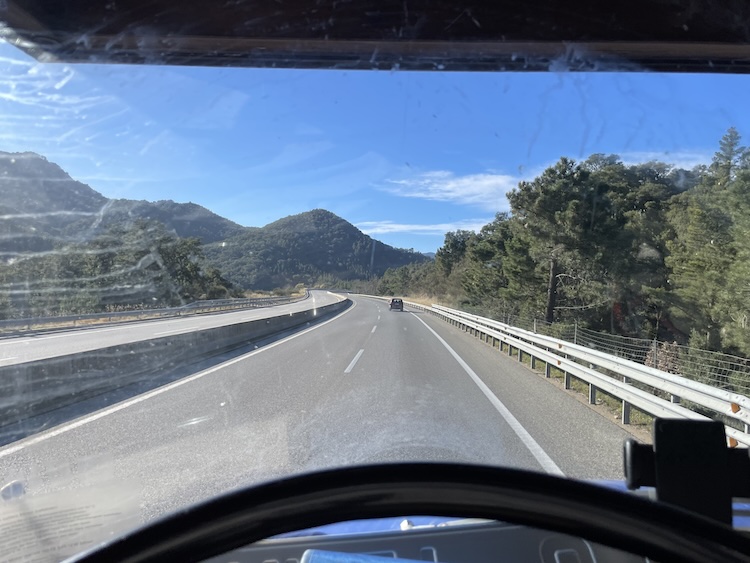
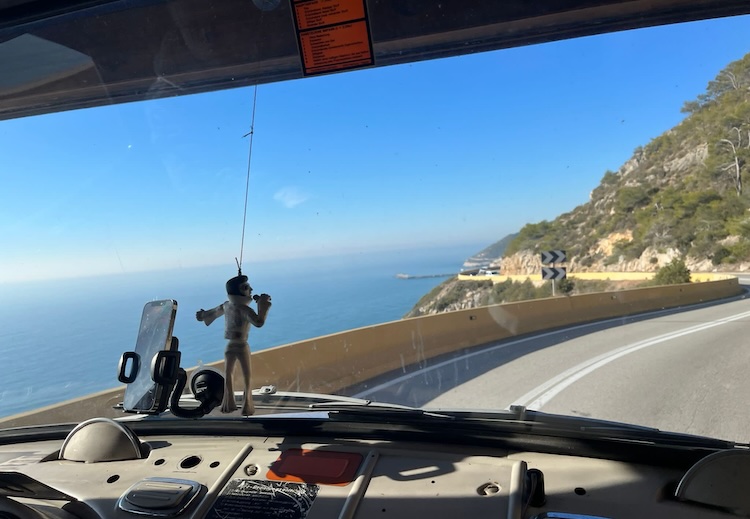
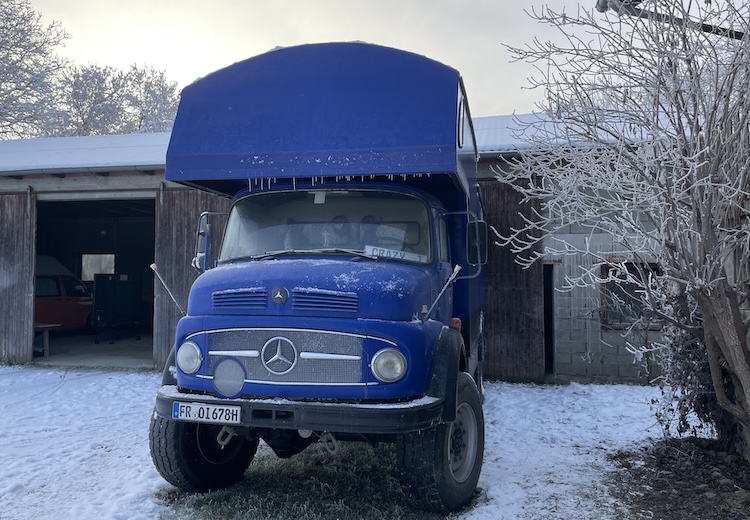
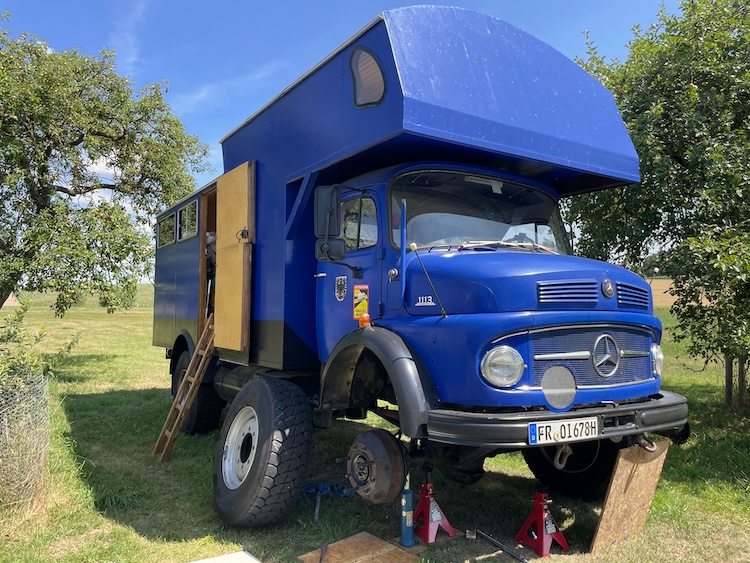
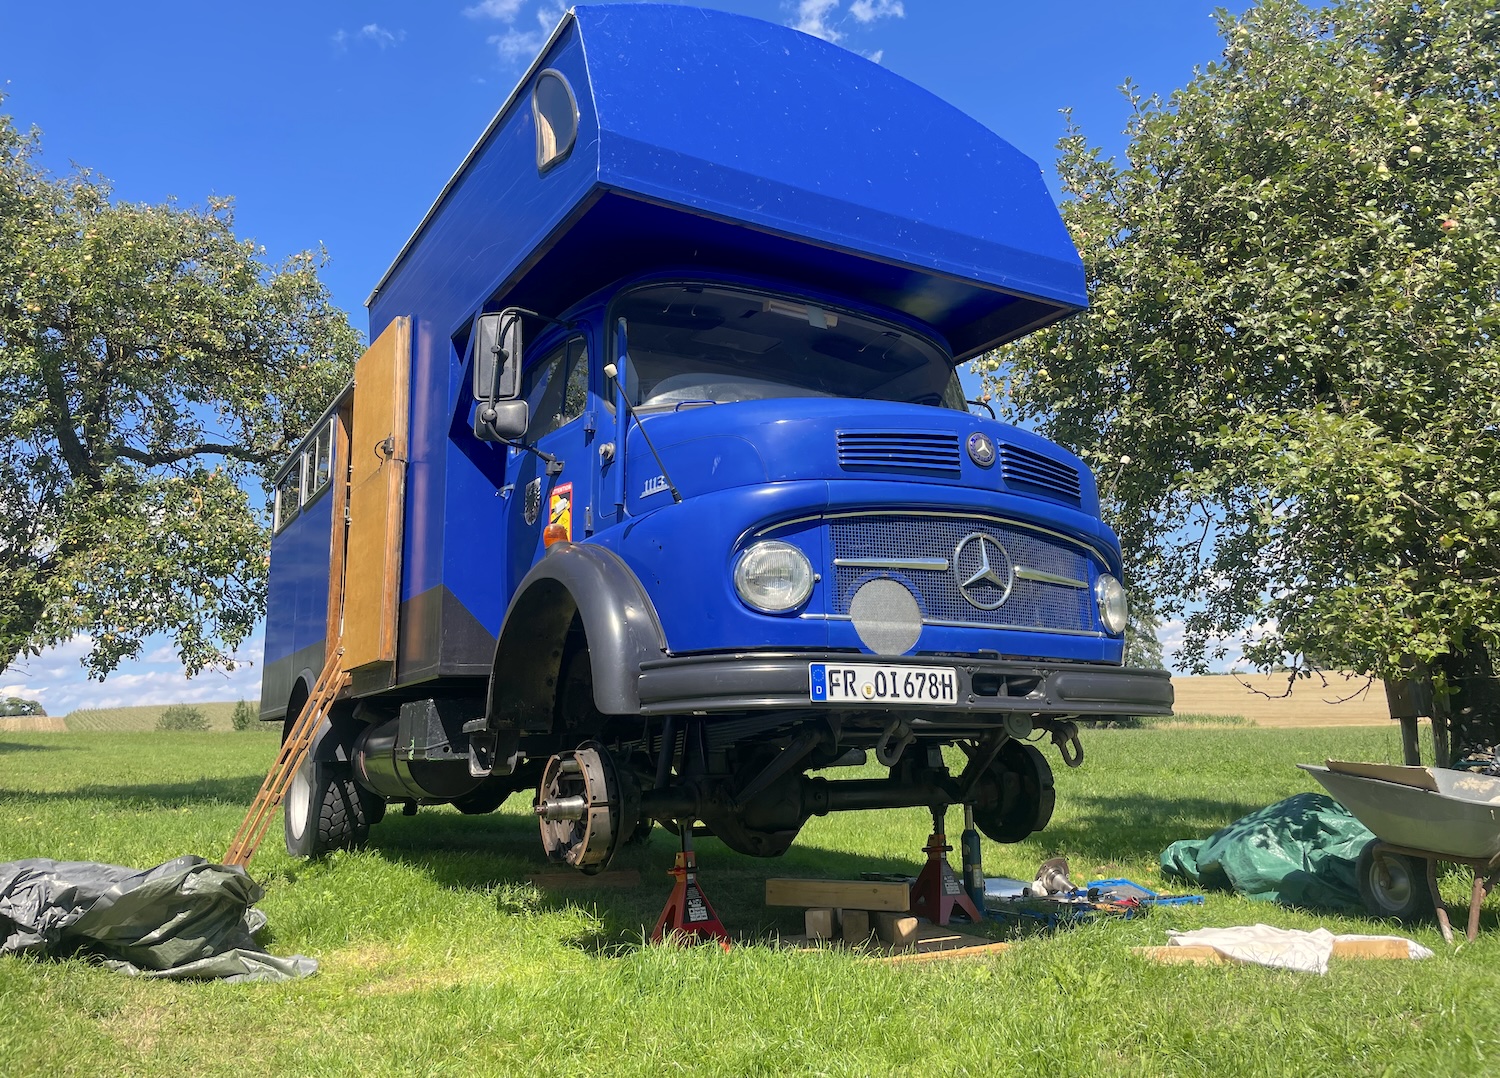
After visiting family in Berlin and along the Baltic Sea, I noticed strange noises from the front axle while driving. At first, a quick visual check didn’t show anything unusual. It wasn’t until I lifted the front wheels that I noticed a lot of play. Uh-oh! I had planned a trip to northern Spain soon, so I wanted a quick solution.
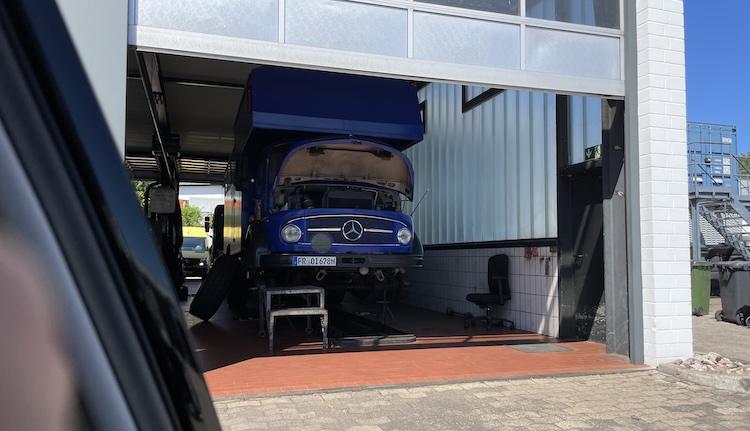
By chance, I was near Alfeld, home to the Mercedes-Benz Classic Workshop, which specialized in old Mercedes vehicles.

Normally, I like fixing things myself, but this time I decided to let the professionals handle it to get back on the road faster.
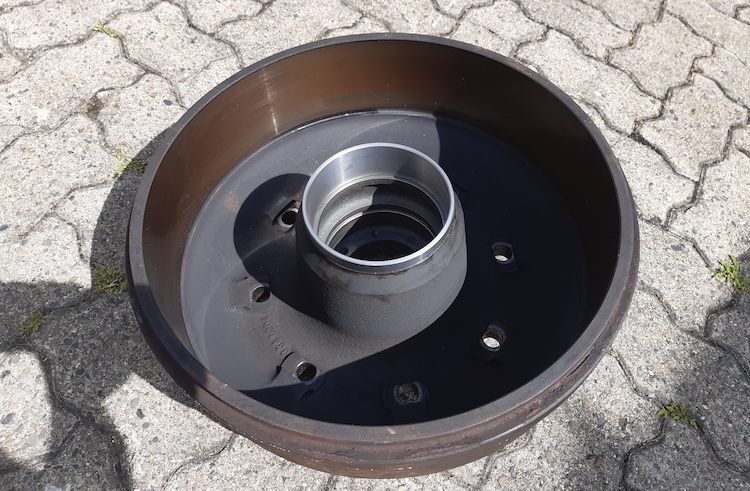
Once the brake drum hub was removed, the cause of the noises became clear. The bearing play had been incorrectly adjusted, which caused the bearing cups inside the hub to rotate. Unfortunately, this had worn away some material, and the bearing cups no longer fit properly.
Crap! I needed new brake drum hubs, but neither the workshop nor I could find any replacements. The situation seemed tricky. I couldn’t leave the truck there much longer. The mechanics suggested a practical solution: have the hubs machined and fit a custom metal sleeve.
I wasn’t completely sure if it would hold up on the road, but I trusted the professionals, I had no real alternative. After a day, the hubs were reinforced and ready to be installed.
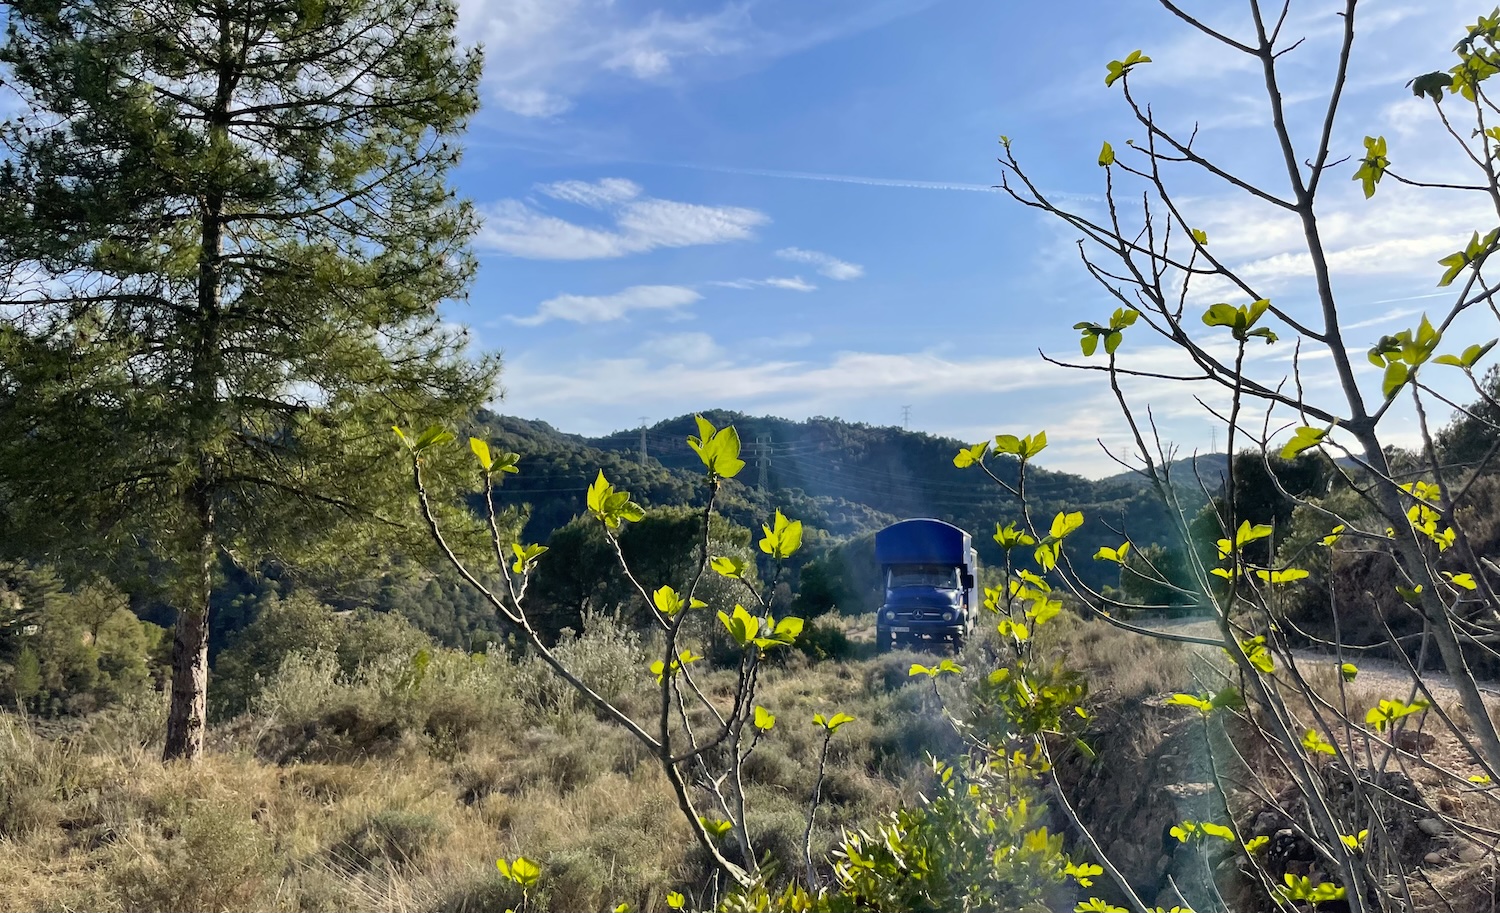
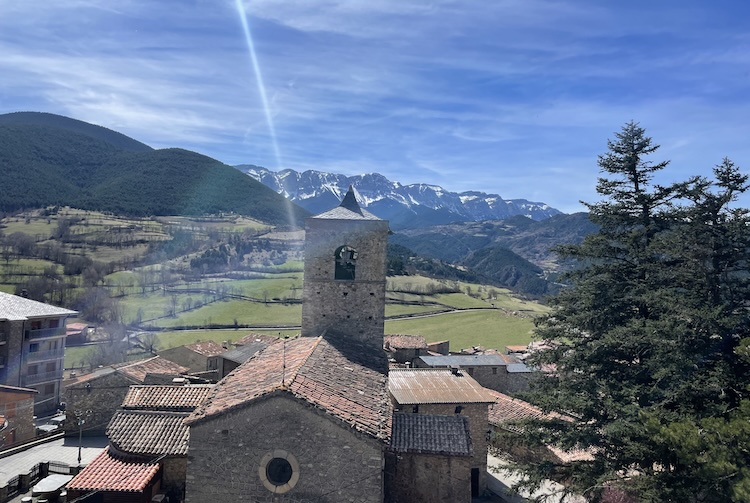
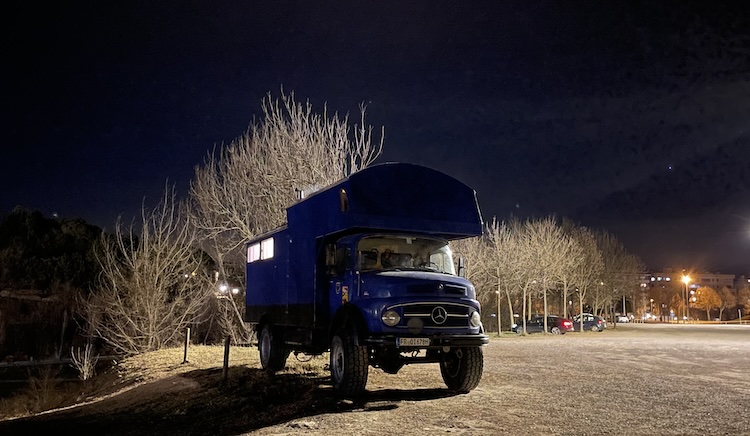
Yay! After just three days, I was back on the road and the noises were gone. I headed toward southern Germany for a short stop at my friends’ farm in Bavaria before continuing to northern Spain.
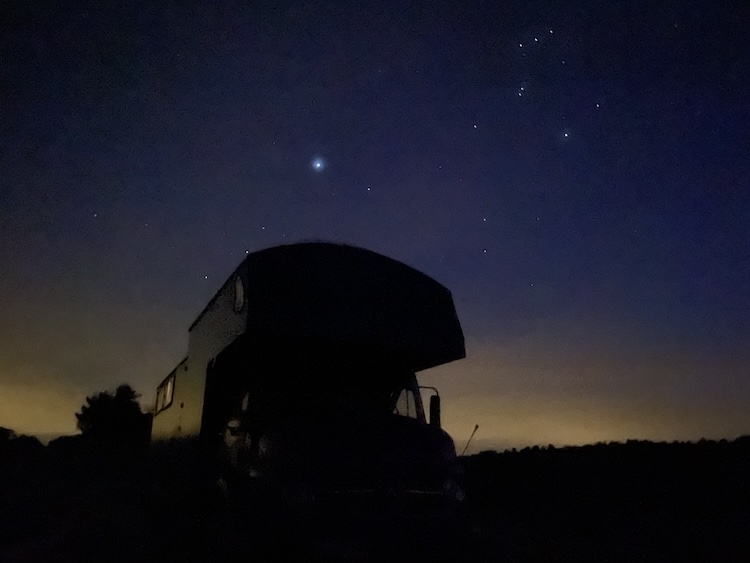
But after 500 km, new whistling noises appeared at the front axle. At least the truck could stay safely at the farm, but the trip to northern Spain would have to wait.
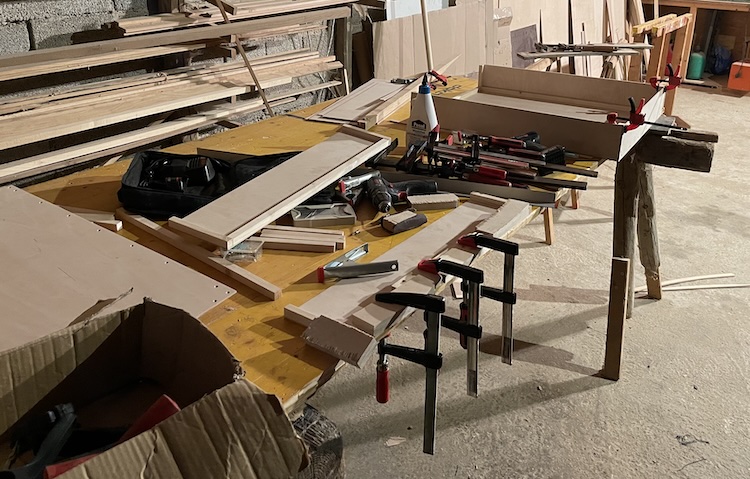
Taking things apart on my own
Disappointed by the workshop’s repair attempt, I realized I’d have to tackle the problem myself. I first got copies of the service manuals from the 60s and 70s for my truck. Still a bit hesitant, I slowly started inspecting the damage.
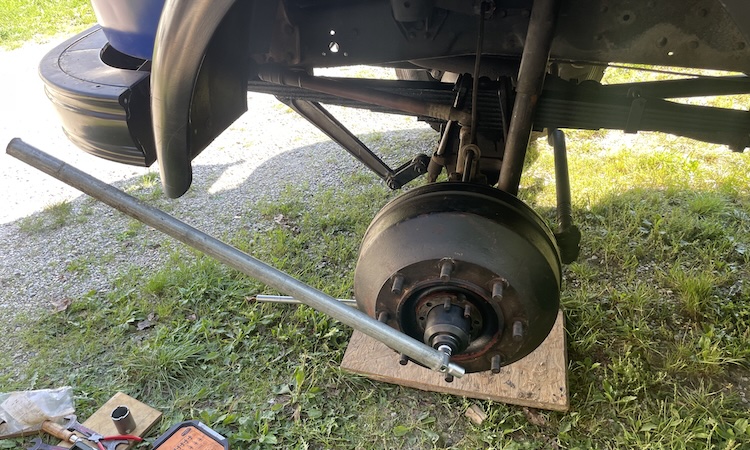
After taking off the freewheel hub, I hit my first obstacle: the outer locknut. According to the service manual, it was tightened to 150 Nm and required a special spindle nut socket which, of course, was impossible to get on short notice.
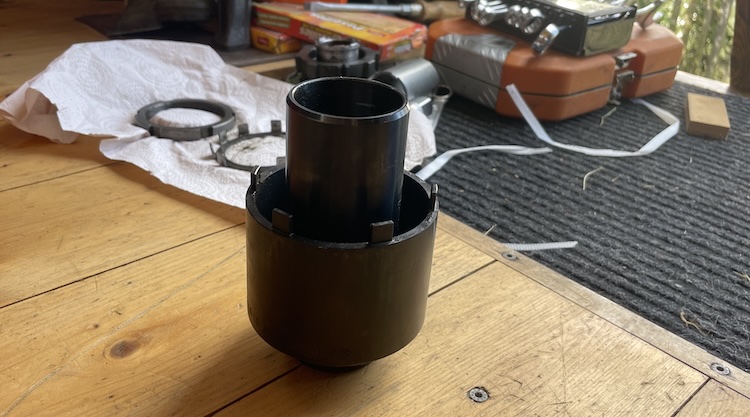
Building a custom spindle nut socket
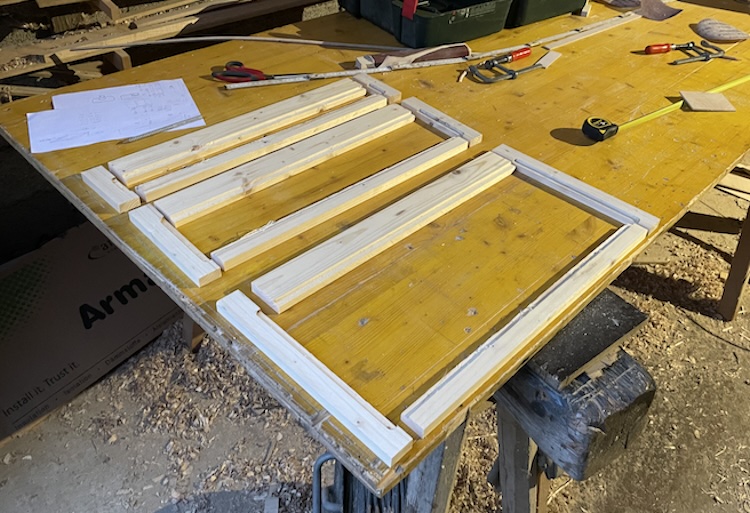
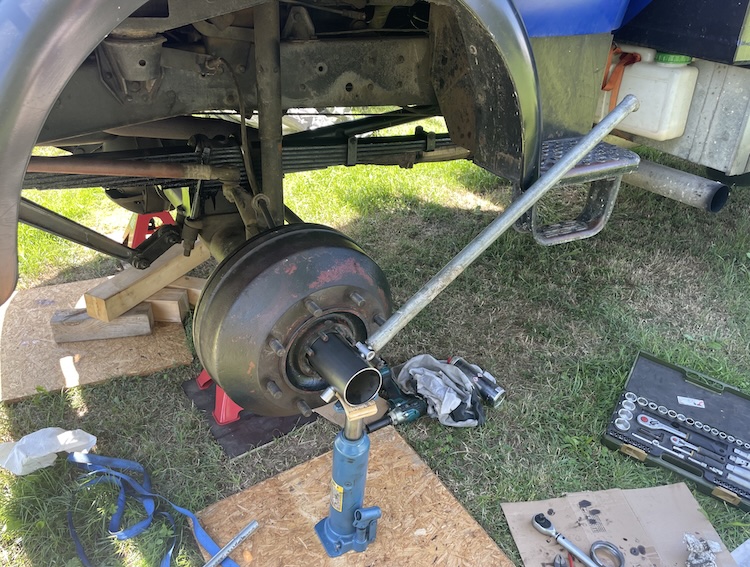
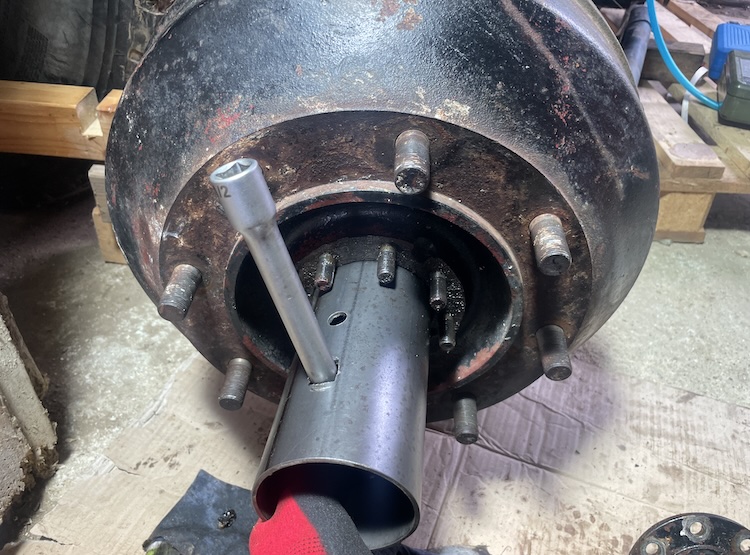
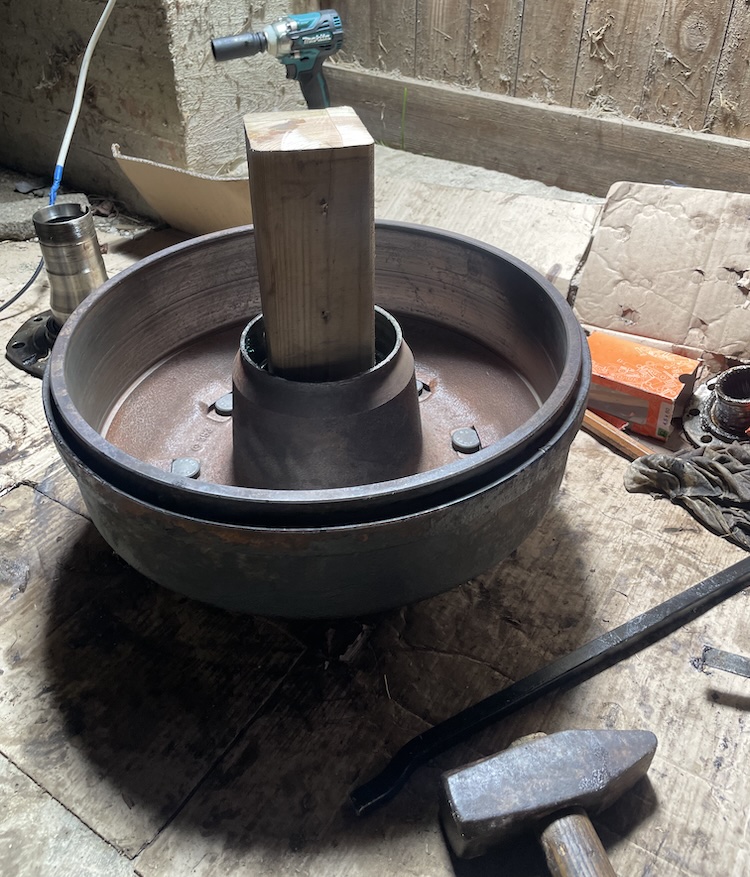
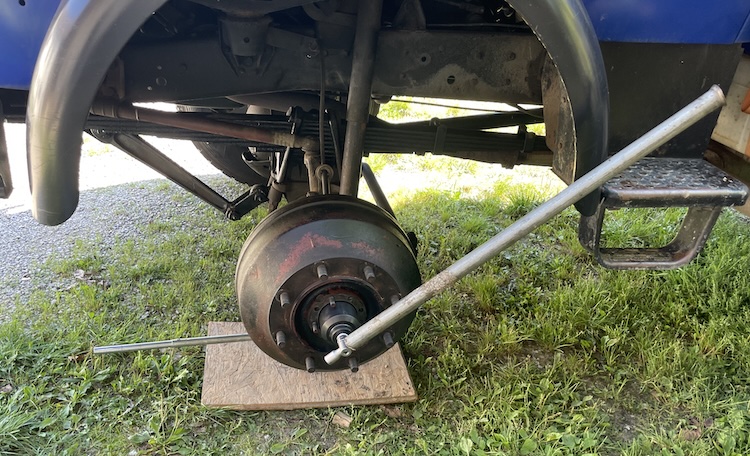
After several failed attempts to get hold of the original spindle nut socket, I decided to make my own using an 88.9 × 3.2 mm steel tube, adding six claws, each 10 mm high and 10 mm wide.
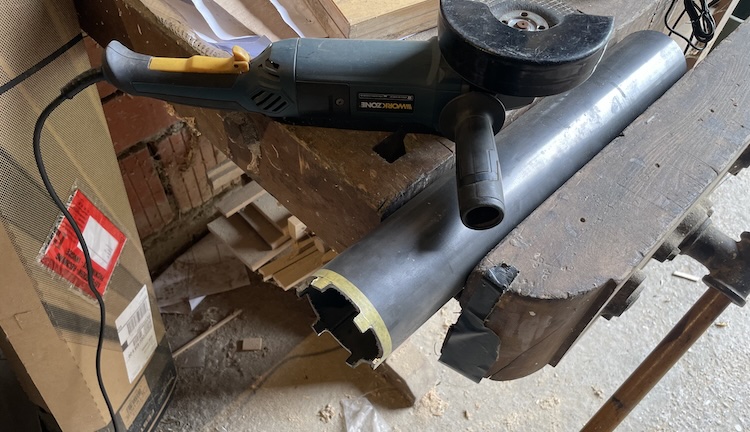
Additional holes allowed me to slide a steel bar through the tube for better leverage.
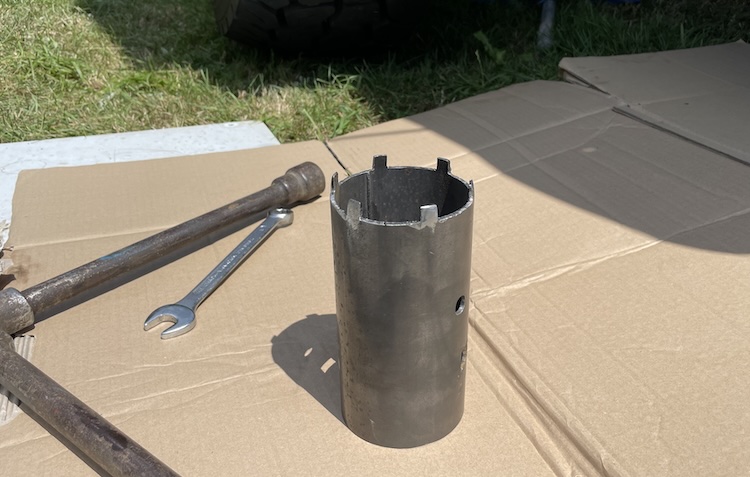
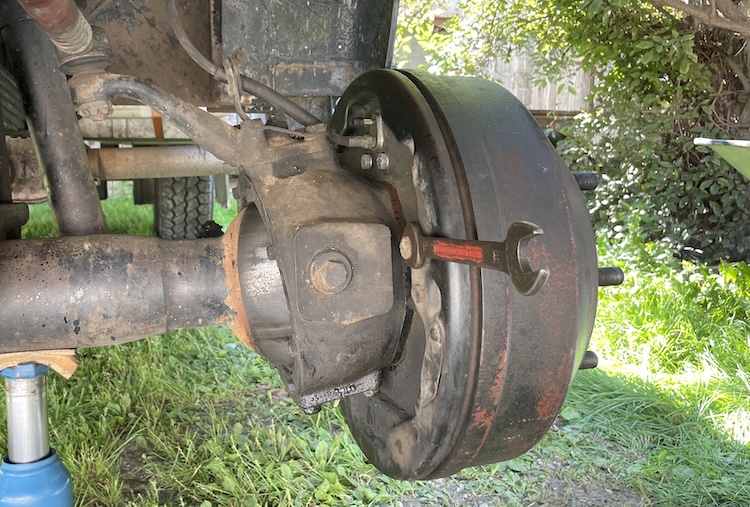
Supported by a jack, I was then able to loosen the tight locknut using a long lever.
Inspecting the damage
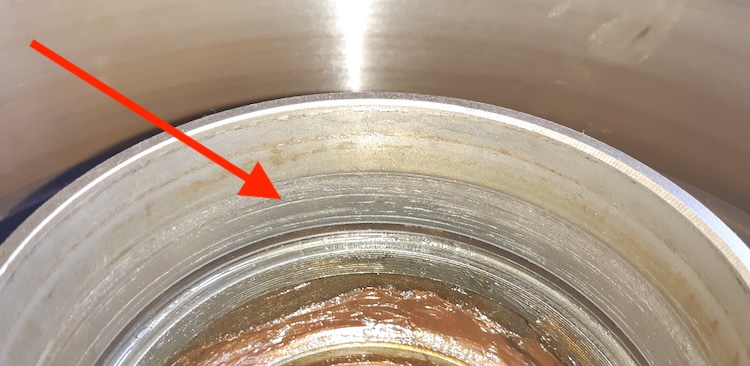
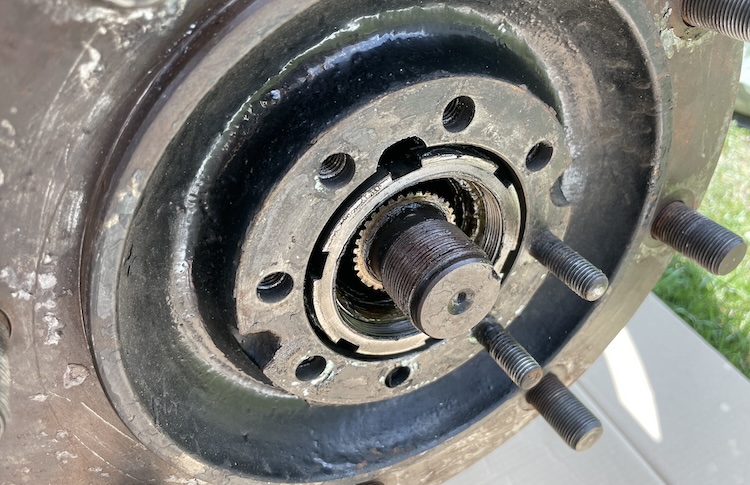
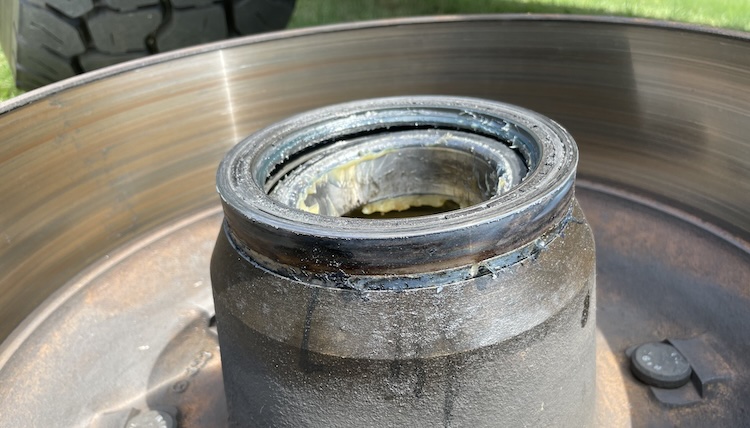
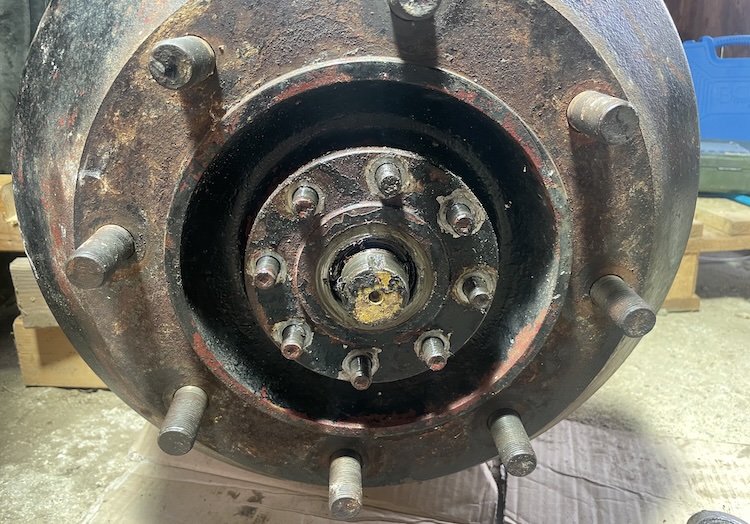
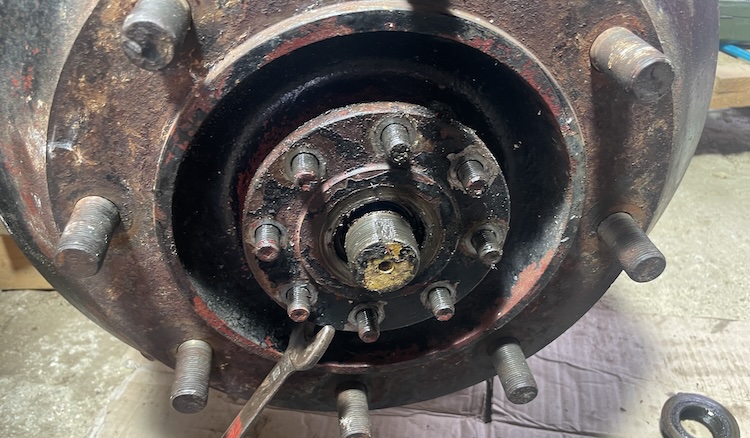
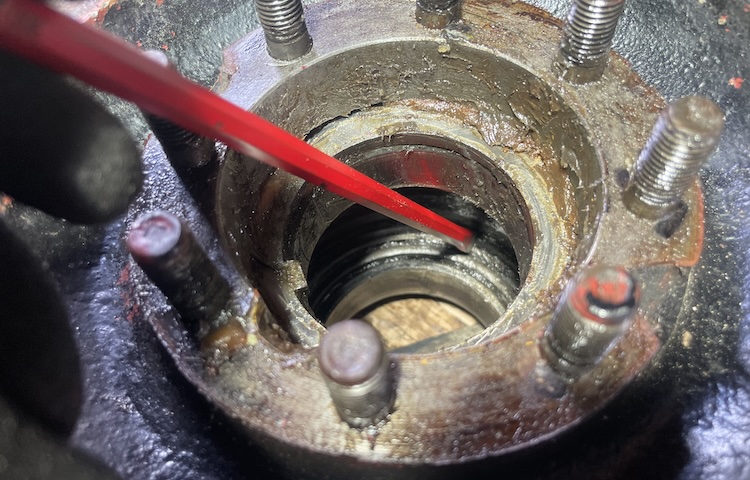
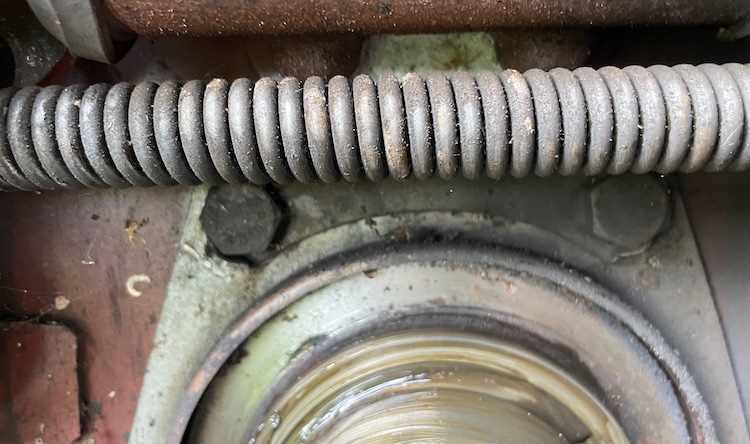
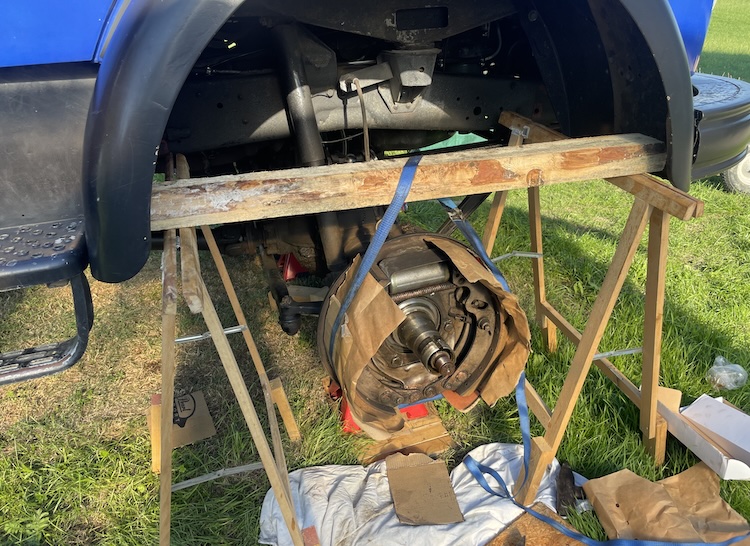
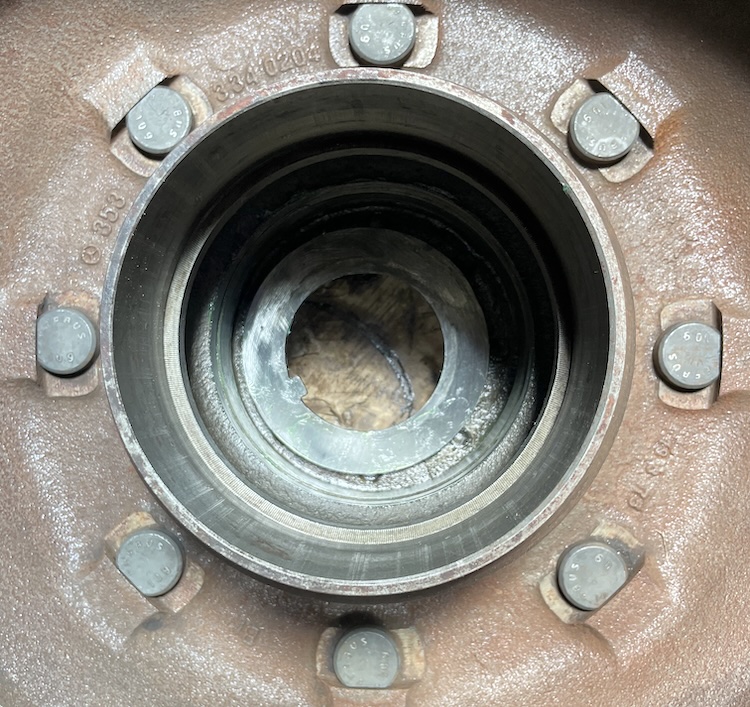
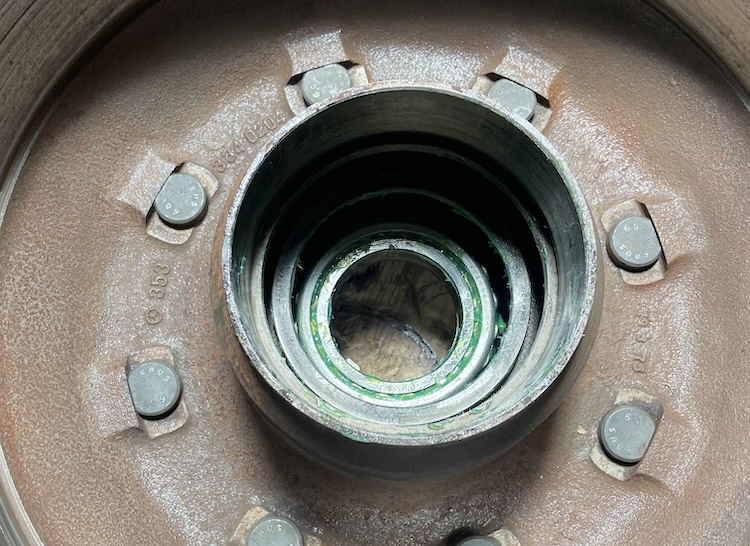
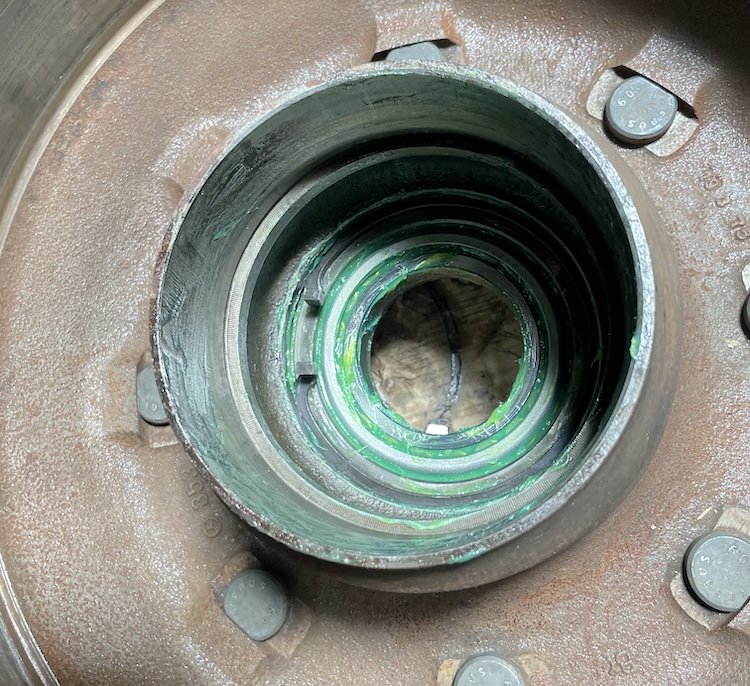
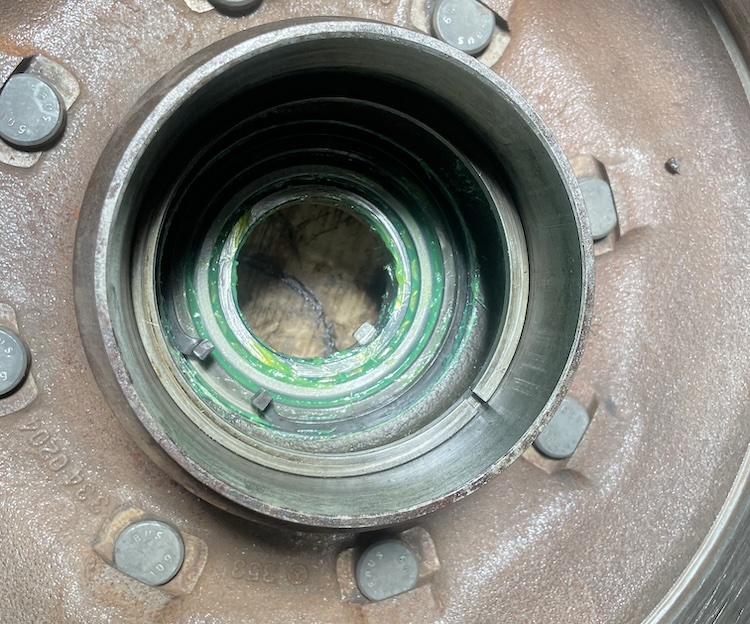
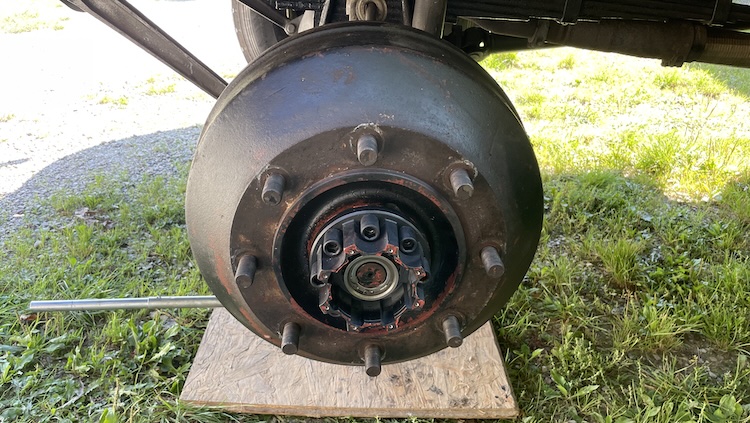
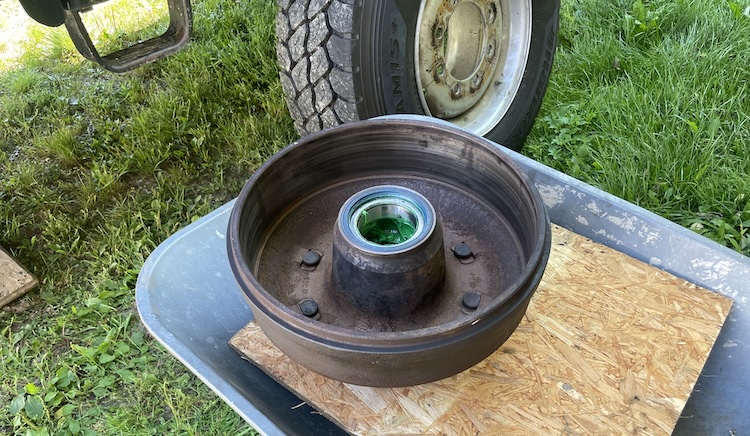
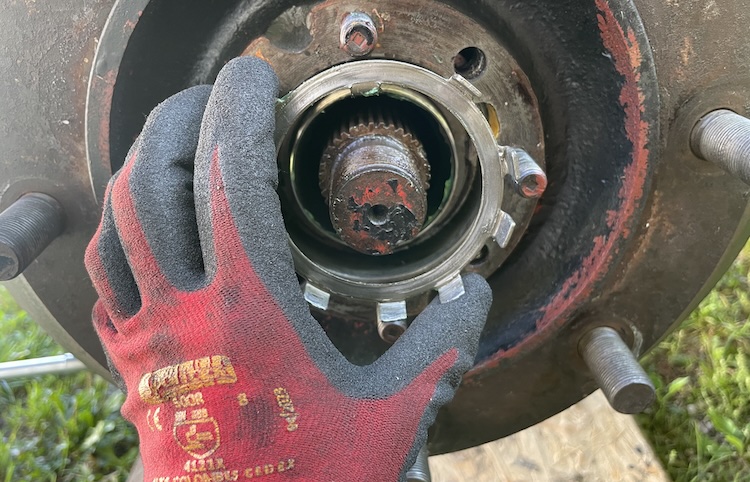
Finally, I could remove the brake drum hub. Even before cleaning, it was clear that the pressed-in ring had slipped out of the hub and was covered in burn marks.
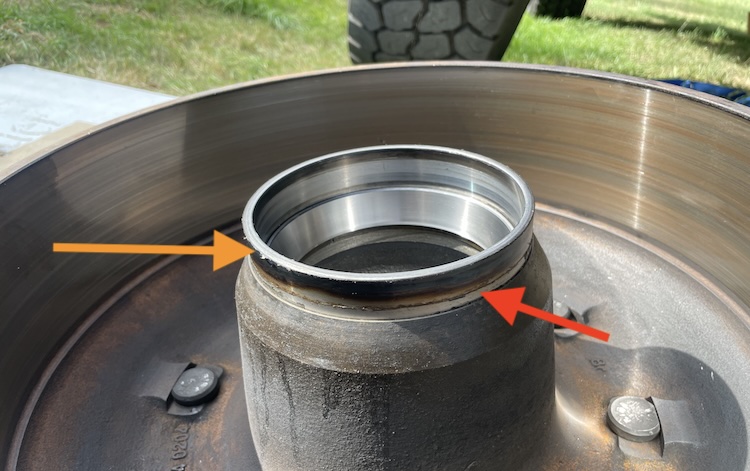
The ring had slipped several millimeters out of the hub (red arrow) until it touched the spindle sleeve, causing noticeable wear (yellow arrow).
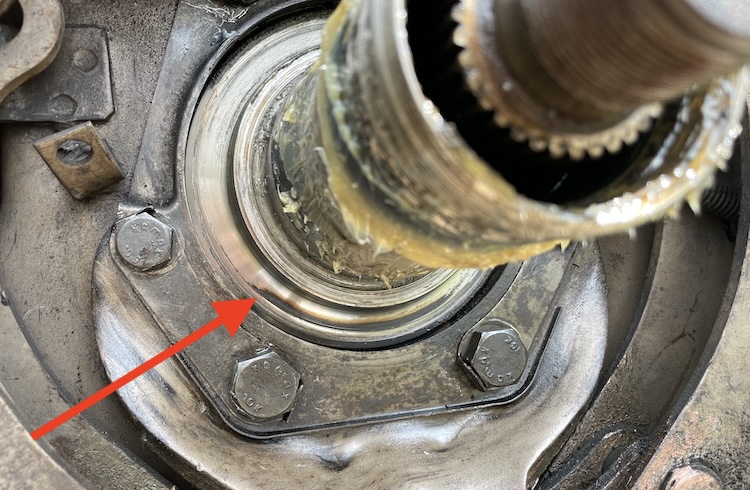
Ugh! Now not only were the brake drum hubs ruined, but the spindle sleeves were also damaged. Very frustrating! And all after a “professional” repair that had cost me several hundred euros.
Now I had to resume my previously unsuccessful search for replacement brake drum hubs, and on top of that, find matching spindle sleeves.
Finding the spare parts
I felt both motivated and a bit overwhelmed. I had tried every option I knew, but there was no turning back: the axle was half disassembled in a field, and the truck wouldn’t move until I solved it myself.
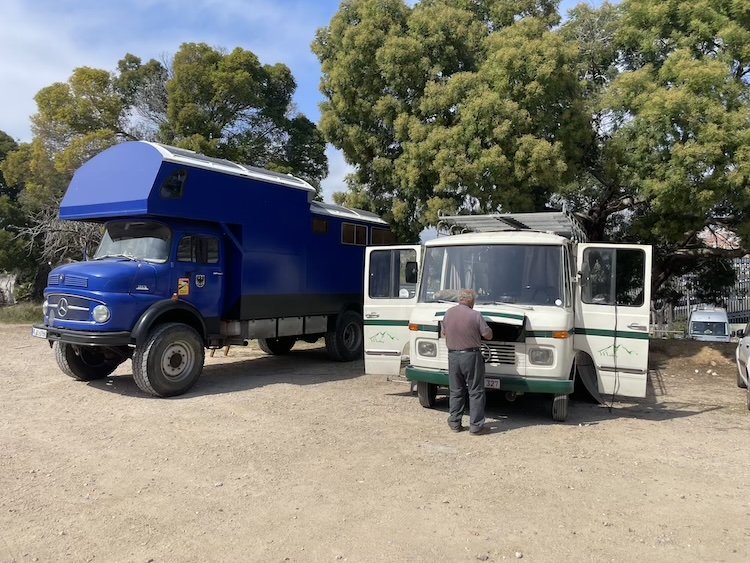
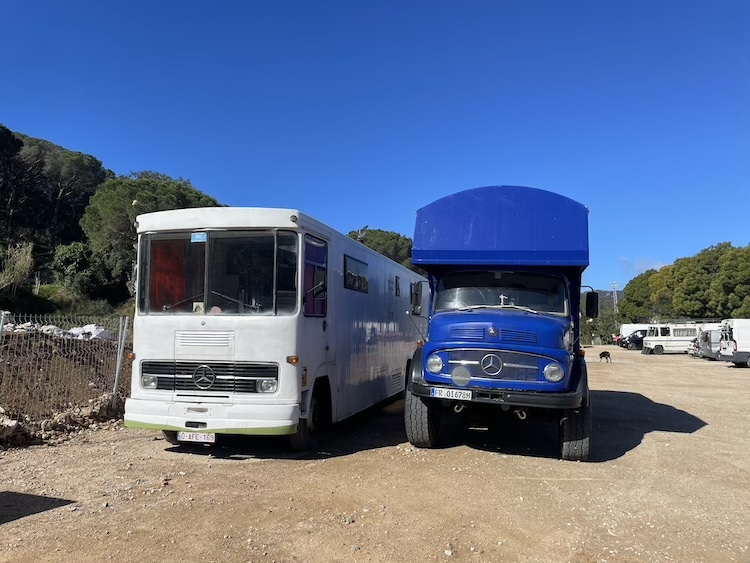
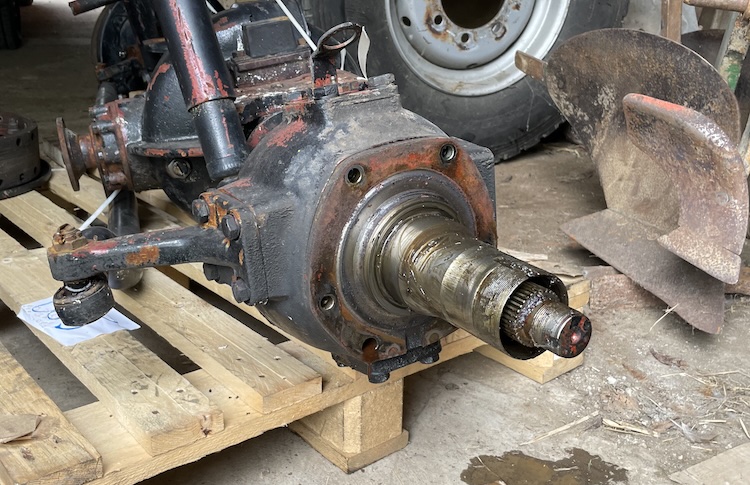
For weeks, I scoured classifieds, contacted workshops, hobby mechanics, and scrap yards. Slowly, I started enjoying the challenge. Even without the right parts, I met interesting people who offered help or contacts. I even considered getting a whole used Mercedes 1113 as a donor truck. Until, nearly a month later, I finally found what I was looking for: an old front axle from a Mercedes LA 1113.
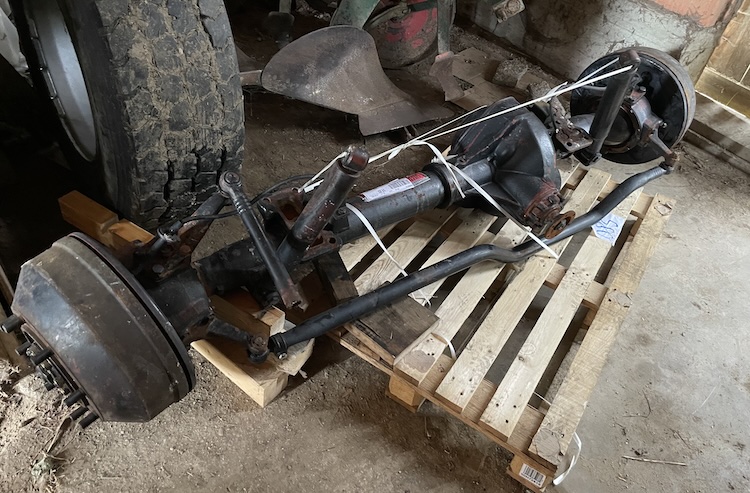
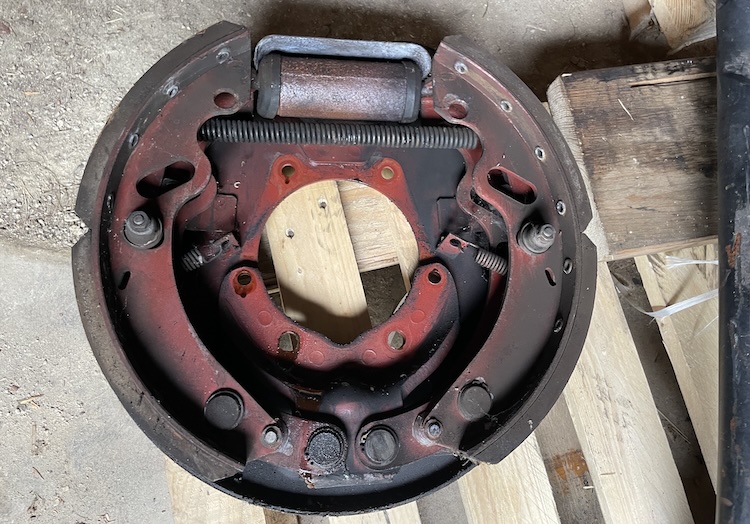
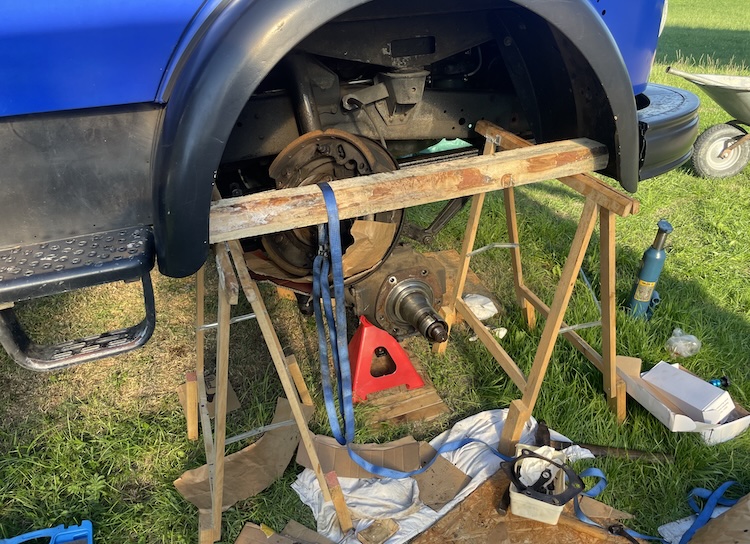
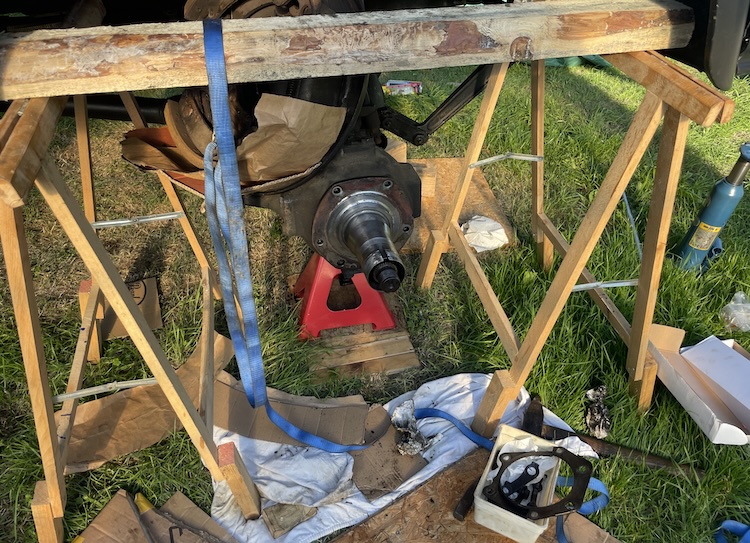
Taking the spare wheel end apart
Now it was time to tear the axle down to get the parts I needed. First, I locked the brake drum in place by turning the adjuster eccentrics for the brake shoes outward. First on the rear shoe,
then on the front one.

Then I removed the collar nut on the axle shaft flange.
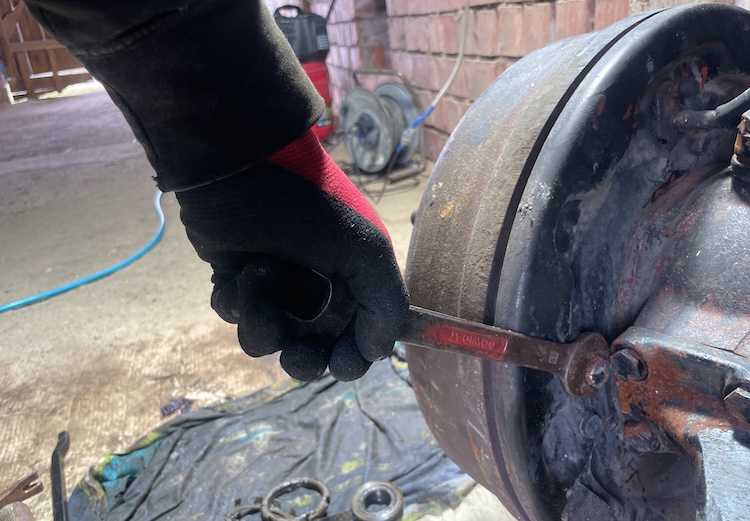
Eight flange nuts followed,
allowing the drive flange to be carefully pulled off the axle shaft with the help of a wrench, applying even pressure all around.
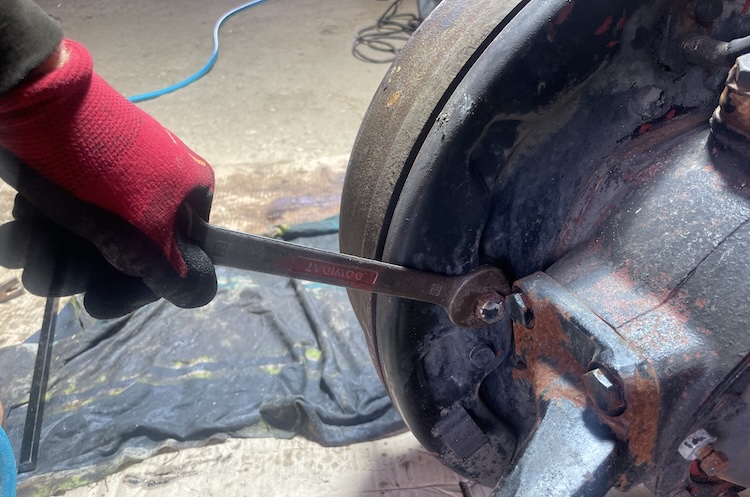
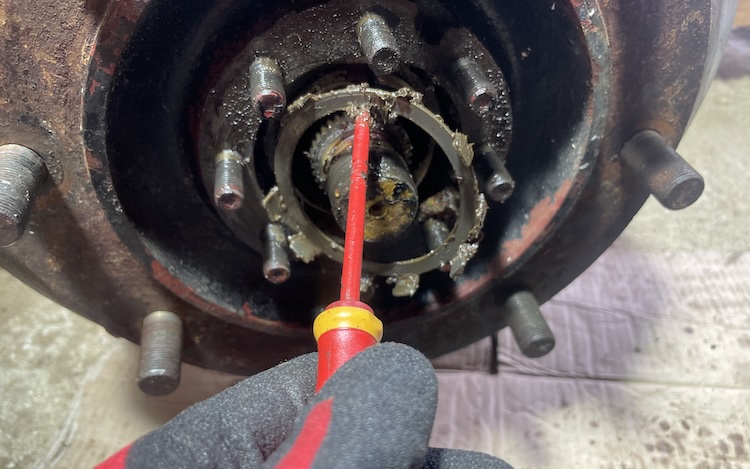
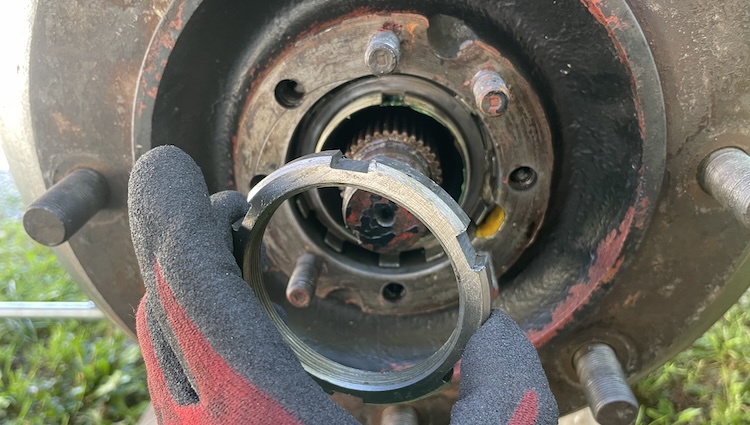
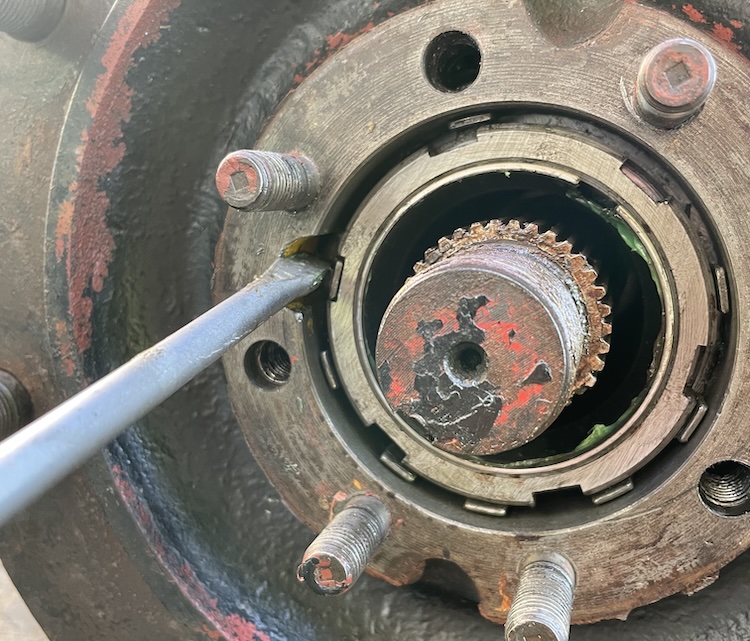
The locking plate on the outer spindle nut was bent open with a screwdriver.
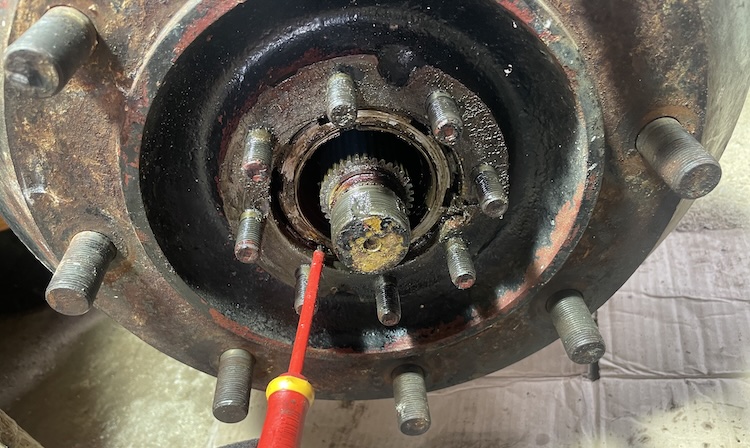
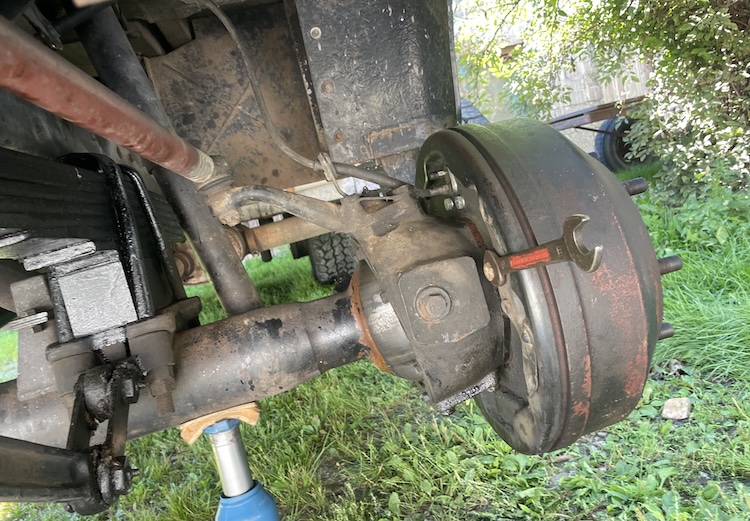
The outer spindle nut was loosened using the homemade spindle nut socket,
and then removed.
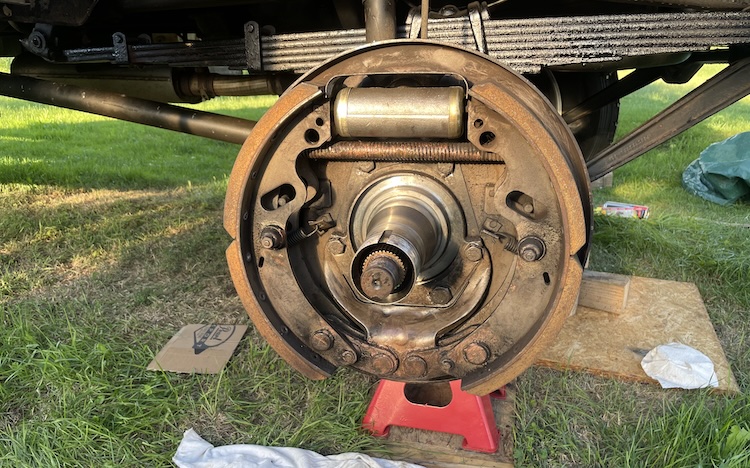
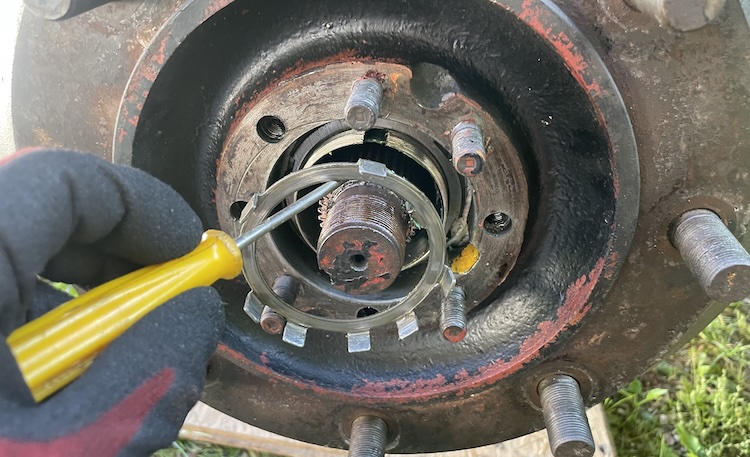
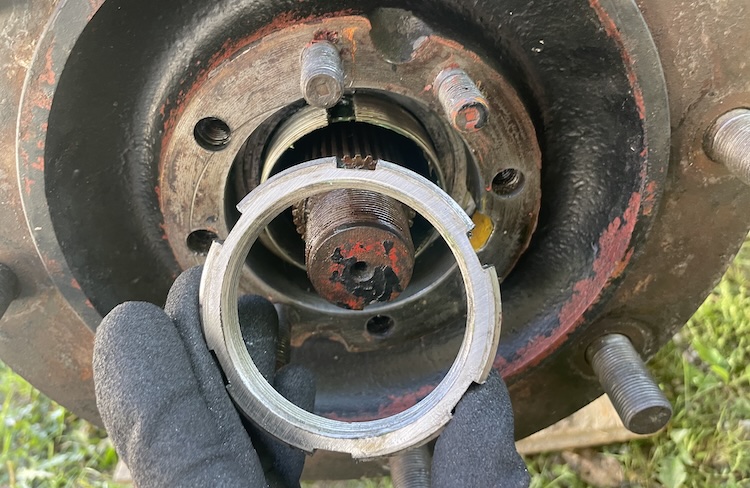
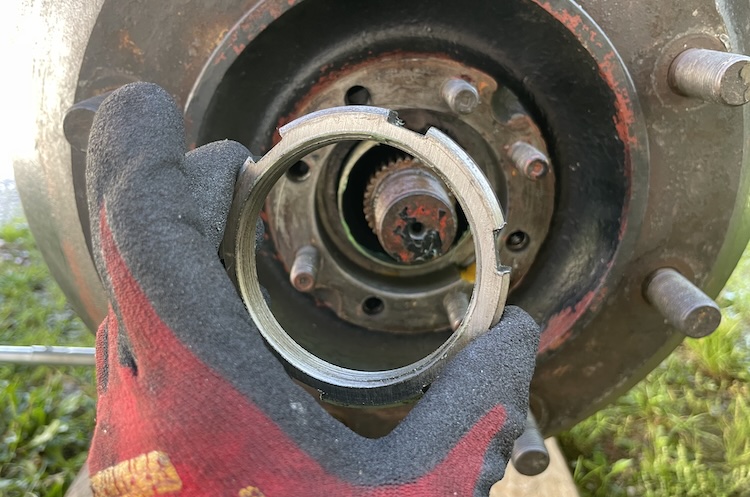
Then the locking plate came off,
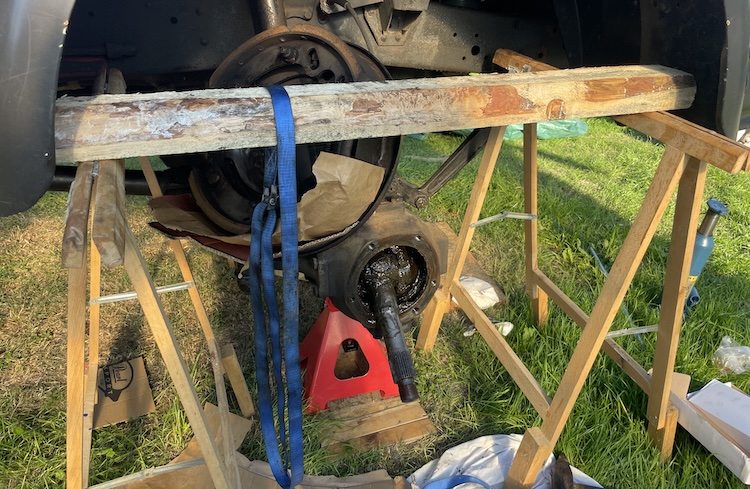
and afterward, the inner spindle nut.
With that done, the brake shoes were released again,
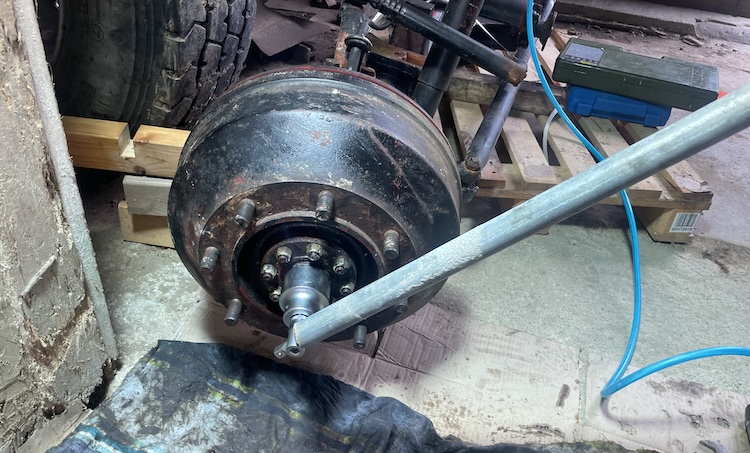
so the drum hub could be pulled off.

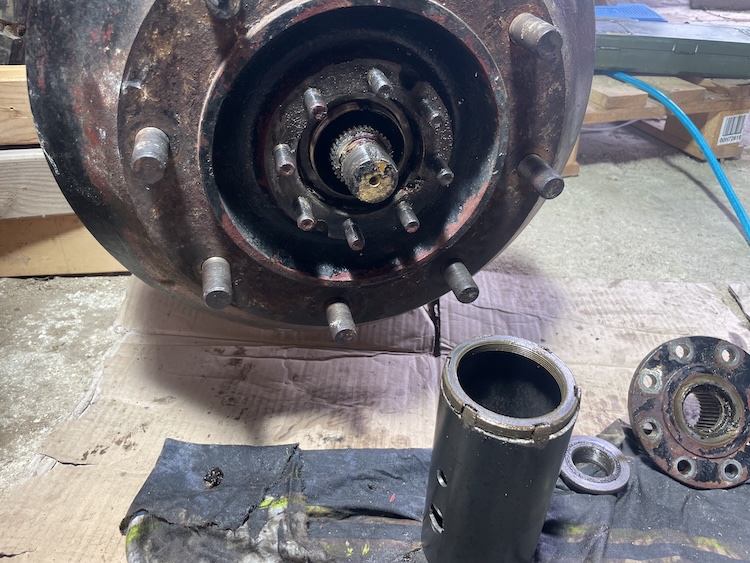
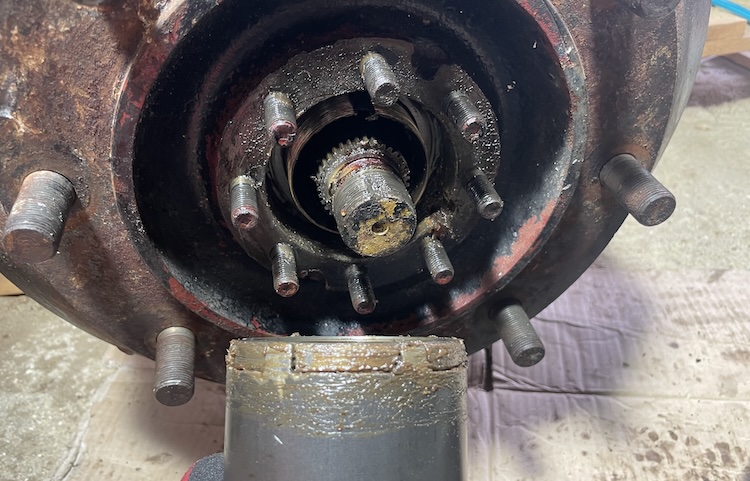
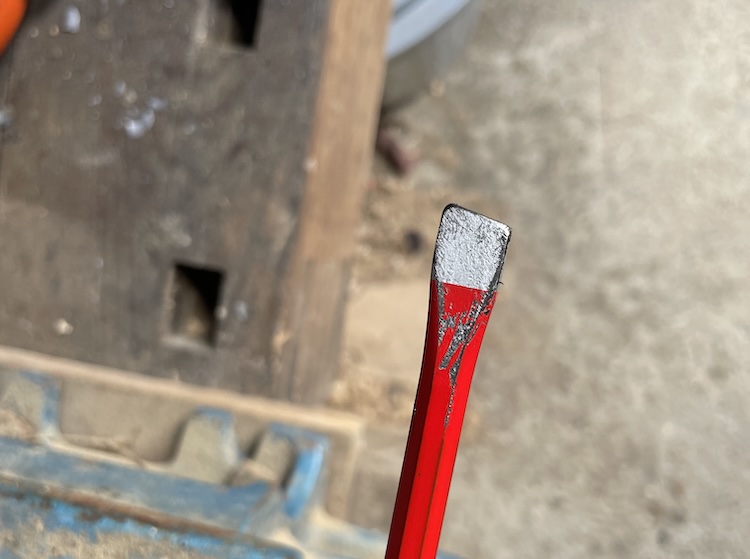
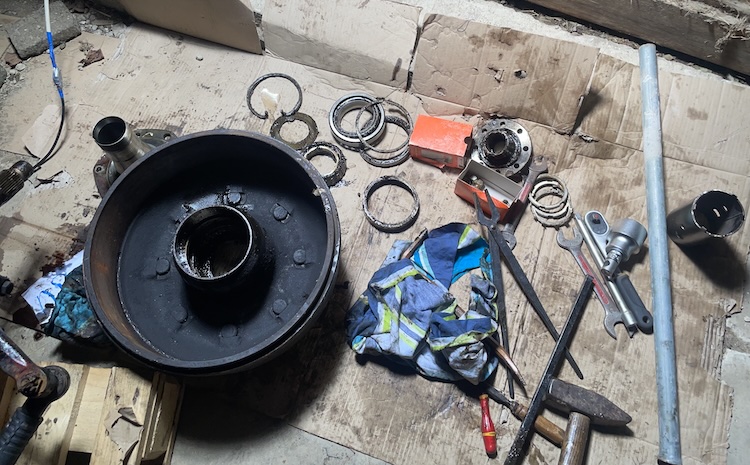
To drive out the inner wheel bearing cup, I modified a flat steel punch, slightly beveling and dulling the tip to avoid causing damage.
With gentle, targeted blows applied evenly around the edge, I slowly and carefully drove the bearing out.
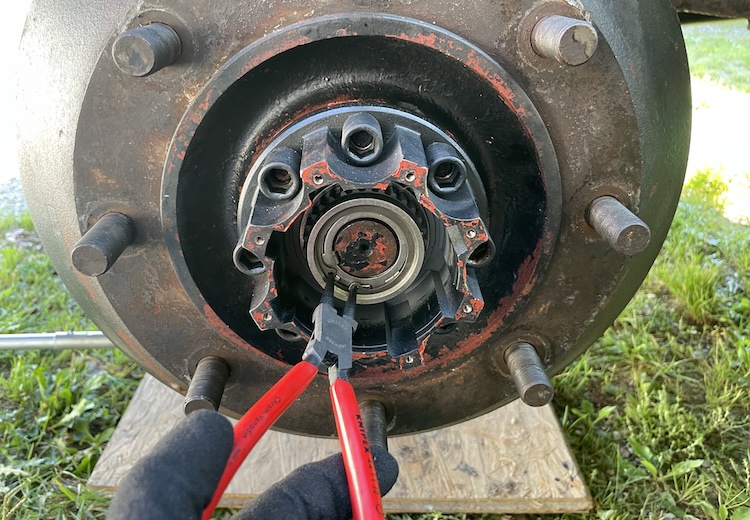
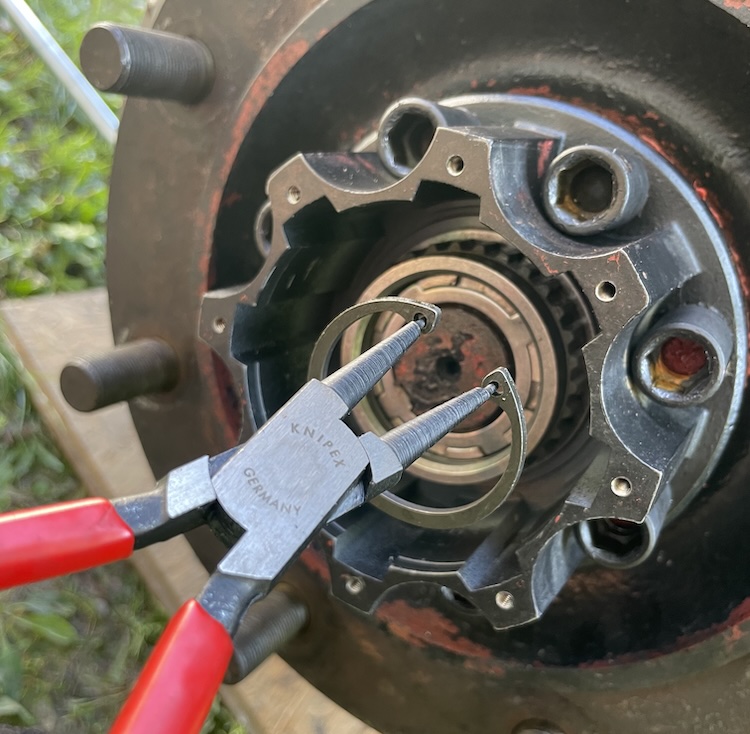
Now the snap ring of the outer wheel bearing could be removed using blacksmith’s tongs, allowing the outer bearing and the spacer to be taken out.
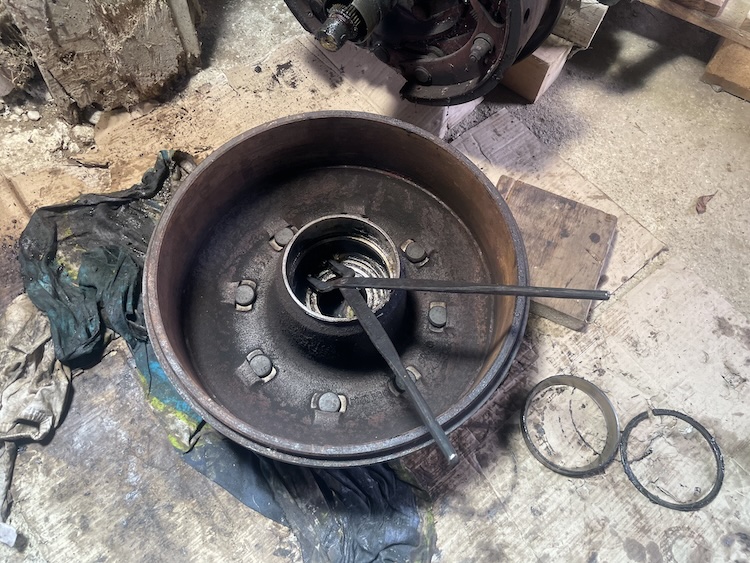
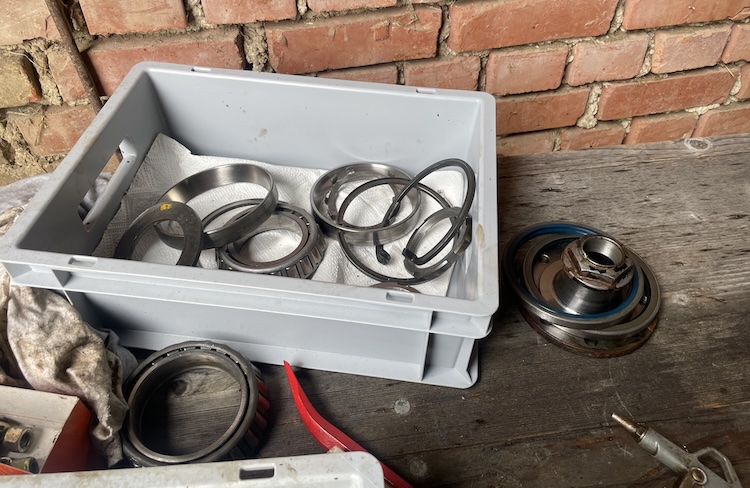
All parts were thoroughly cleaned.
The only part left was the spindle sleeve. The locking plates were bent open to remove the four lower,
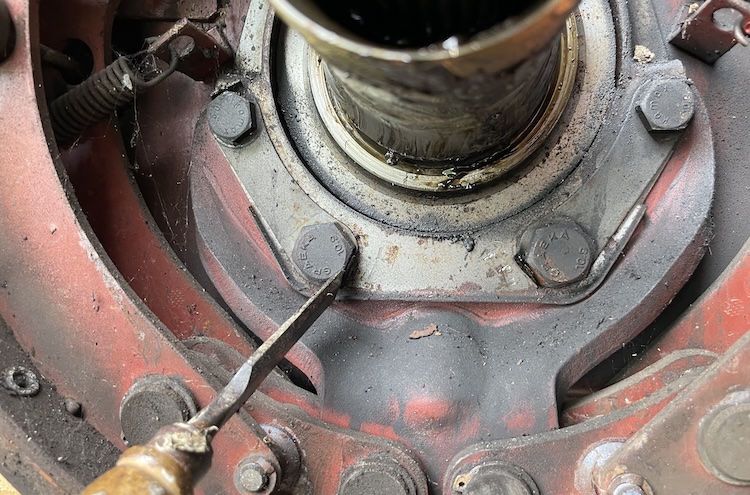
and two upper screws,
allowing the brake backing plate to be taken off.
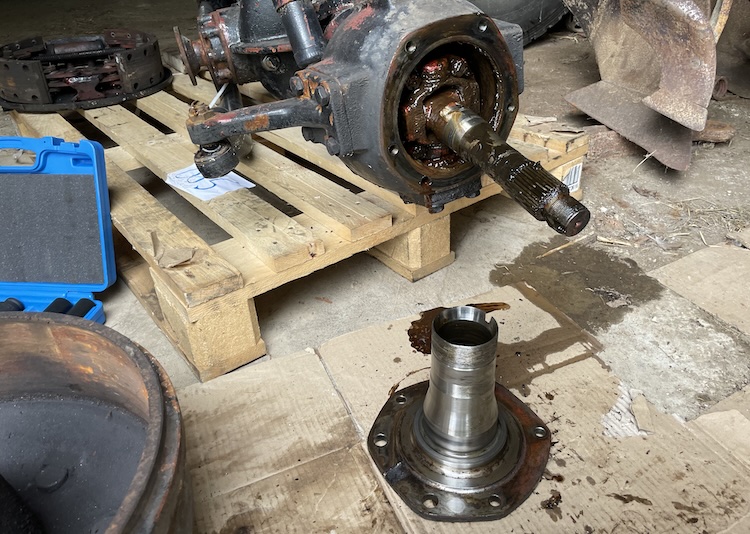
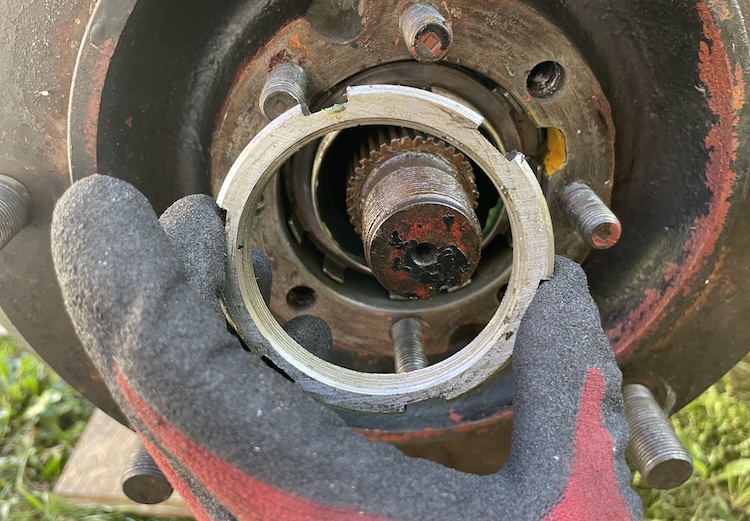
The spindle sleeve was now accessible,
and ready to be removed and cleaned.
Replacing the spindle sleeves
Now that the replacement parts were secured, the damaged spindle sleeves on the truck had to be removed following the same procedure.
Since the brake fluid had been replaced recently, I kept the brake system closed to avoid having to bleed it again, leaving the brake hoses in place.
The brake backing plate with the brake shoes was very heavy and couldn’t be allowed to fall, as that could damage the brake hoses. To prevent any accidents while removing the six screws, I secured it with a ratchet strap and a simple support setup.
After the screws were removed, the brake backing plate was carefully set aside and securely placed on the axle.
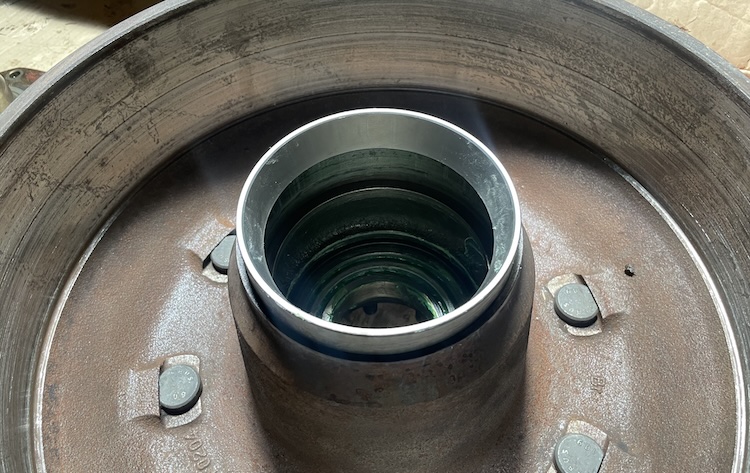
Now the damaged spindle sleeve could be removed,
the “new” one installed,
and finally reassembled along with the brake backing plate.
Preparing the “new” brake drums
Once the truck was ready, I turned to refurbishing the “new” brake drums.
I cleaned off the accumulated dirt, lightly sanded the braking surface to remove surface rust,
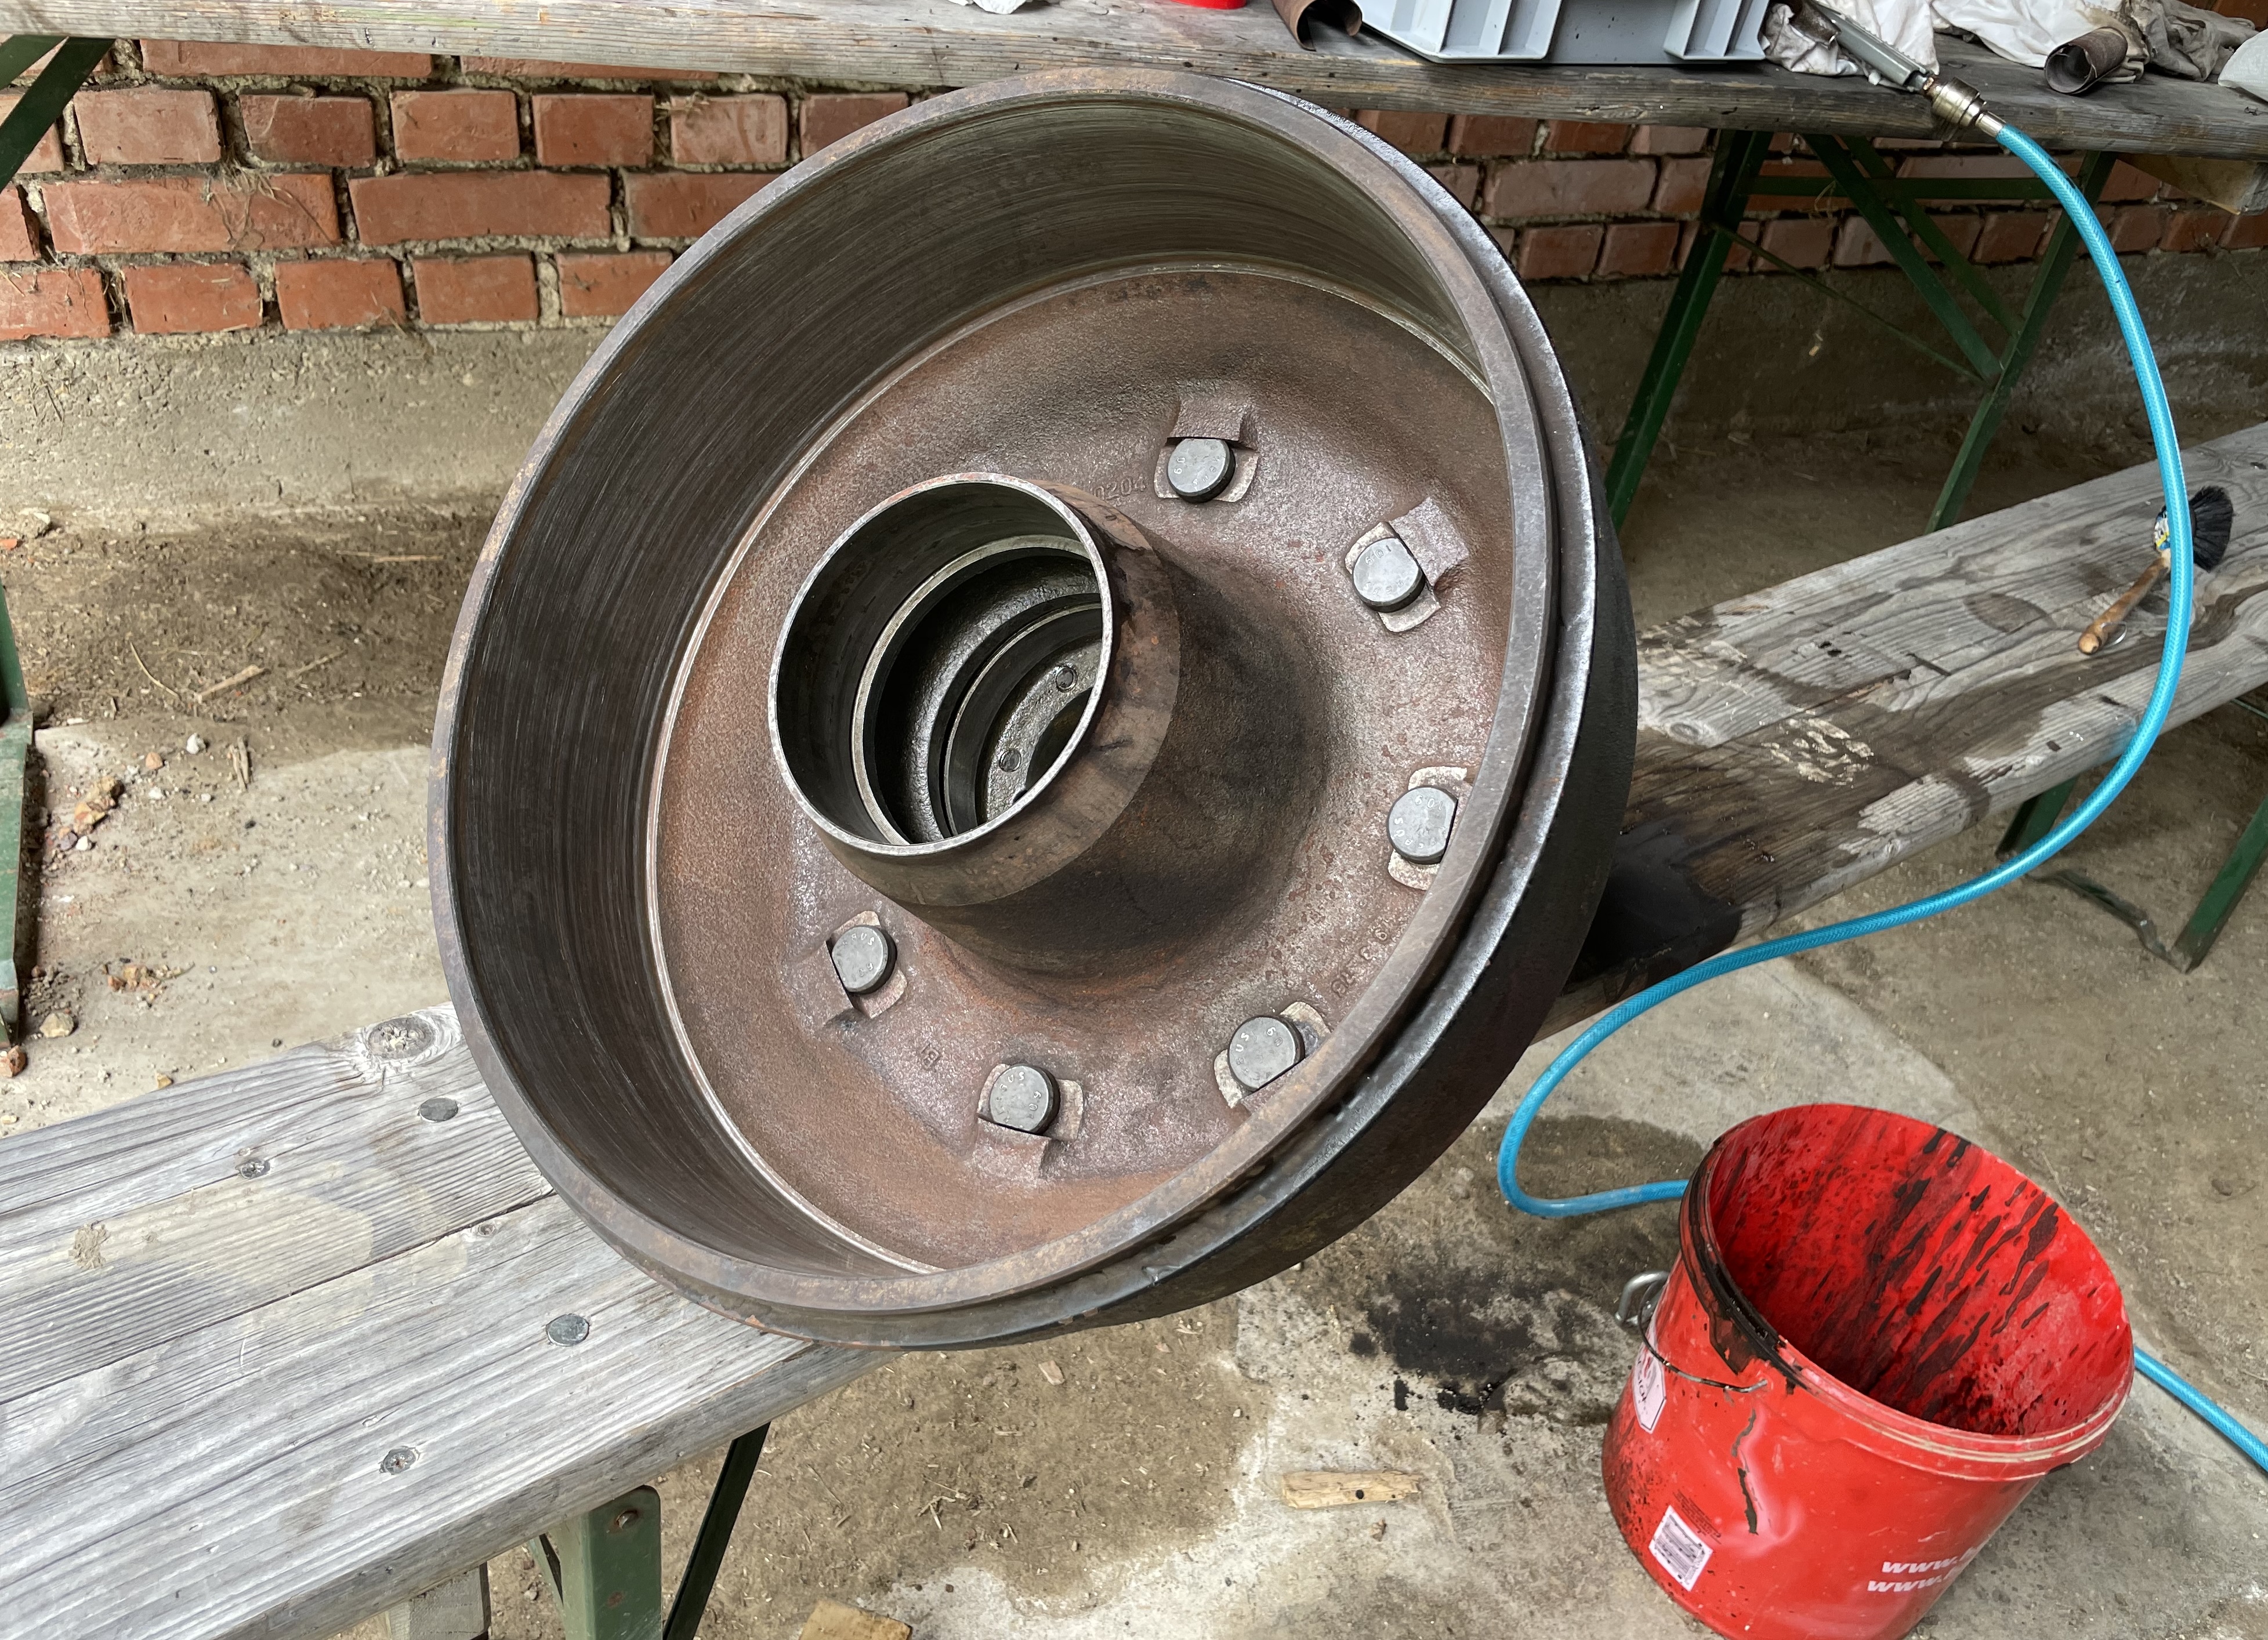
and gave all spacers, bearing races, bearings, and snap rings a thorough cleaning.
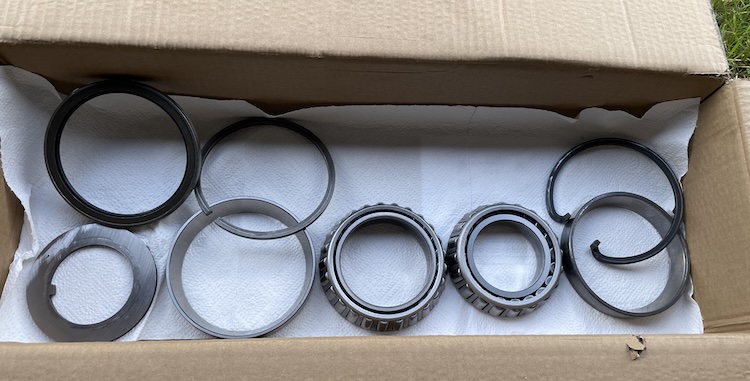
First, the outer spacer ring was set into place.
Next, the outer bearing’s roller cage was properly greased and installed.

Then the outer bearing race, pre-chilled in the freezer to shrink it for easier installation, was fitted into place.
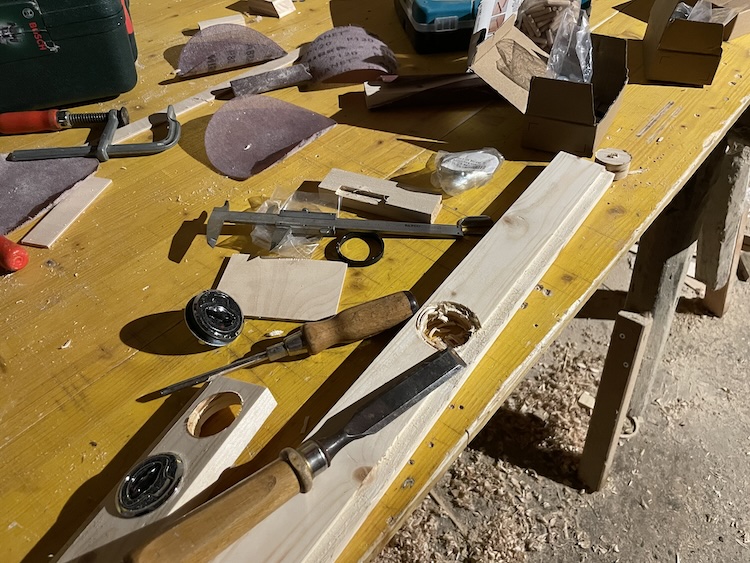
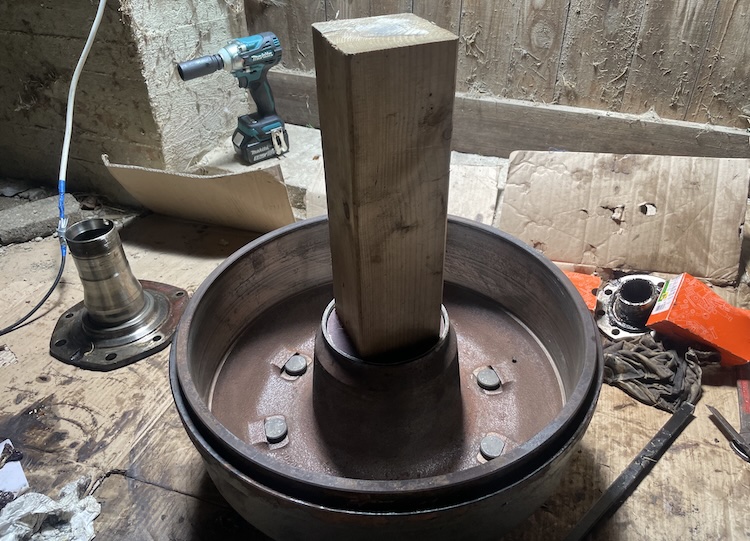
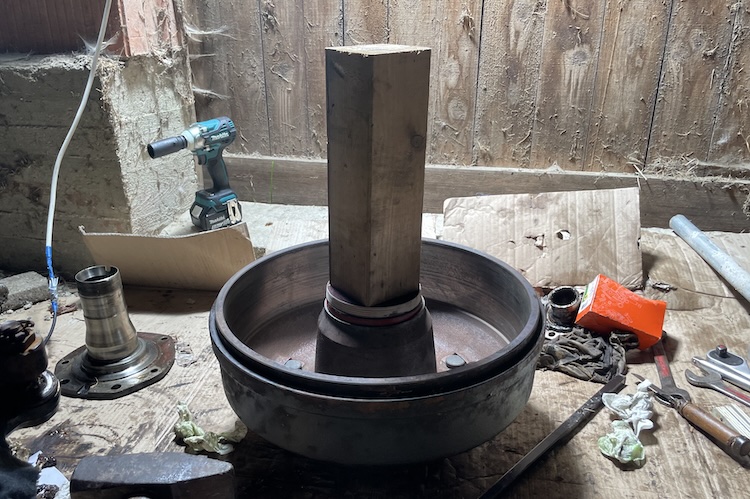
I made custom tools from hard plywood plates,
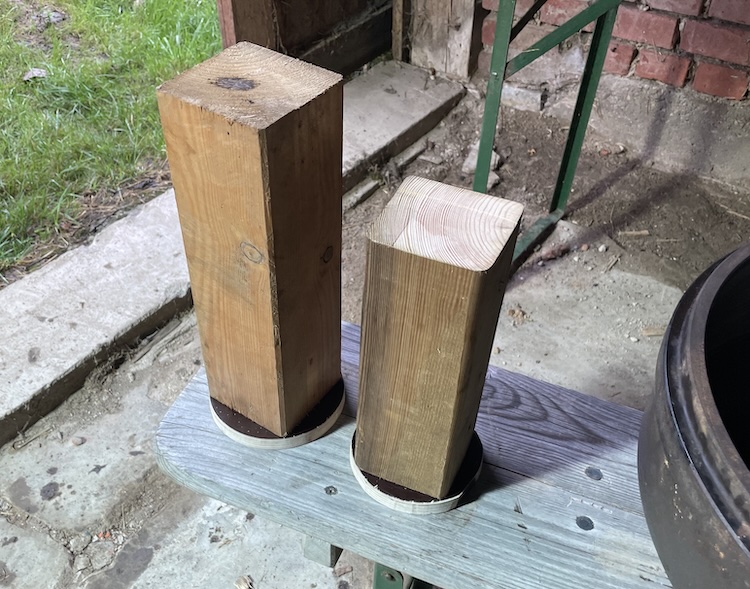
to drive the bearing race into place.
Once driven in, the bearing and its race were properly seated in place.

The assembly was secured by snapping the outer bearing’s circlip into its groove using blacksmith’s tongs.
Next, the spacer ring for the inner bearing was installed.
Next, the outer race of the inner bearing, also pre-chilled, was laid in position.
Using my homemade tool and a hammer, I carefully drove the bearing race into the drum hub,
until it was fully seated.

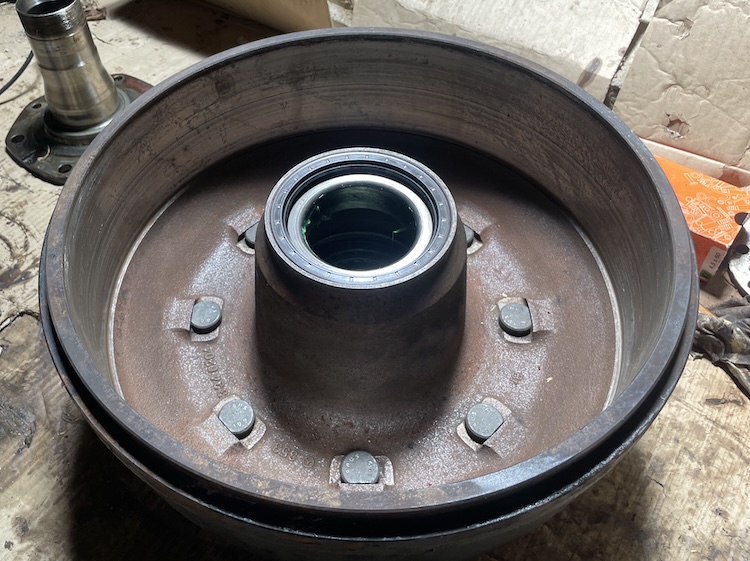
Now the greased inner bearing could be placed in position.
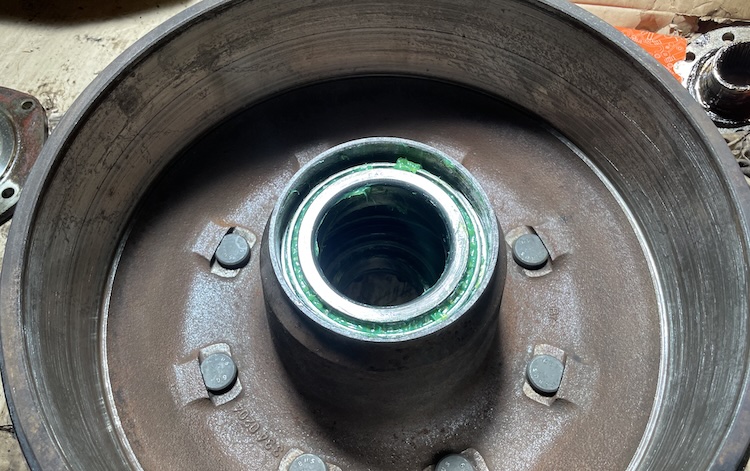
The final component was the shaft seal, with its outer metal shell lightly coated in sealant.
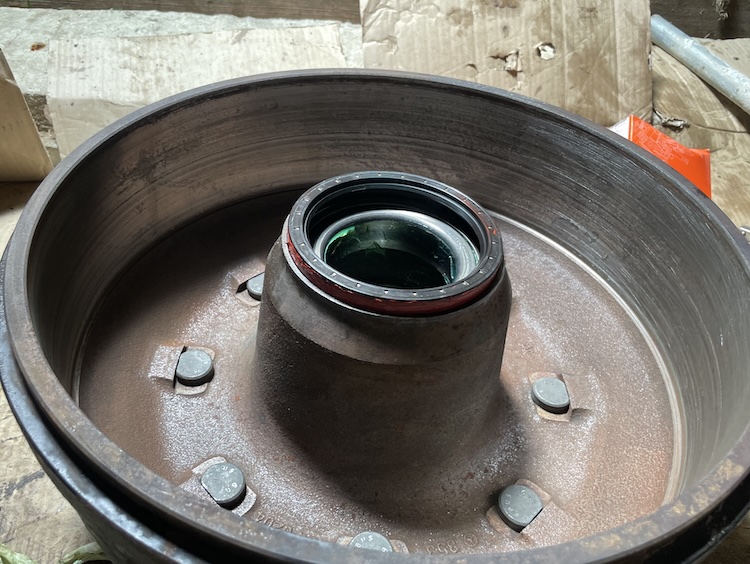
Again, I used the homemade tool and very gentle taps with a hammer to drive the seal flush into place.
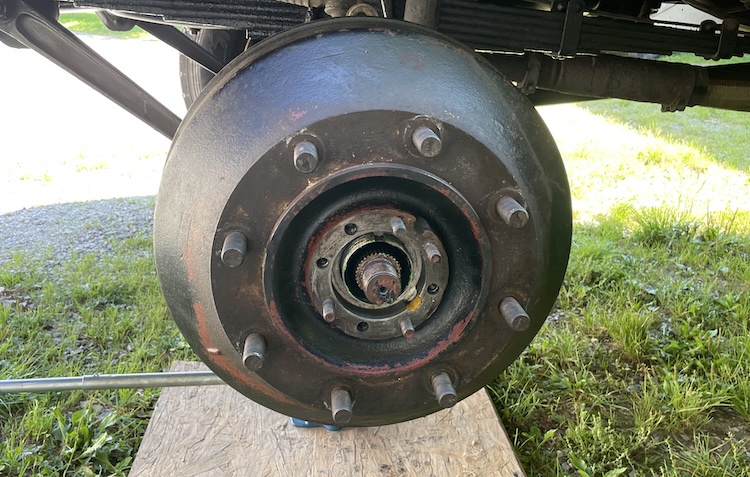
The drum hub was now ready for assembly.
Mounting everything back together
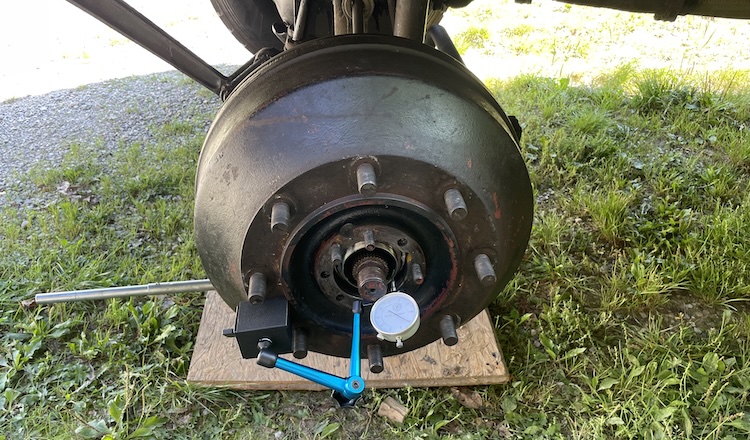
After placing the drum hub, the bearing play needed to be set to 0.02–0.04 mm. I used a dial gauge to help with this.
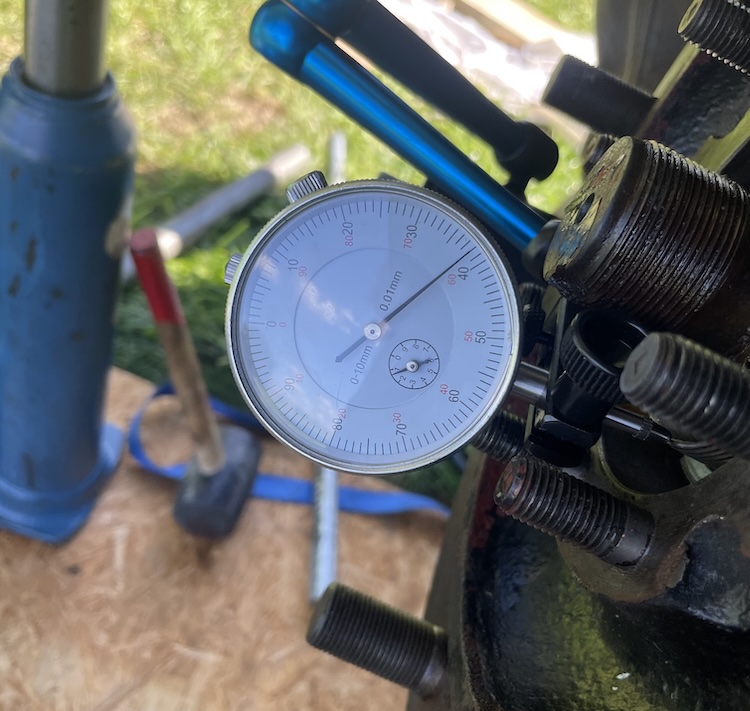
Since tightening the outer nut slightly reduces the bearing play, it took me a few attempts at first until I got the hang of it. But in the end, everything was correctly assembled.
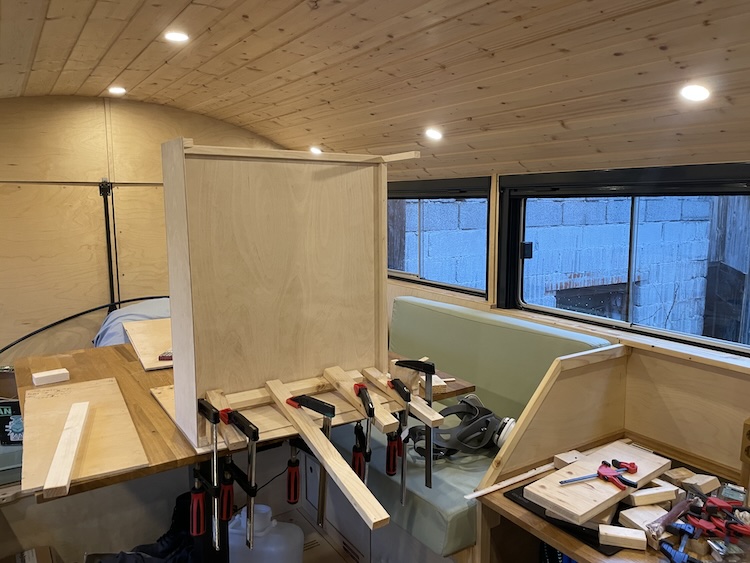
I got so caught up in the flow that I forgot to take photos of the individual steps. To my unease, I started doubting whether I had correctly installed the six screws for the spindle sleeve and the brake backing plate, since they were two different lengths. I was fairly confident I had done it right, but not 100%.
To be sure, I decided to disassemble everything again. By now, I was experienced, and it was also a perfect opportunity to take detailed photos to provide a helpful step-by-step guide for others.
Getting hold on a proper spindle nut socket
After several uses, the teeth on my homemade spindle sleeve nut tool were worn, and it kept slipping under heavy load. Just in time before the next disassembly, I finally got hold of the original tool, part number 731 589 000 700.
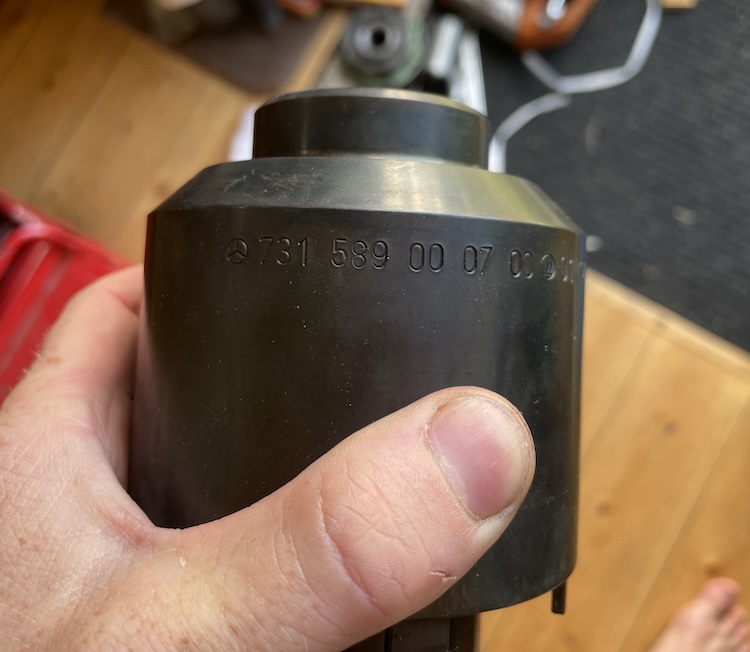
Unlike my homemade version, it fit perfectly down to the millimeter and included a central guide that made the work much easier.
Taking the wheel end apart again
Equipped with proper tools and my previous experience, I began the third disassembly, this time taking photos of every step:
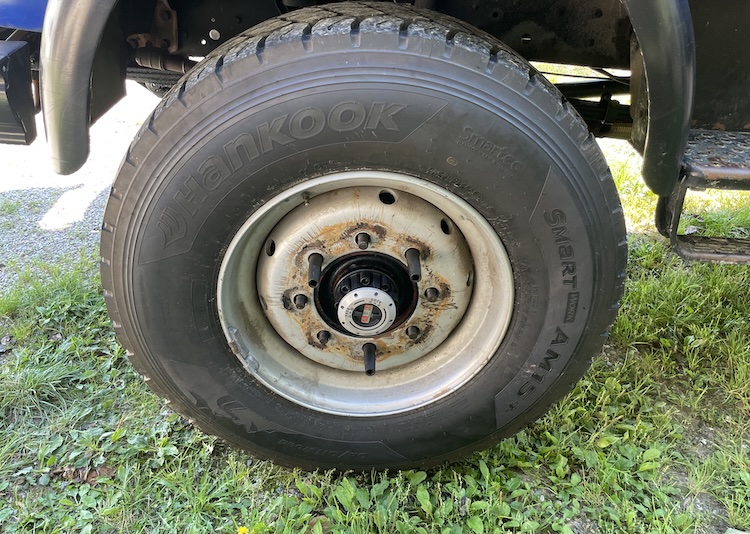
Removing the wheel using a wheel bolt centering and protective sleeve set.
Adjusting the brake eccentrics outward to lock the drum in place.

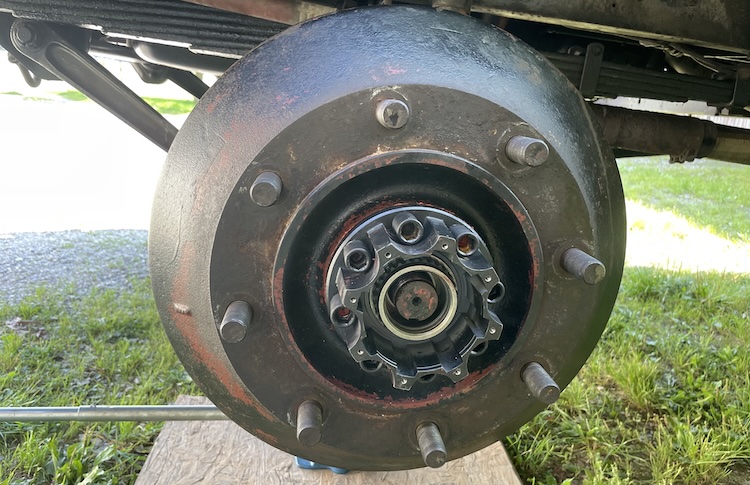
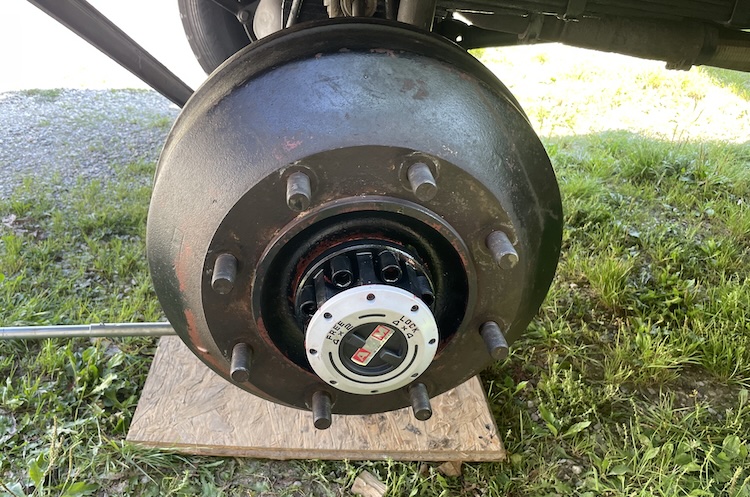
Removing the freewheel hub cover.
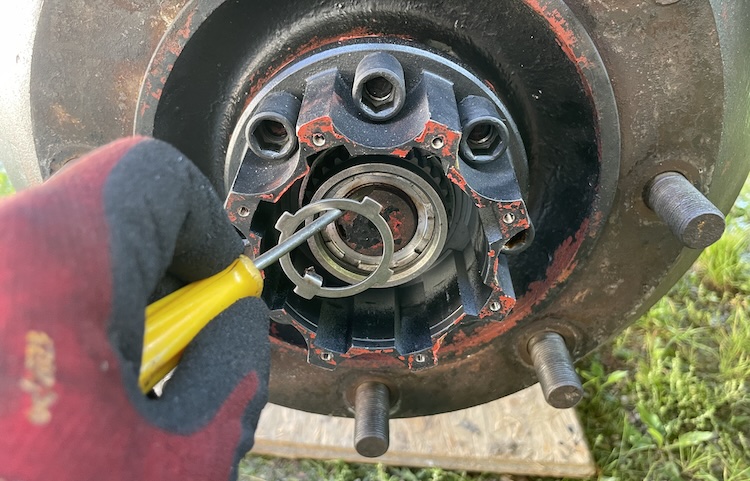
Removing the snap ring from the freewheel hub.
Removing the freewheel’s lock plate.
Removing the locknut from the drive shaft.
Removing the freewheel hub.
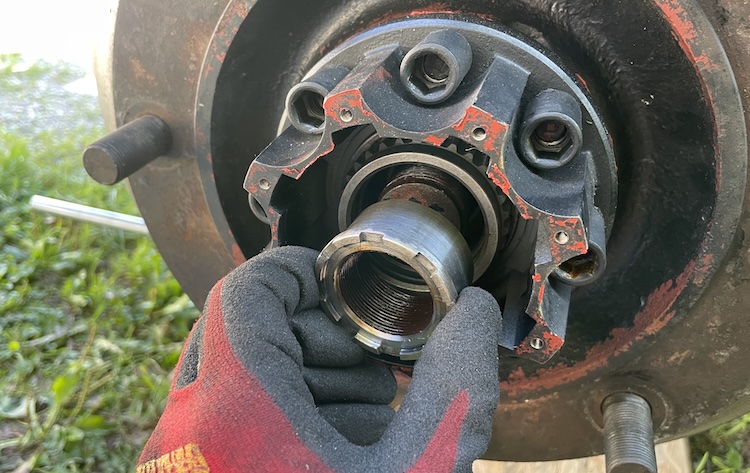
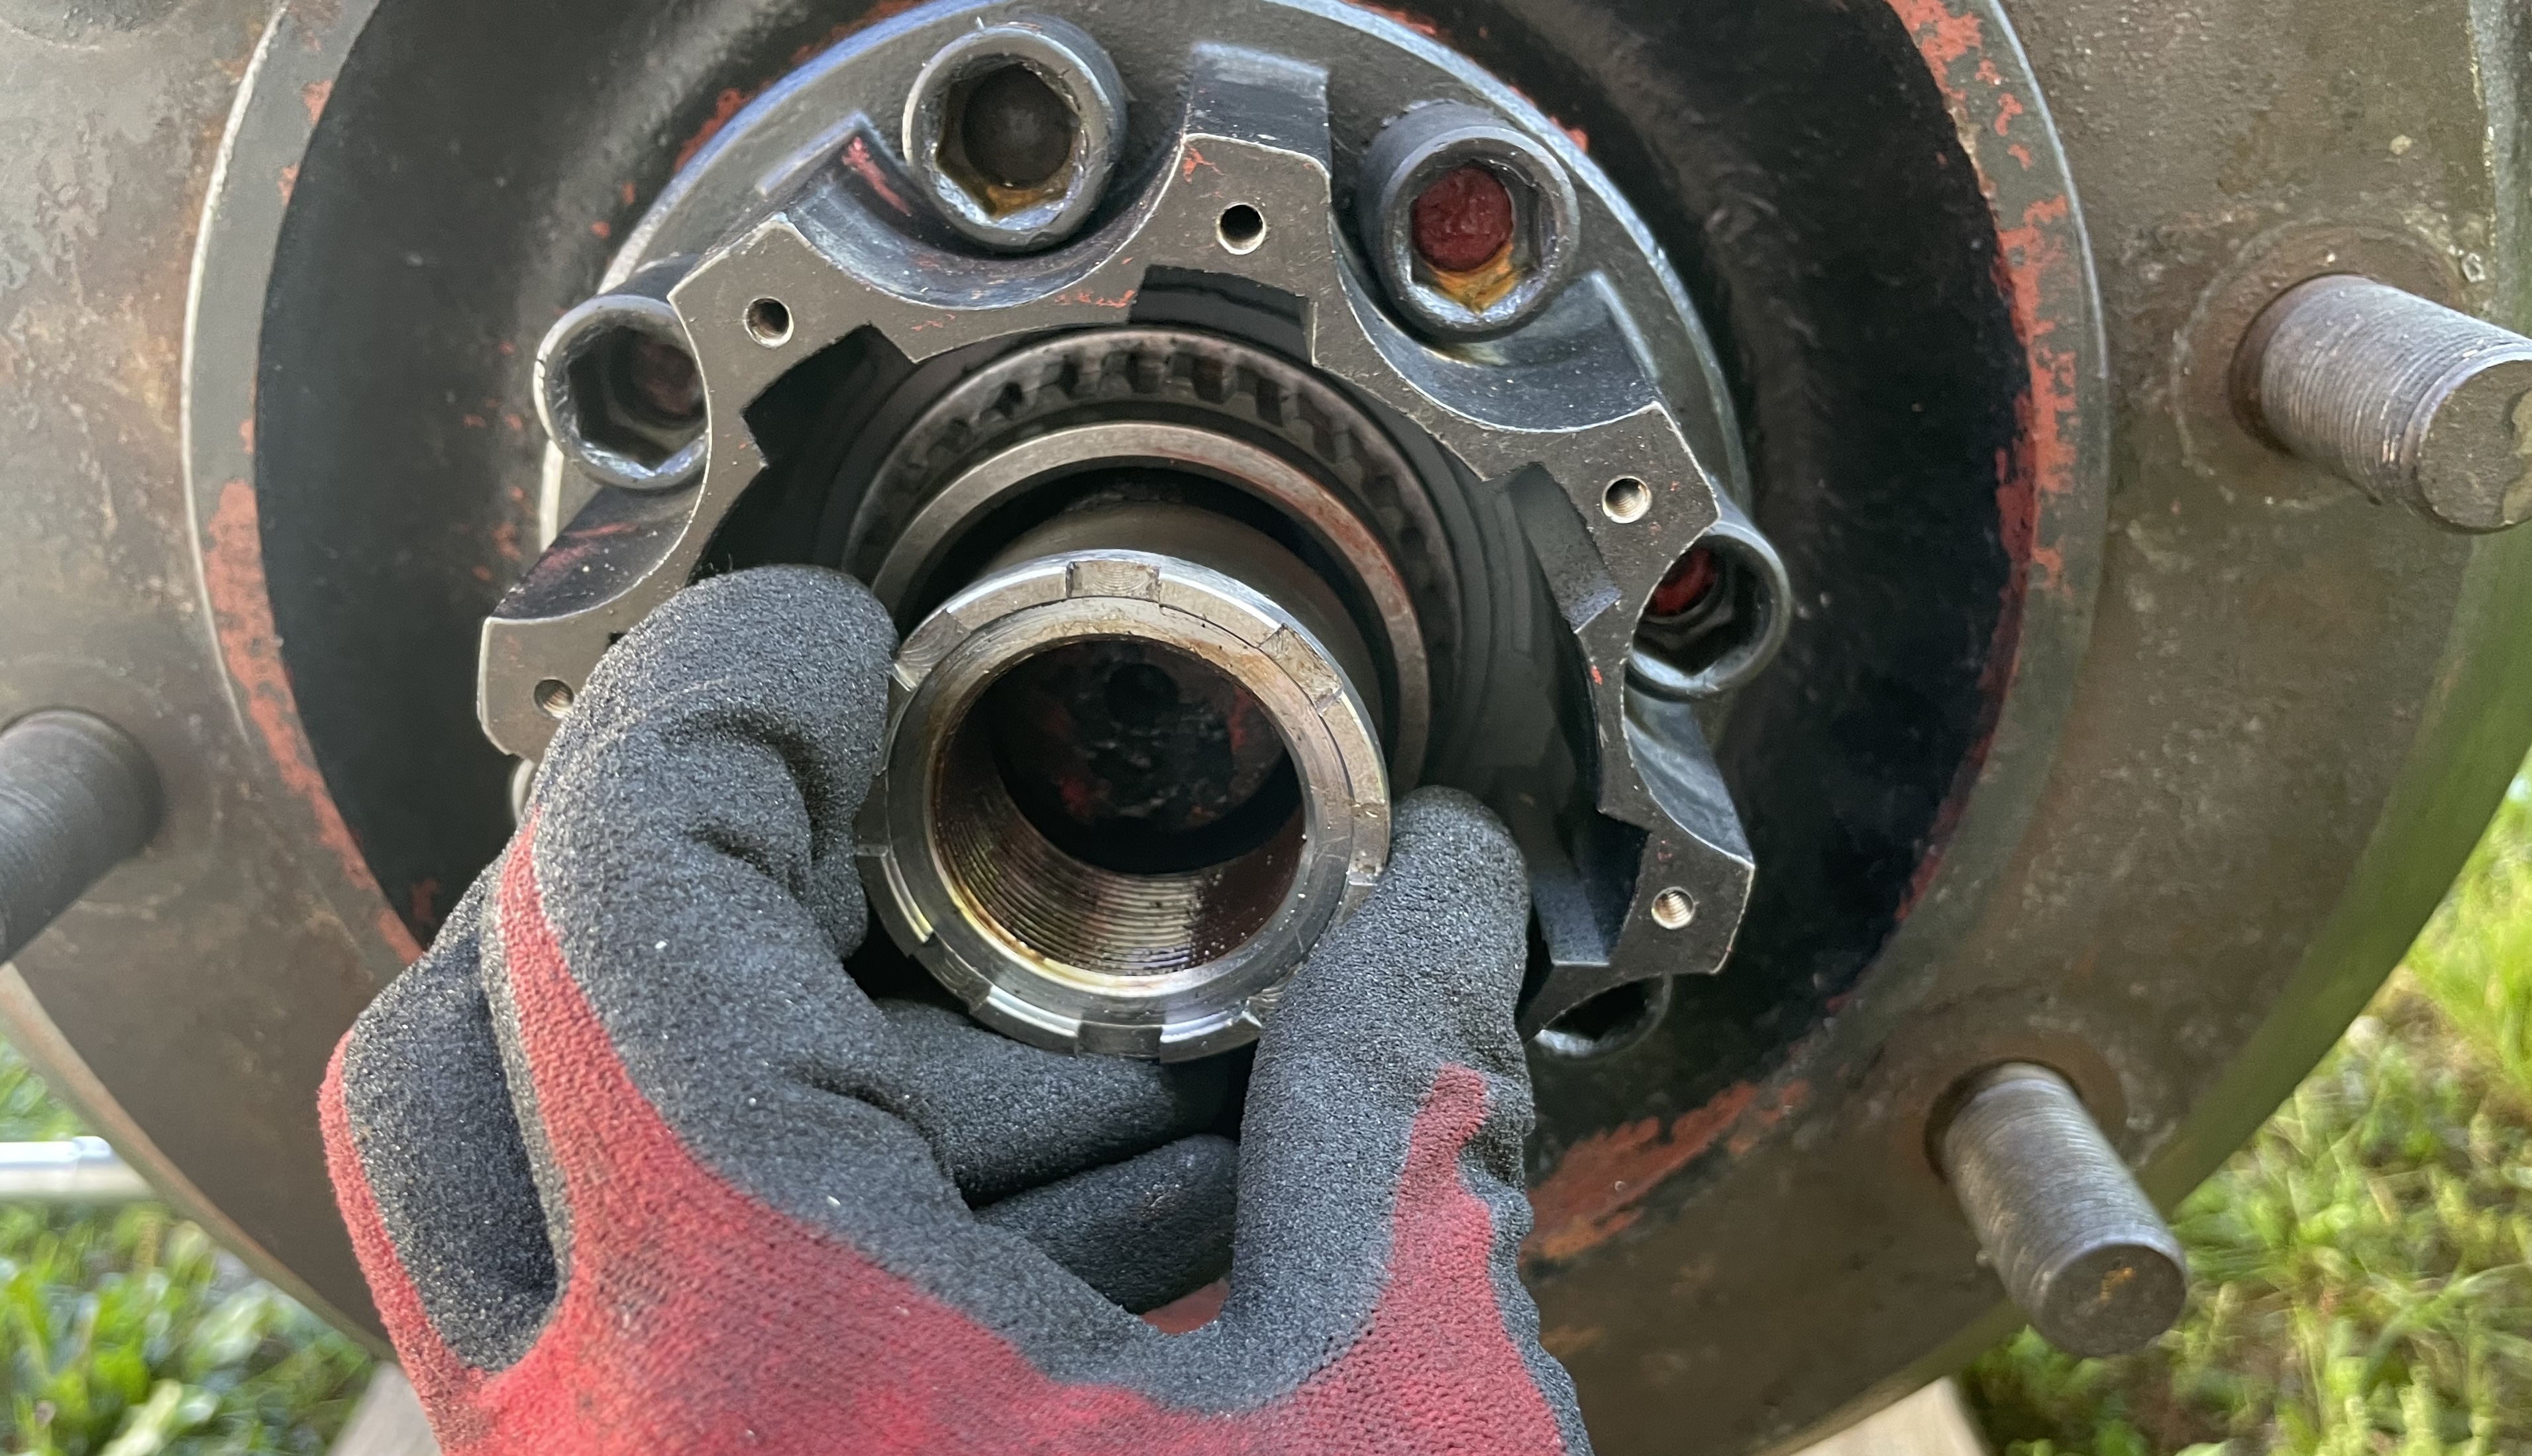
Bending back the lock plate for the outer locknut.
Loosening the locknut using the original Mercedes spindle nut socket.
Removing the outer locknut.
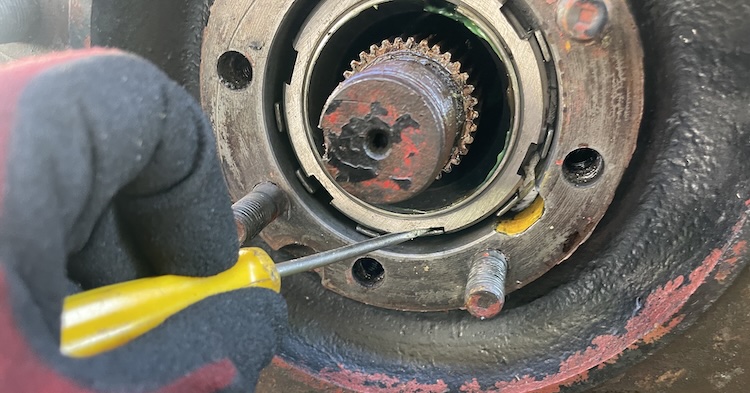
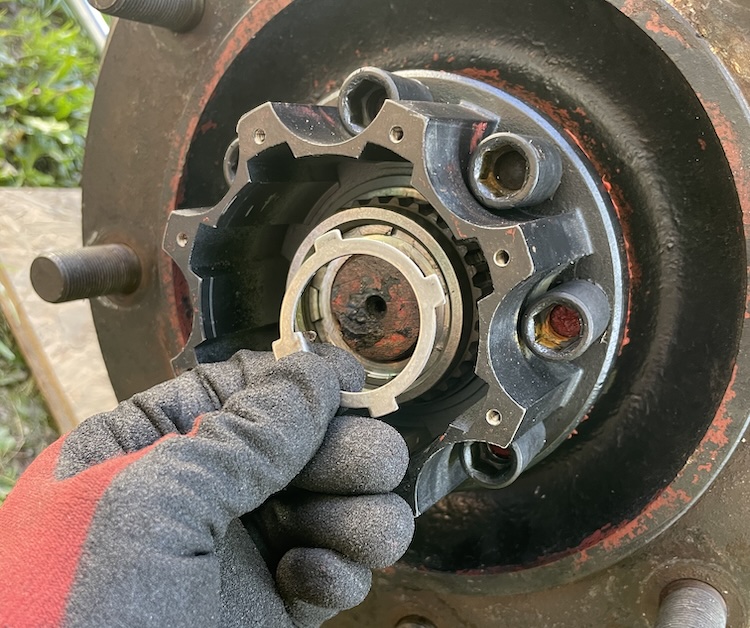
Removing the lock plate.
Removing the inner locknut.
Loosening the brake shoes.
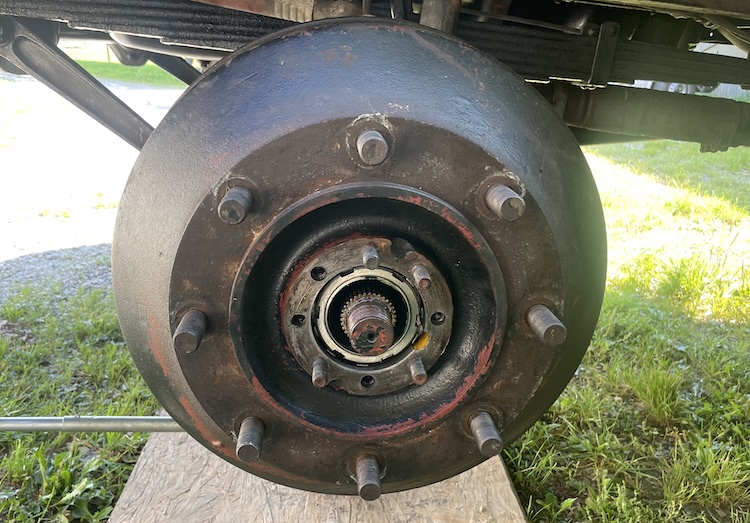
Taking off the brake drum hub.
It turned out the six screws had been installed correctly, so my worries were unfounded. At least the third disassembly went much faster, and I was able to take photos to create a guide that could help others.

Putting the wheel end together
Reassembly was relatively straightforward, following all the steps in reverse order:
First, placing the brake drum onto the hub.
Installing the inner locknut.
Tightening the locknut to seat the bearings properly in the brake drum hub.
Setting the wheel bearing clearance (0,02 - 0,04 mm) with a dial indicator. I recommend starting with a slightly larger clearance, since tightening the outer locknut will reduce it slightly. It took me a few tries to get the feel for it, but it’s far better to adjust and check multiple times than risk damaging a bearing or the drum. After all, this whole project began because of incorrectly set bearing play.
Installing the locking plate.
Installing the outer locknut and tightening it to 150 nm.
Controlling the wheel bearing clearance (0,02 - 0,04 mm).

Securing the locking plate.
Mounting the freewheel hub.
Attaching the freewheel hub’s locknut.
Installing the freewheel hub’s locking plate.
Adding the snap ring to the freewheel hub.
Installing the freewheel hub cover with sealing compound.
Adjusting the brake shoes so they have minimal clearance from the drum, allowing it to rotate freely.
Wow! After many weeks of research, sourcing parts, and hands-on work, the truck was finally fully operational again.
What an exciting project! I was proud of myself and incredibly grateful to everyone who helped make it a success. I learned a lot, not just about mechanics, but also that seemingly impossible problems can be solved by taking small, determined steps, being patient, and asking others for help.
]]>