After covering the walls with wood, I continued with the ceiling. I picked tongue and groove boards that would visually stand out from the flat wall panels. For aesthetic reasons, I wanted to keep the number of visible screws as low as possible. The boards had to be mounted very closely to the insulator to gain the highest headroom possible. Unfortunately, the body of my Mercedes 508 is not a simple cuboid that would have allowed me to easily mount the boards. Especially the back of the van is very curved.
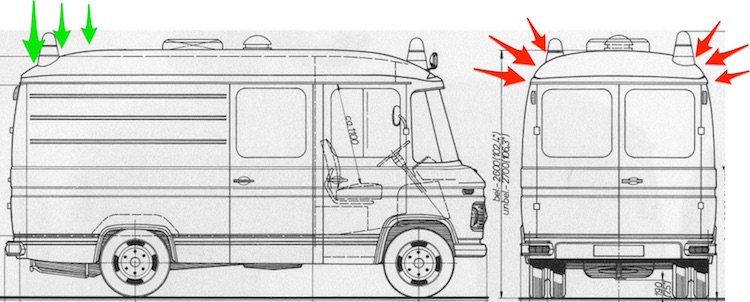
Reducing the tension on the boards
The tongue and groove boards are thicker than the wall panels. They were really hard to bend in the strongly curved back of the van. I was afraid to break the board when bending it all the way to the arch using a lot of force.
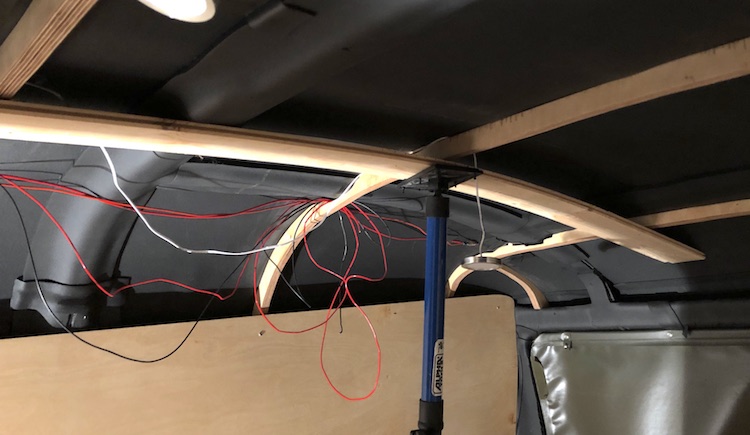
The board was much easier to bend after cutting several cross grooves into it.
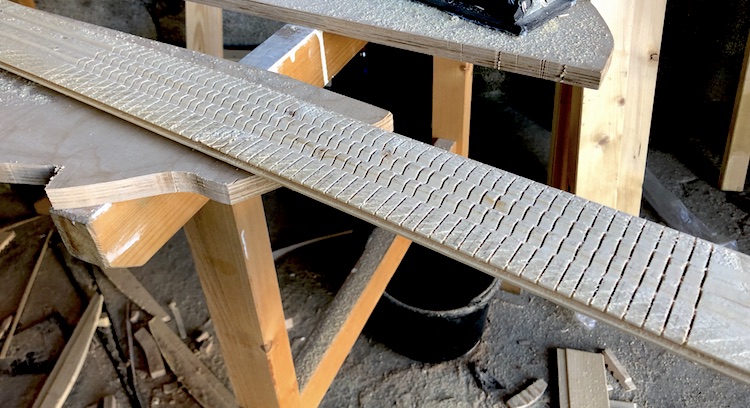
Additionally, I reenforced the arch which was supposed to pull the boards closely to the roof.
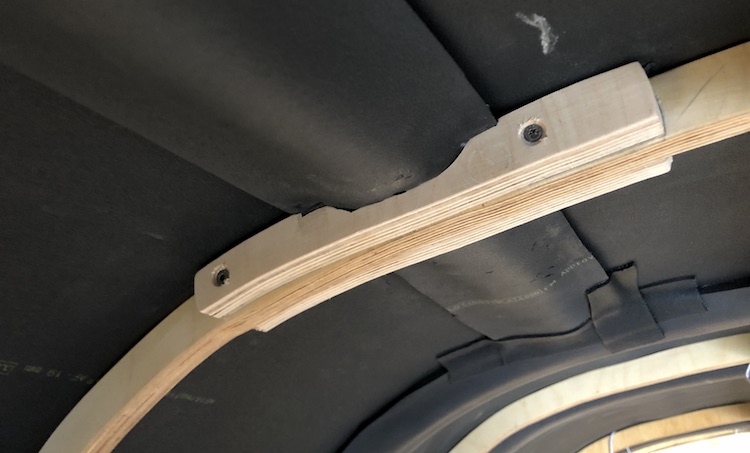
Centering the boards
I used metal clips to mount the boards on the arches. Plugged into the groove they were covered by the tongue of the next board and couldn’t been seen any more.
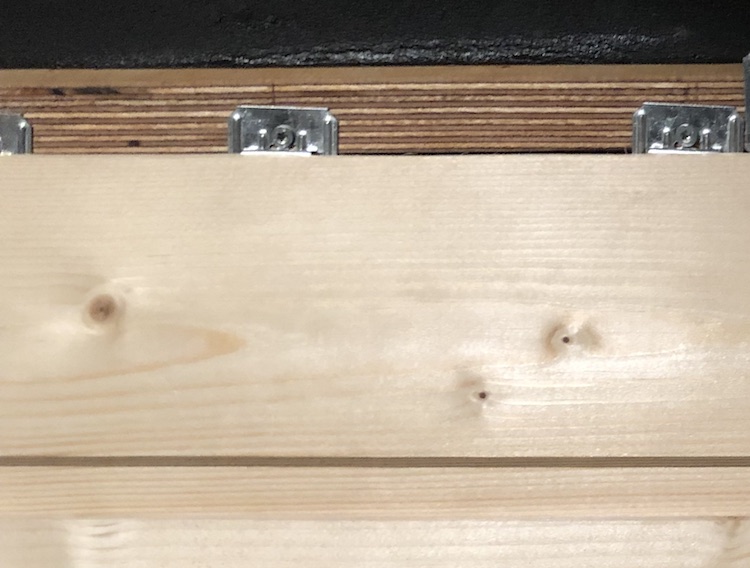
When using these metal clips, you usually have to mount one board after the other by starting from one side. I removed the tongue and cut a second groove into one of the boards.
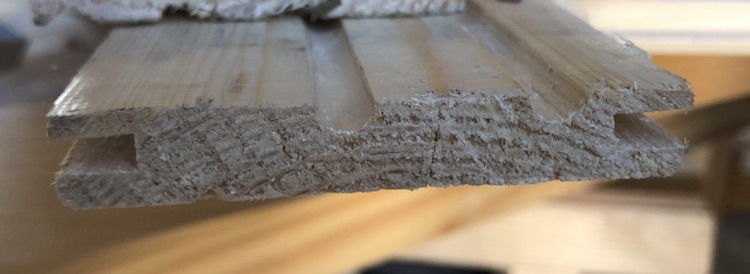
By placing the board with the two grooves into the center, I could add the remaining boards towards both sides in parallel which resulted in a nice symmetric look.
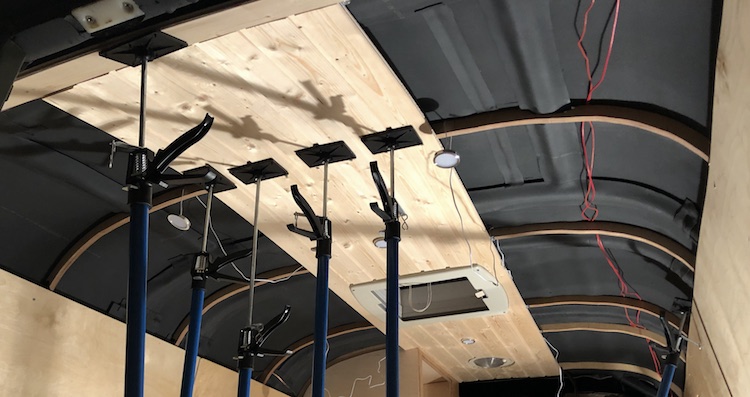
Fitting the boards on the sides
The more I worked towards the side walls, the harder the boards were to bend without creating little gaps.
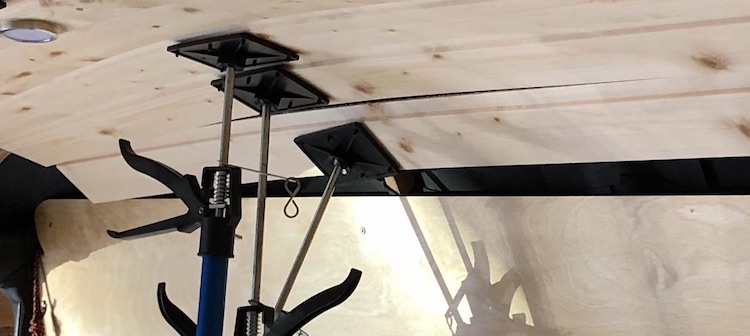
I avoided these gaps by individually fitting and cutting custom tongues and grooves into each board.
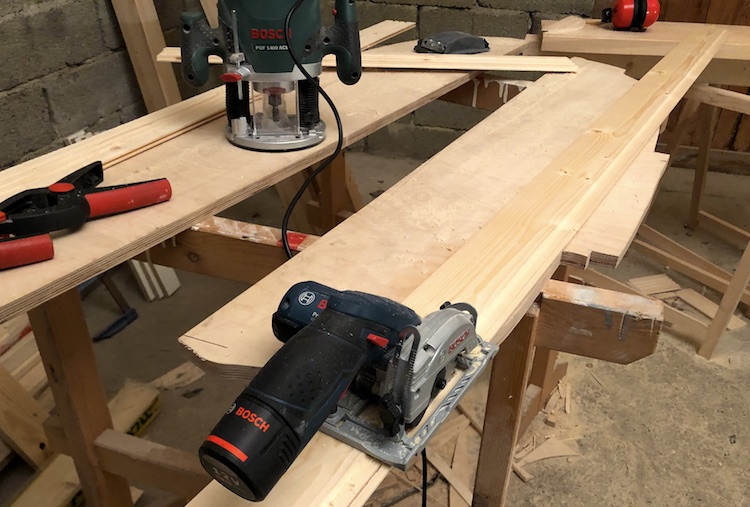
After customizing several boards, I was able to nicely rebuild the shape of the original body without losing much headroom.
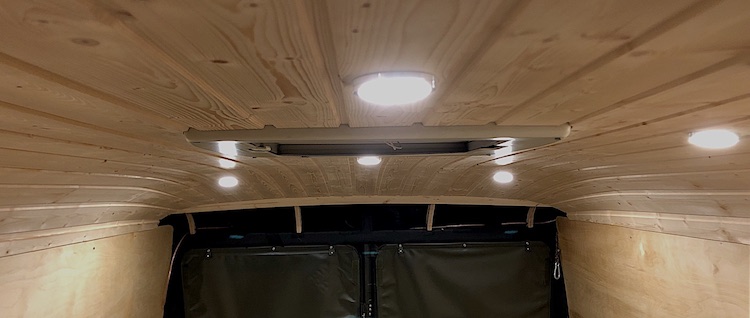
Once all the boards were fitted, I finished the wood with oil.
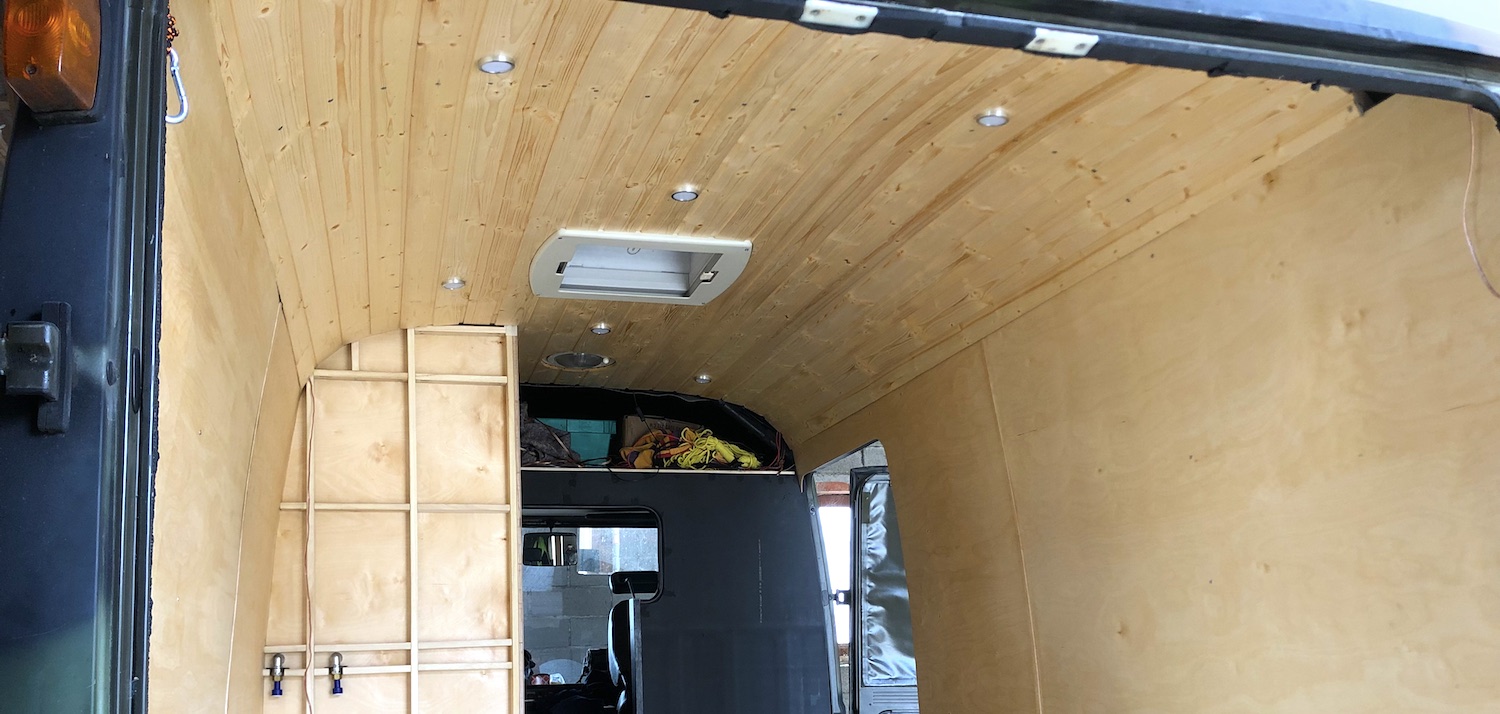
I’m really happy that I took the extra mile to properly fit the boards. I love the result! ![]()