The freezing temperatures forced me to paused my work on the shower cabin, so I continued covering the insulated walls with wood.
Preparing the panels
The original panels didn’t feel very smooth. I also didn’t like the vertical scratches caused by the factory’s belt sander.
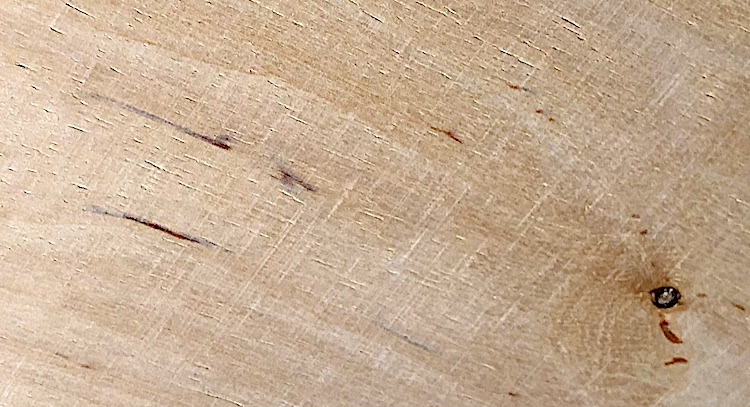
I sanded the panels until I was satisfied with the look and feel.
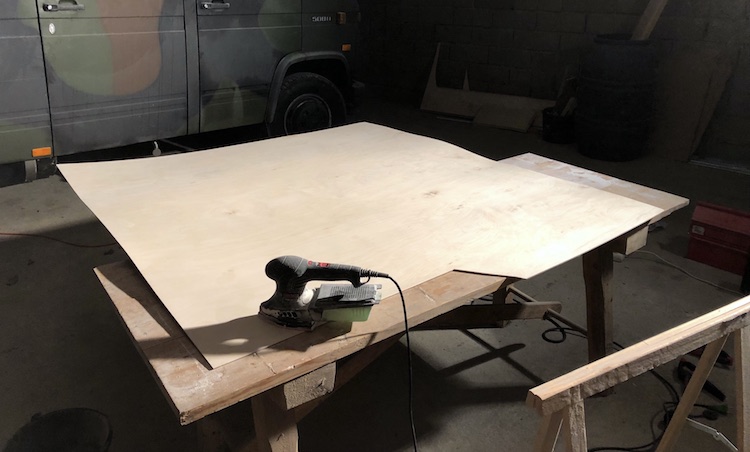
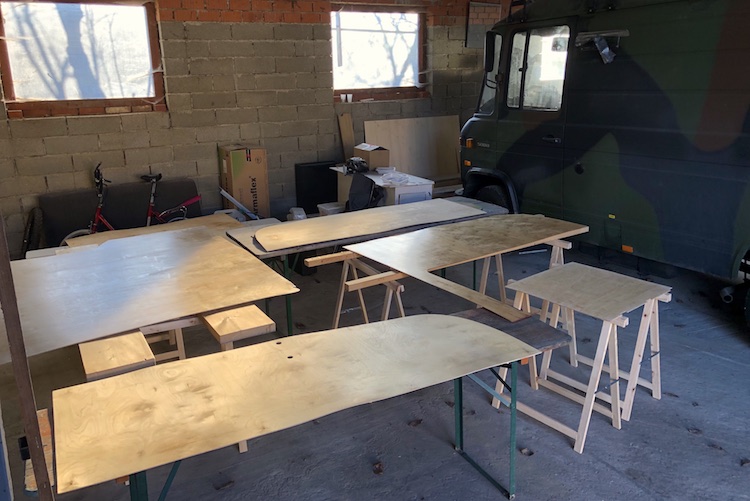
To protect the wood from dirt and humidity, I finished the panels with a natural wood wax. Although the sun warmed up the barn a little bit, it took quite a long time until the wood completely soaked up the oil and wax.
Mounting the panels
While the wax was slowly drying in the cold, I built two decorative wooden strips that perfectly covered a plastic strip meant to hold and connect two panels.
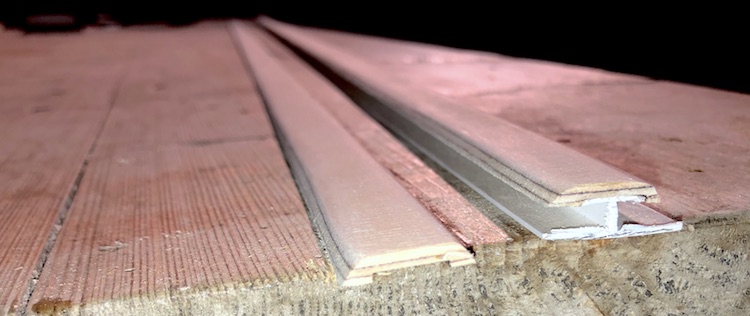
I screwed the plastic strip into the wooden scaffold in the walls,
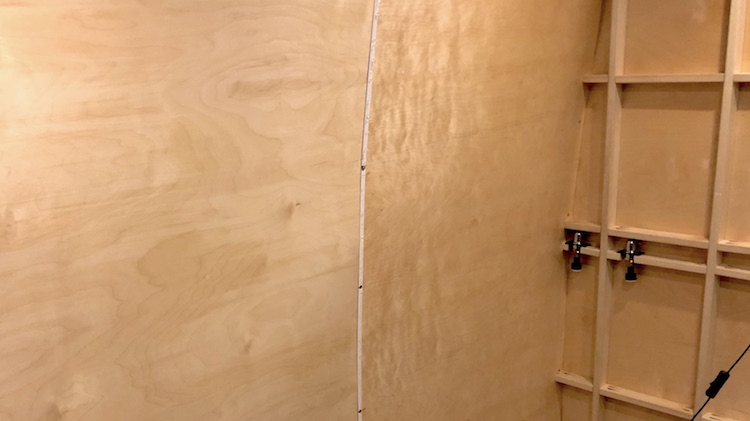
and covered the ugly white plastic with the wooden strip.
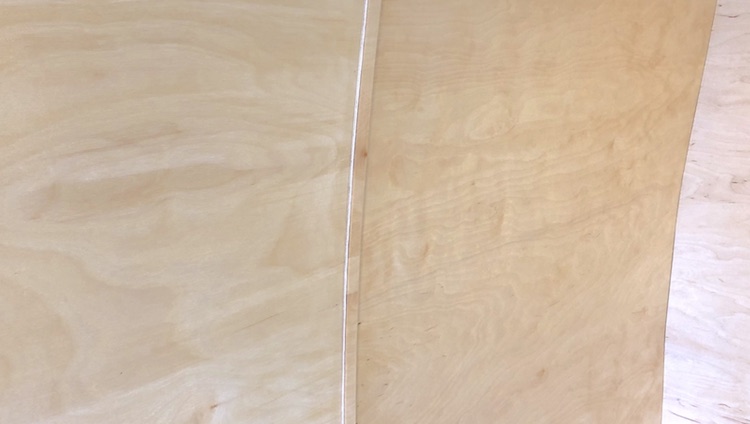
I liked the result much better than a visible joint and a bunch of screws preventing the two panels from curving.
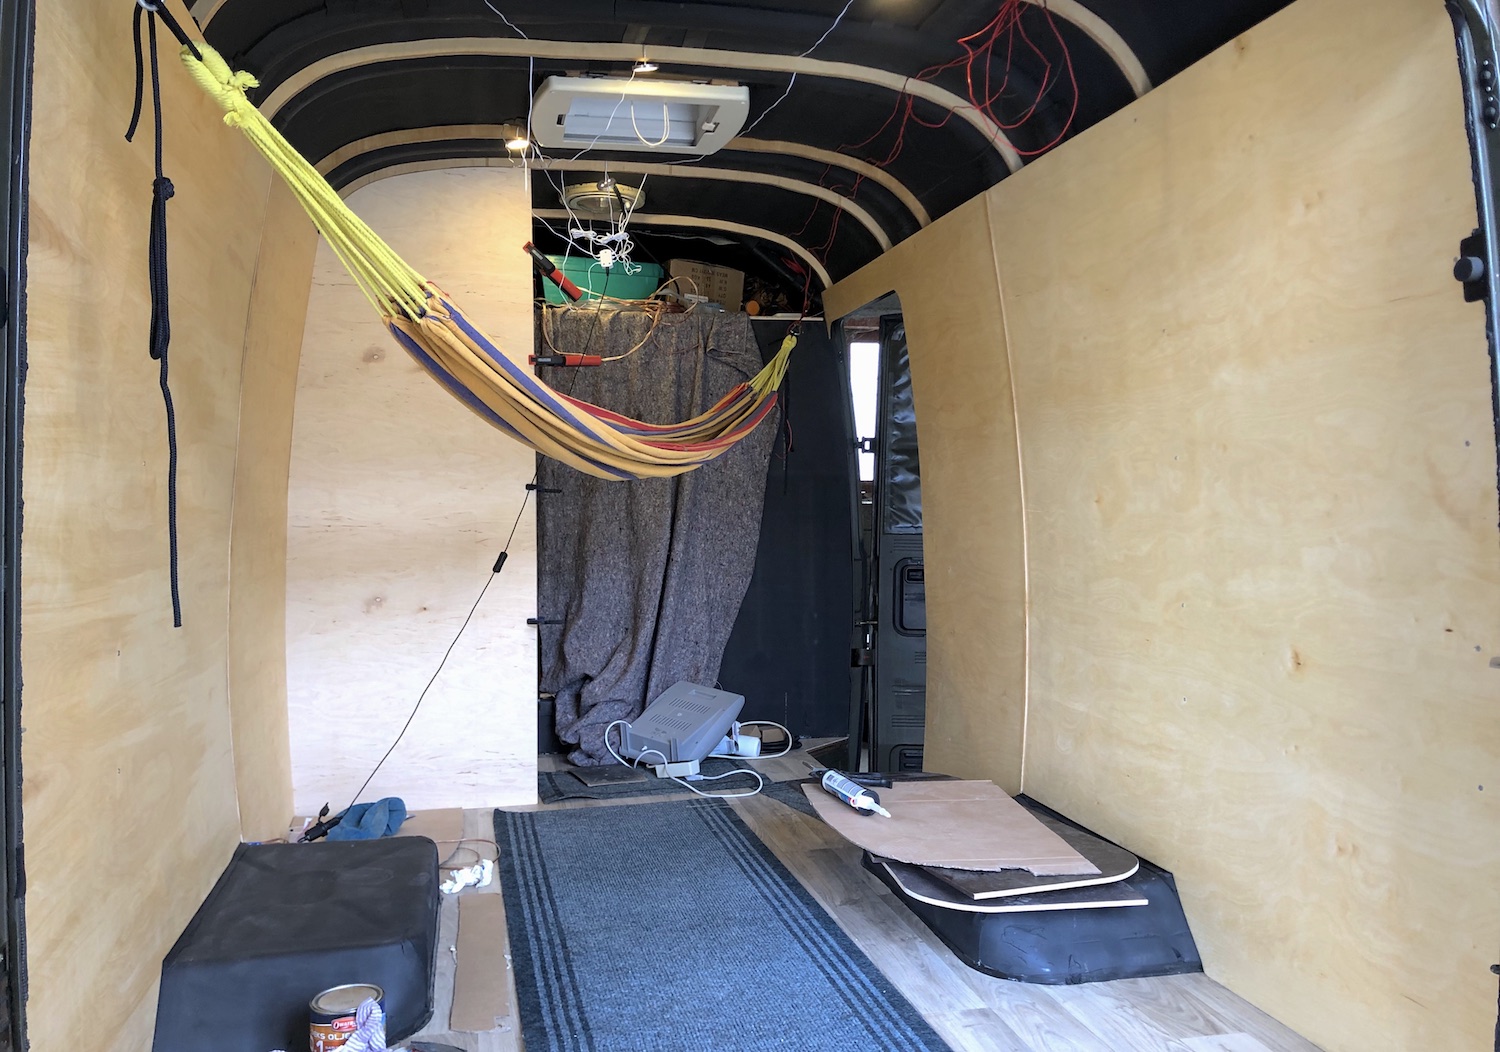
I’m happy with the outcome. I should be able to fit the panels for the ceiling, soon. ![]()