Insulating a camper van is essential to keep the temperature balanced on hot and cold days. A proper insulation is also important to prevent rust and mold in the van. Most of the rust that I removed during the summer wasn’t caused by rain water. The rust in the gutter and roof was a result of condensed water that accumulated inside the van.
Preparing the body
The original ambulance was partly insulated with glass wool that was glued on the body parts that were easy to access.
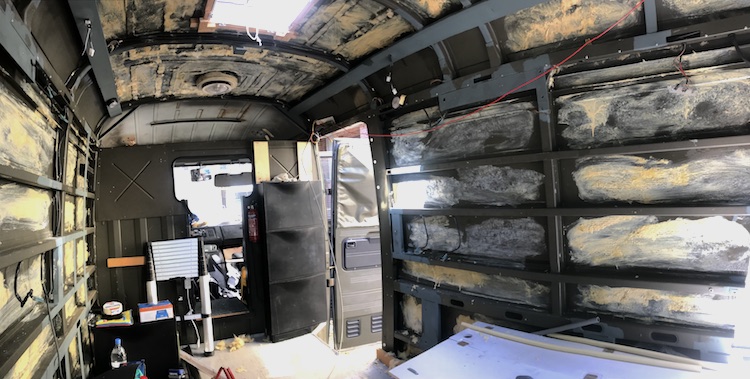
Equipped with a scraper, acetone and gasoline, I spent a couple of hot days in my chemical sauna removing all the nasty glass wool and glue.

I also got rid of all the heavy girders that had been welded into the van to hold the beds and other equipment of the former ambulance.
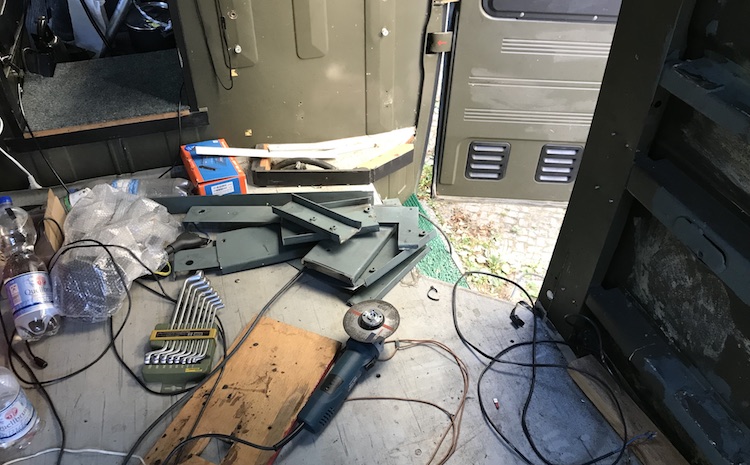
Applying the insulator
After removing some remaining rusty spots, refreshing the paint were the old paint didn’t look well anymore and cleaning everything with acetone, I applied 19mm self-adhesive insulator to the walls and the ceiling.
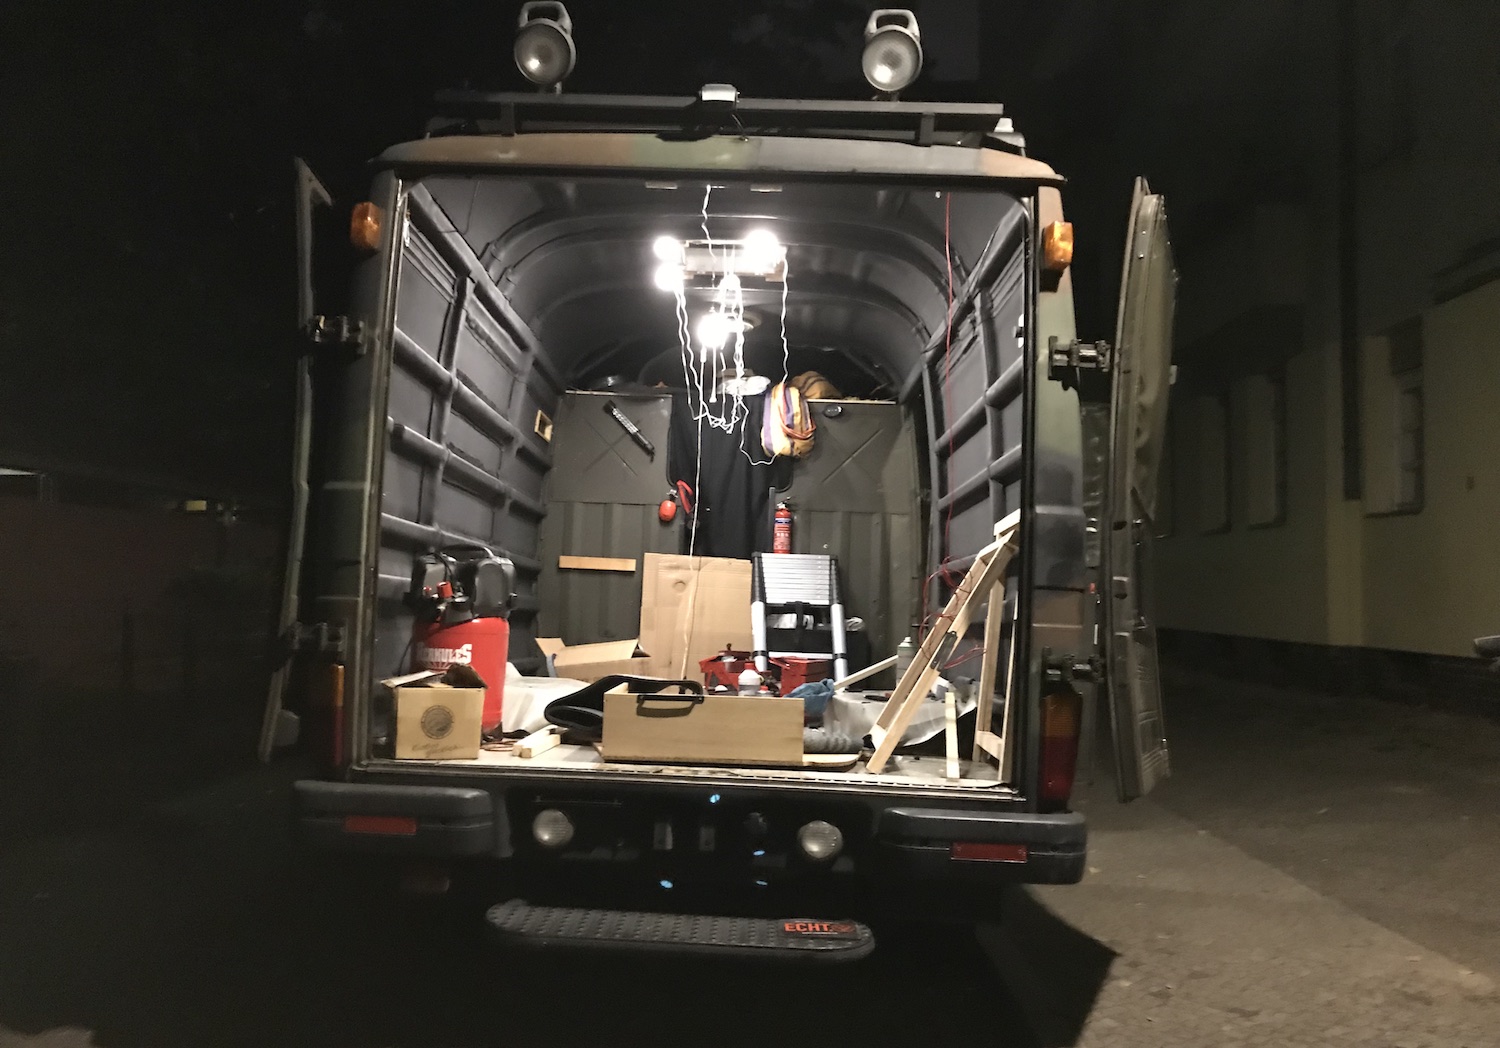
Applying the insulator in every nook and corner was quite elaborate and took me a few days.

Building the scaffold for the cladding
I’m planning to cover the walls and the ceiling with wood. I built a wooden scaffold to avoid thermal bridges between the body and the air inside the van when mounting the cladding.

Slightly squeezed into the insulated roof, the wooden arches offer a surface to install the ceiling without putting screws into the body.

Similarly, I mounted beams on the horizontal steel ribs that will allow me to mount the walls and furnitures without creating thermal bridges.

Finalizing the insulation
I decided to squeeze polystyrene into the remaining hollow areas between the slats and the horizontal steel ribs. The hard panels should further improve the insulation and prevent the self-adhesive mats from coming off.
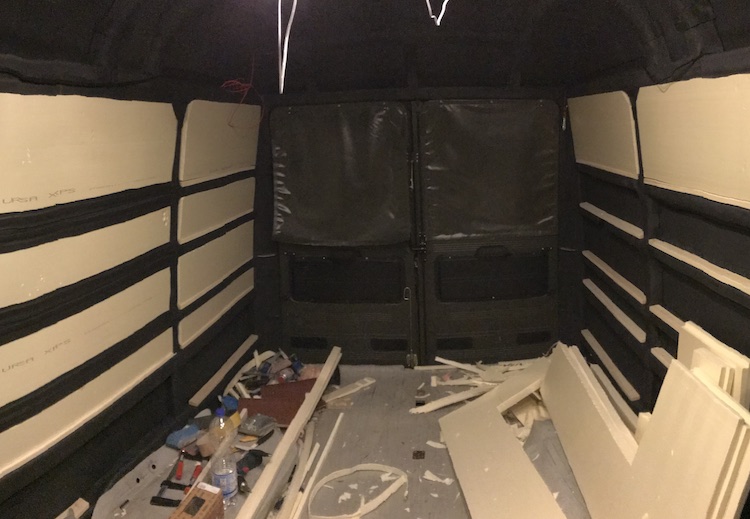
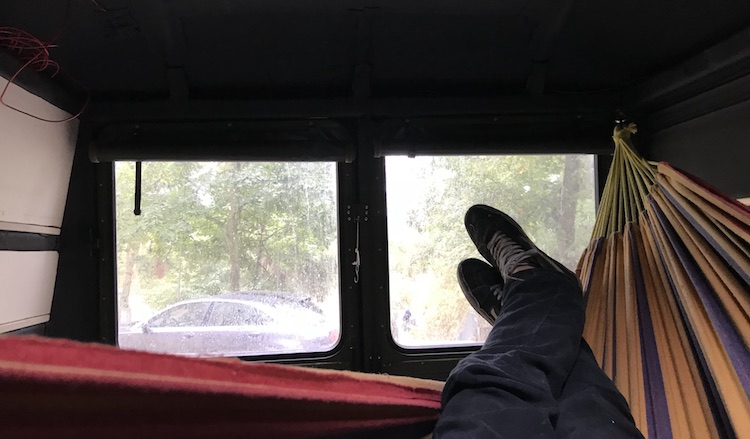
I’m almost done with insulating the van. I could definitely feel a difference while the cold and rainy weather came over Berlin to announce the autumn. ![]()
I can’t wait for the next milestone! ![]()