I mostly paused the work on my van during the trip through Italy and the Netherlands. There were still a few projects left on my list. While driving through Germany in the summer, I occasionally worked on some maintenance projects.
Reducing the noise of the Mercedes 508D
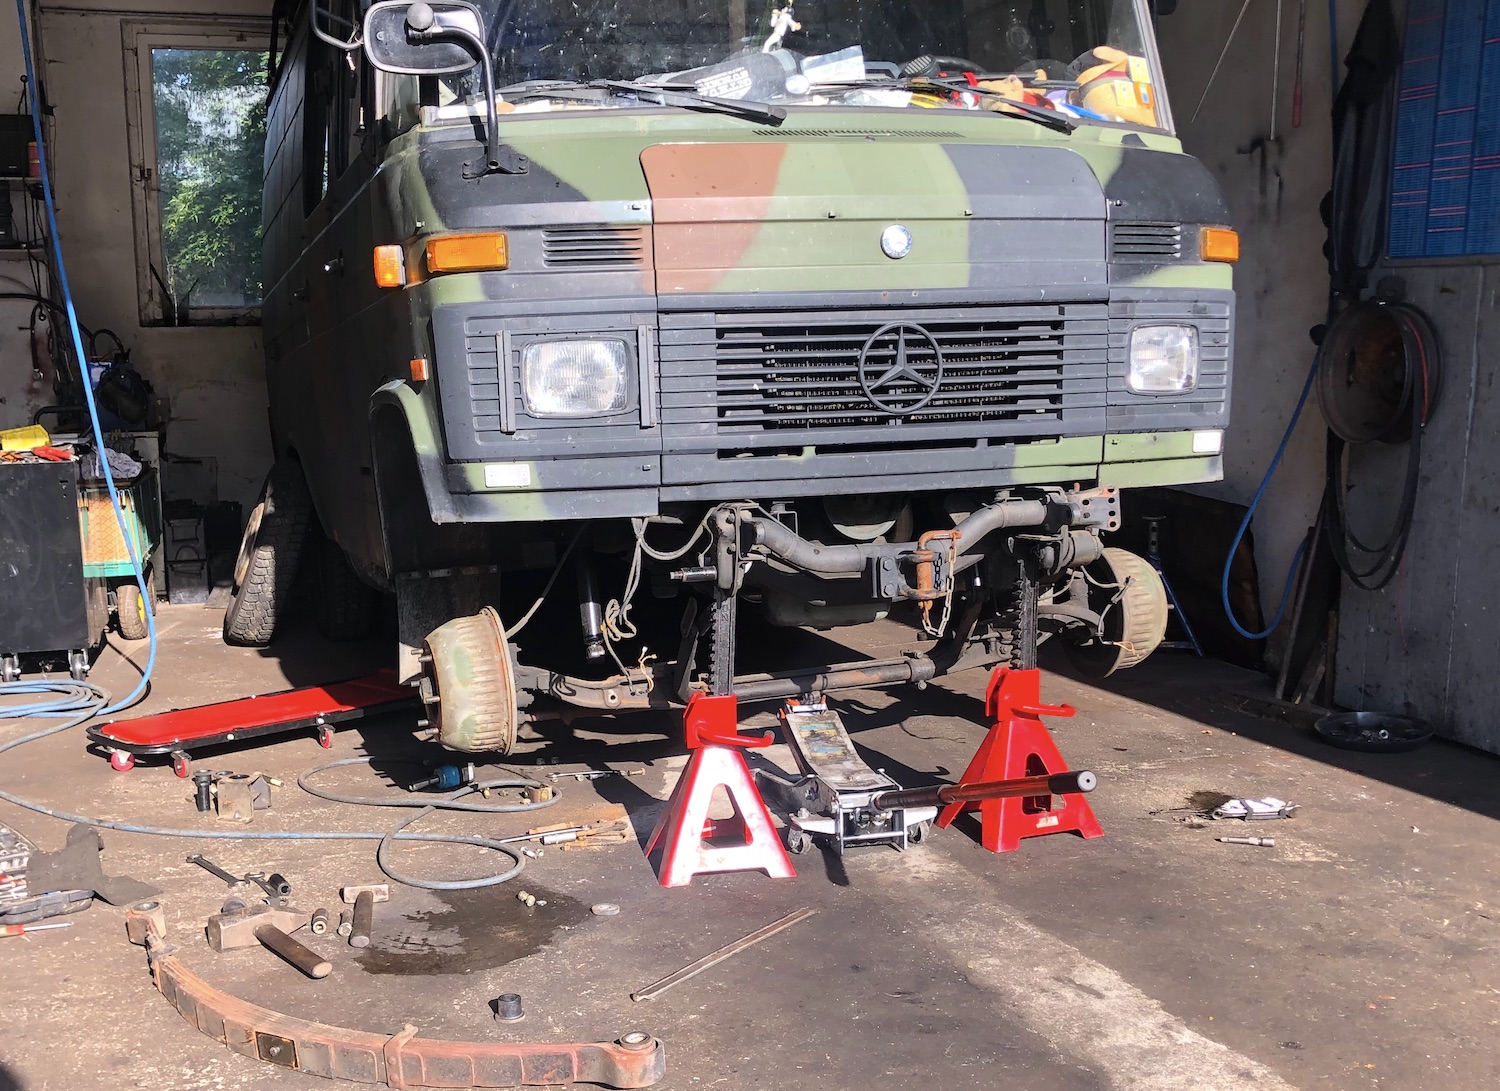
The Mercedes 508D is equipped with the OM314, an old, reliable but also really noisy engine. Driving the van for more than just a few hours was quite exhausting. As a first step towards reducing the noise, I replaced the engine mounts connecting the engine to the chassis.
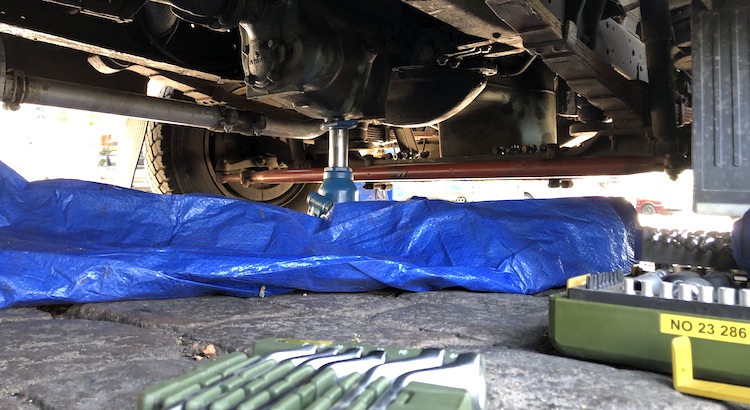
Next time, I’ll definitely look for a pit or a car lift to access the bolts more easily. It took a long time to remove the old engine mounts that were obviously worn out.
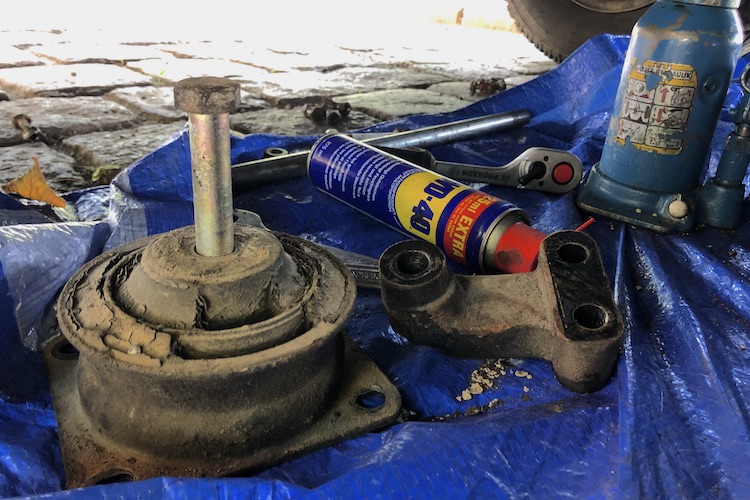
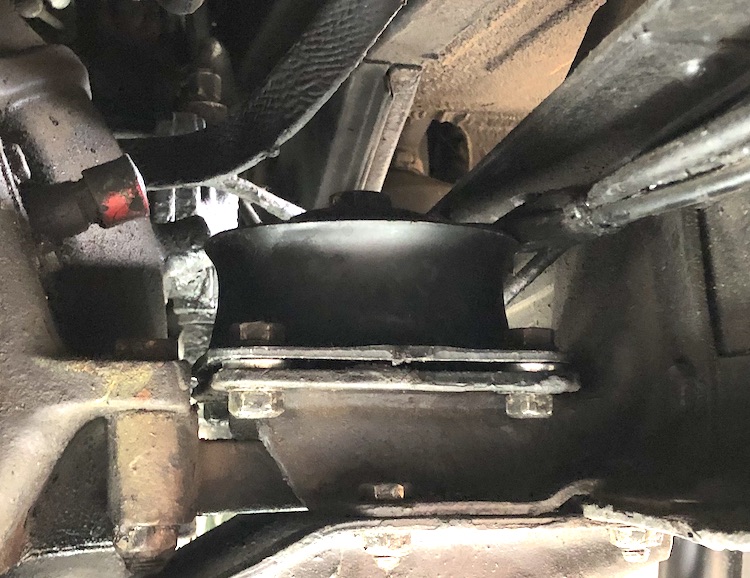
The new engine mounts looked much better and properly decoupled the engine from to the chassis.
Replacing the engine mounts definitely reduced the noise, but the engine was still loud. As a second step, I replaced the old seals of the front doors which should help to decouple the doors from the frame and avoid the noise entering the cabin.
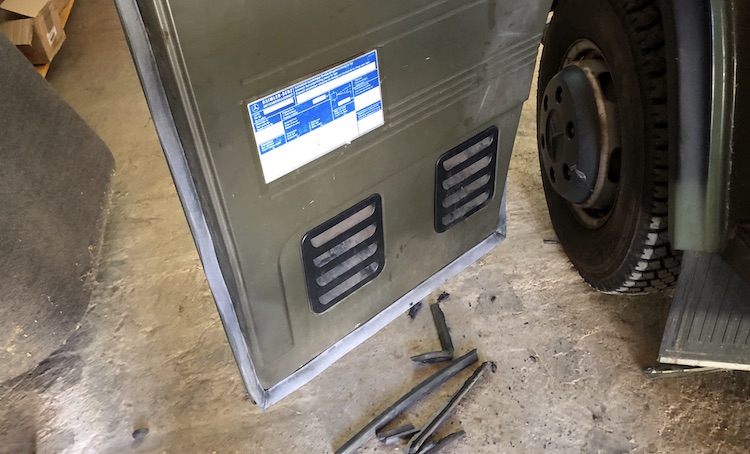
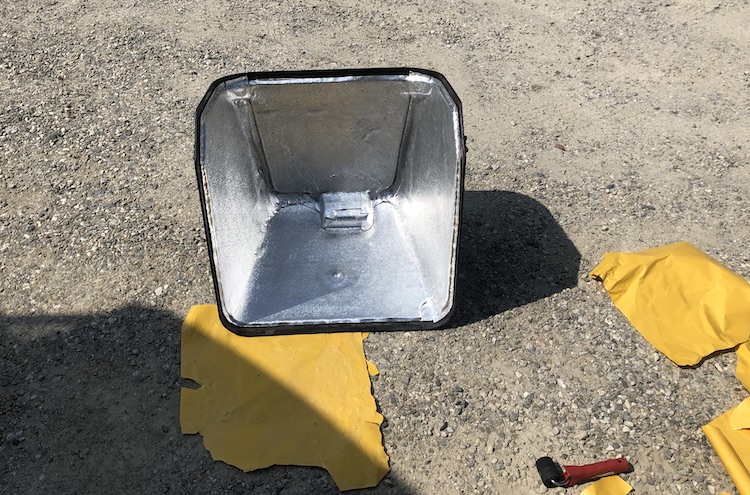
Next, I applied a heat and noise protector inside the engine cover.
Altogether, I was able to reduce the noise of the engine. I’m happy with the result. However, you still can’t compare the noise level of my van with a modern car. I might take further action in future to reduce the noise even more.
Renewing the suspension
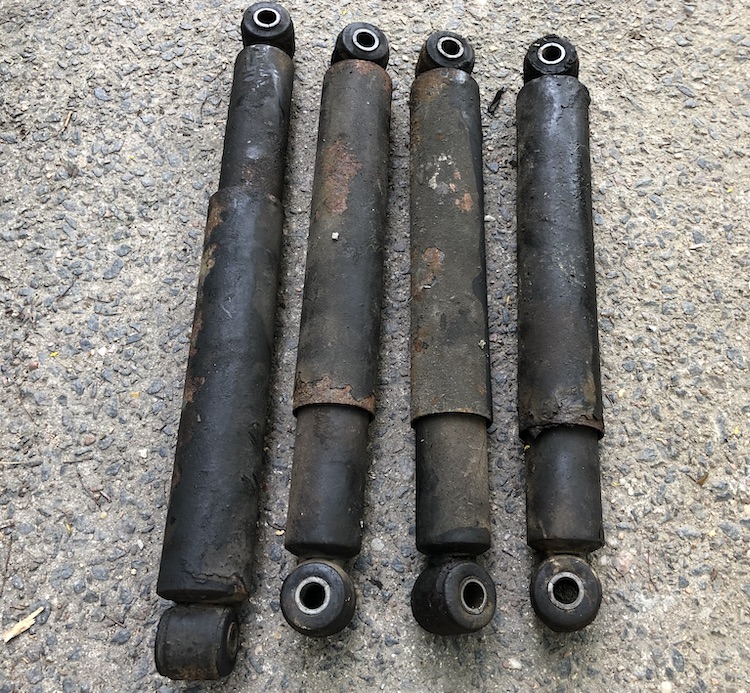
The original shock absorbers were worn out after doing their service for more than 30 years.
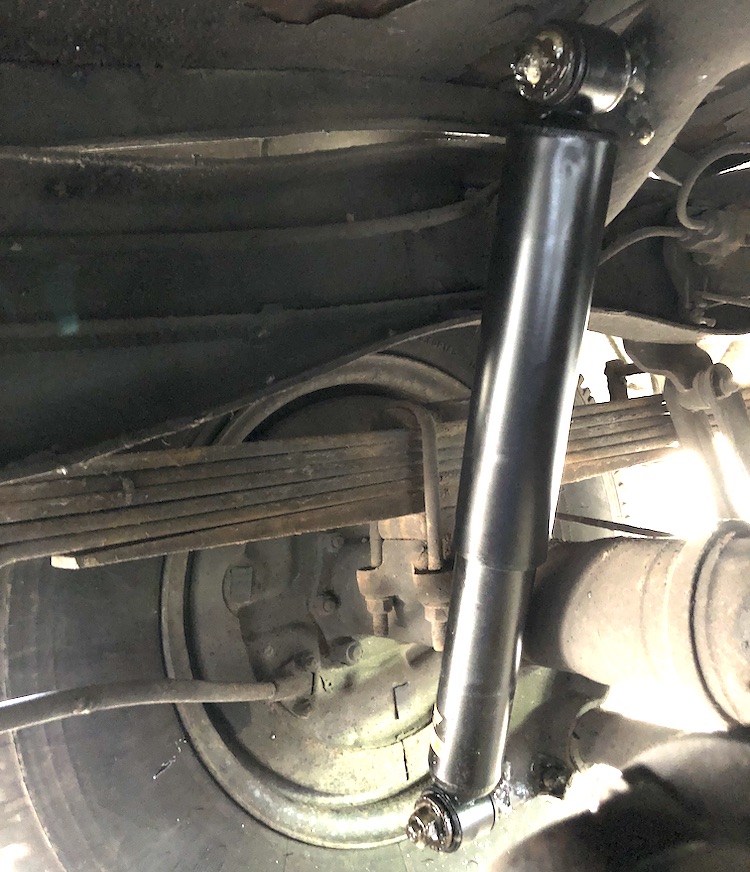
The handling of the van improved noticeably after replacing the old shock absorbers.
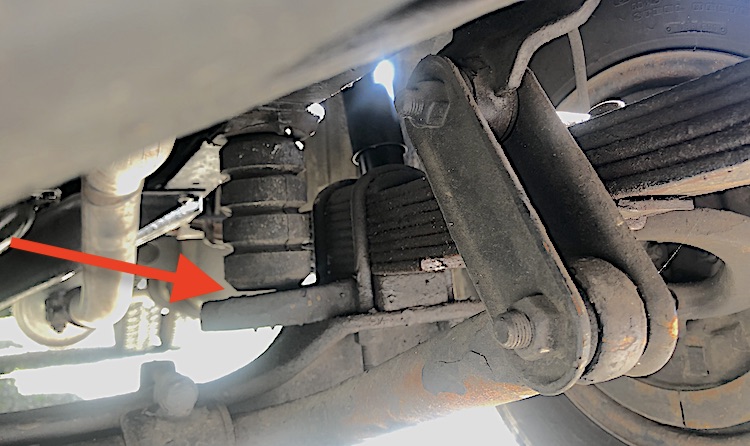
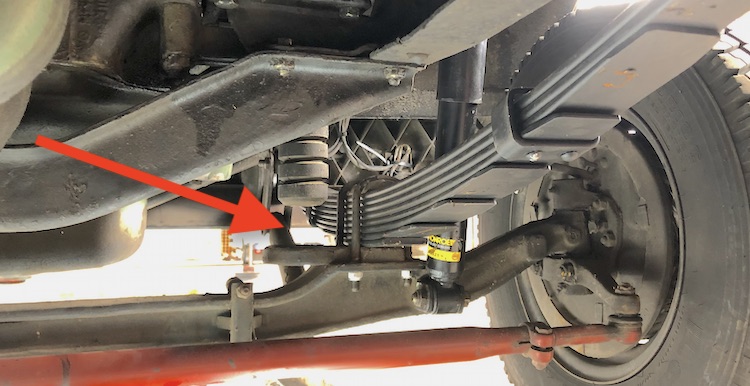
While replacing the shock absorbers in the front, I realized that there wasn’t much clearance left between the chassis and the axle:
The leaf springs were also worn out after carrying the heavy engine for more than 30 years. It was about time to replace them.
The new leaf springs increased the clearance by several centimeters. ![]()
Servicing the engine
While regularly changing the oil and the filter, the official workshop manual also suggests to check and adjust the valve clearances to make sure the engine runs smoothly. I was very excited when opening the engine cover for the first time.
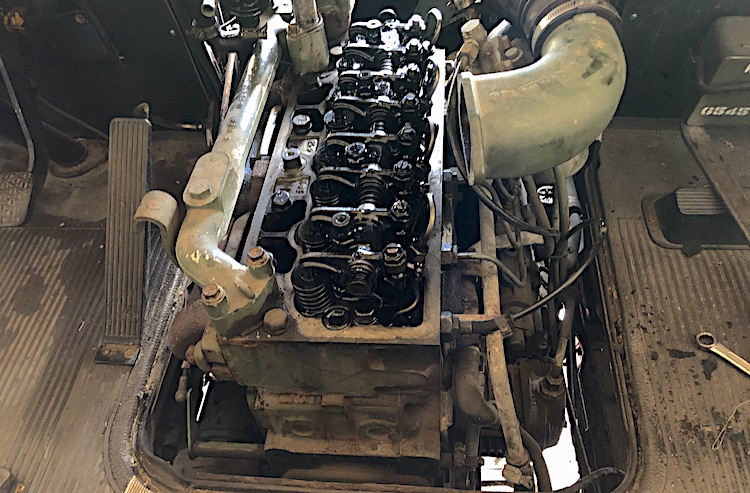
Fortunately, all valves were still properly configured and no adjustment was required. ![]()
Renewing the wheel houses
While changing the break fluid and venting the brakes in the back, I found some cracks in the undercoating that was applied to the wheel houses long time ago. I suspected rust behind these cracks and removed the undercoating from both wheel houses.
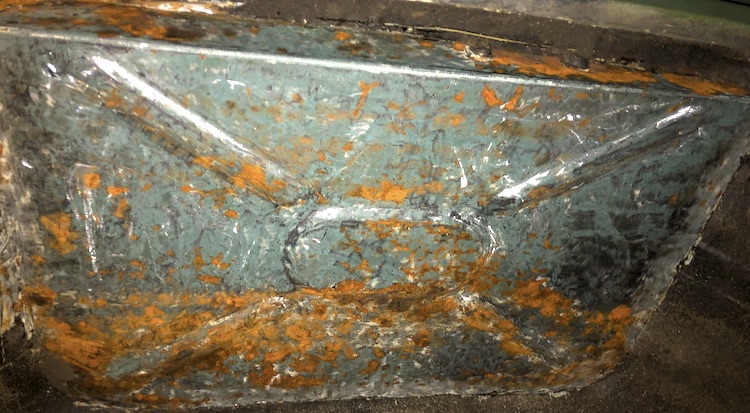
Luckily, I mostly found initial rust, that I was able to remove easily before the metal would have corroded completely. After removing the rust, I applied multiple layers of chassis paint: Two layers of prime coat,
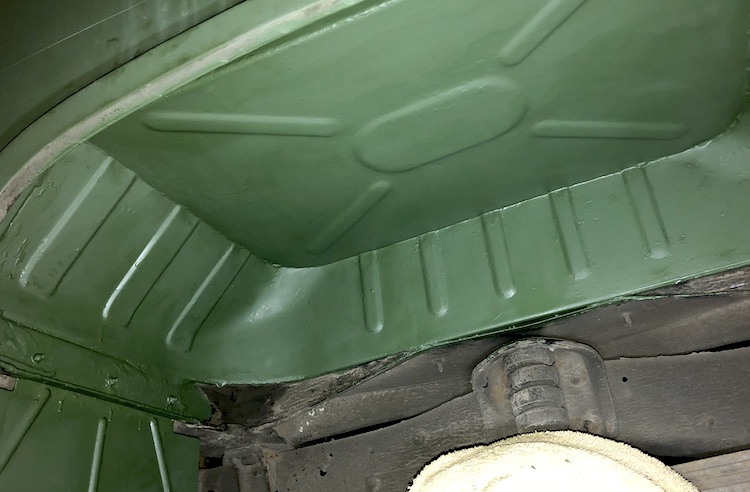
followed by a layer of green varnish,
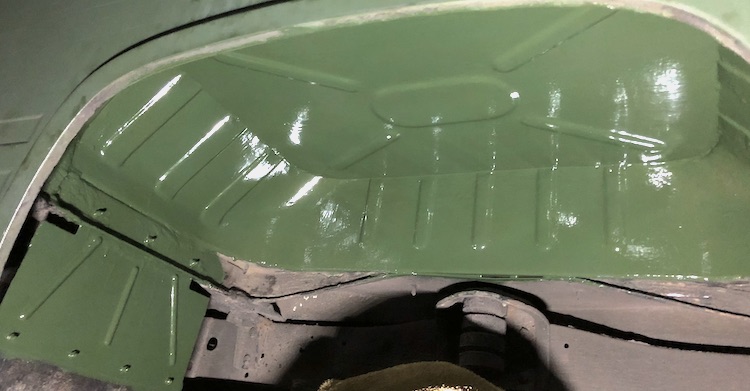
followed by a layer of black varnish,
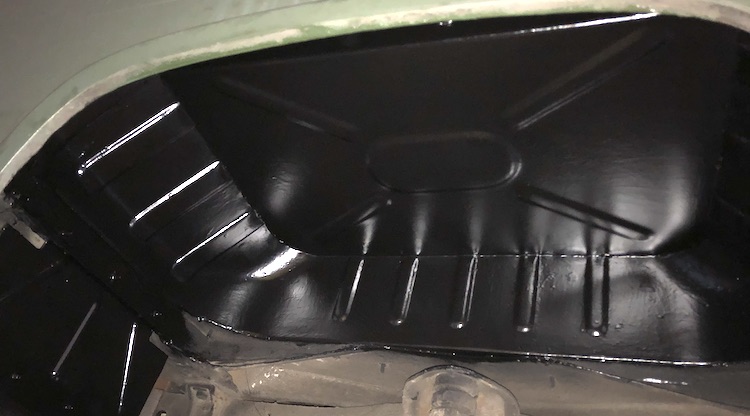
and finally covered by a golden, semi-transparent wax that additionally protects the varnish from stones and water.
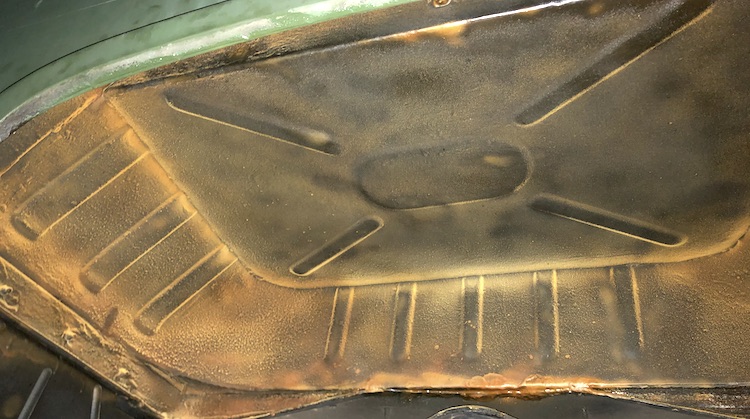
I hope the wheel houses will stay rustless for the next couple of years. ![]()