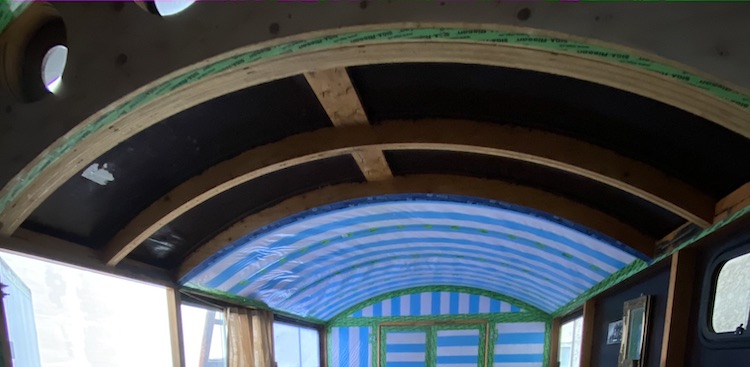
When the temperatures dropped, I shifted my focus on the interior of the truck. The cabin was decently insulated: 6cm of polystyrene covered by a vapor barrier that was meant to prevent warm and damp air from the inside to reach the cold outer panels. Inexplicably, more than a third of the lower roof in the back wasn’t insulated at all.
I also spotted a bunch of holes in the vapor barrier caused by screws that had been drilled through the wall cladding.
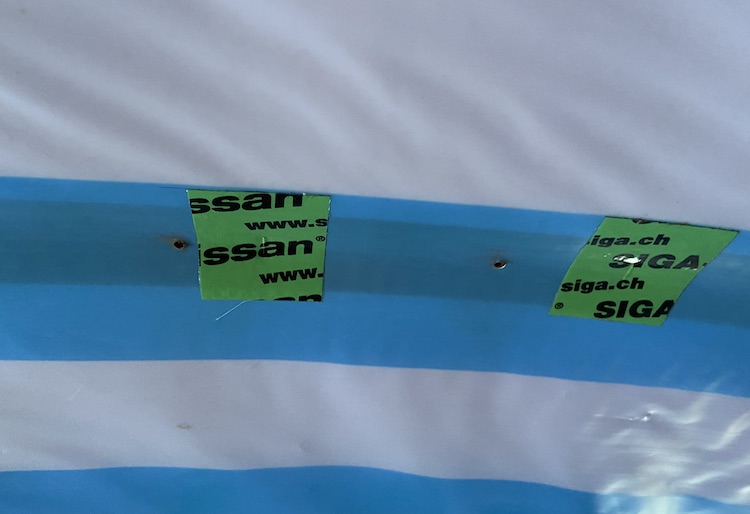
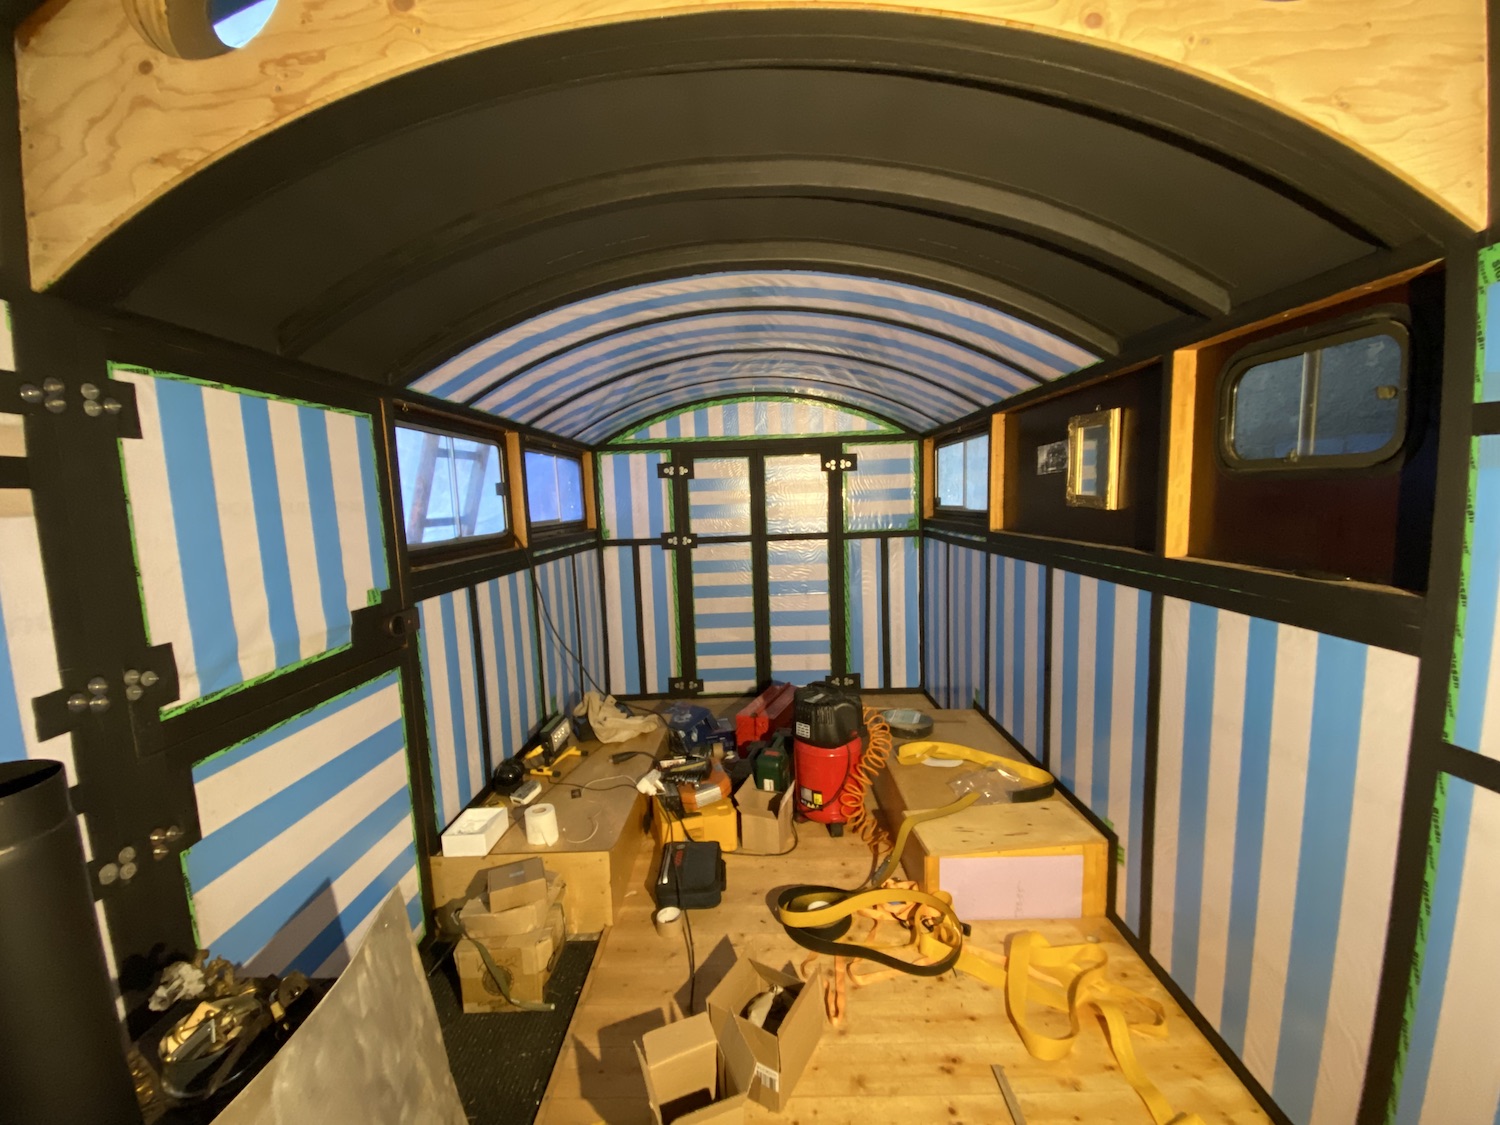
These holes seemed unfortunate as humid air could easily flow behind the vapor barrier. I fixed all holes with insulation tape and additionally attached it in front of the beams that I’d use to mount the furniture later on.
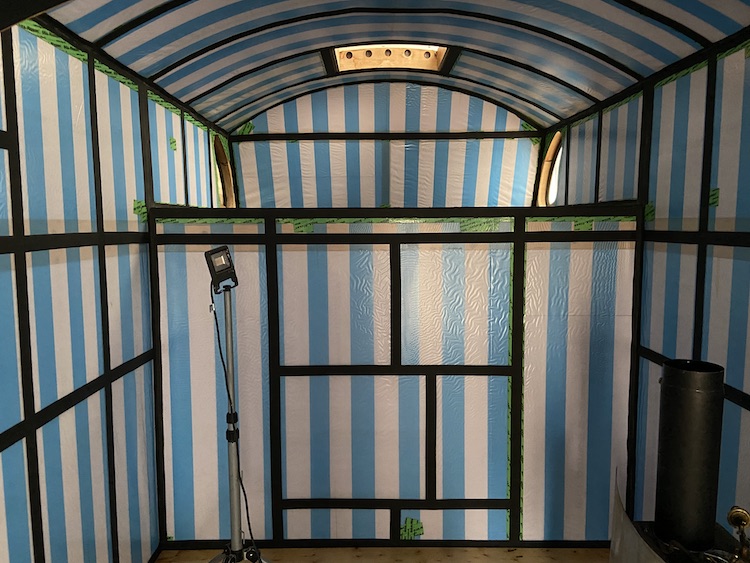
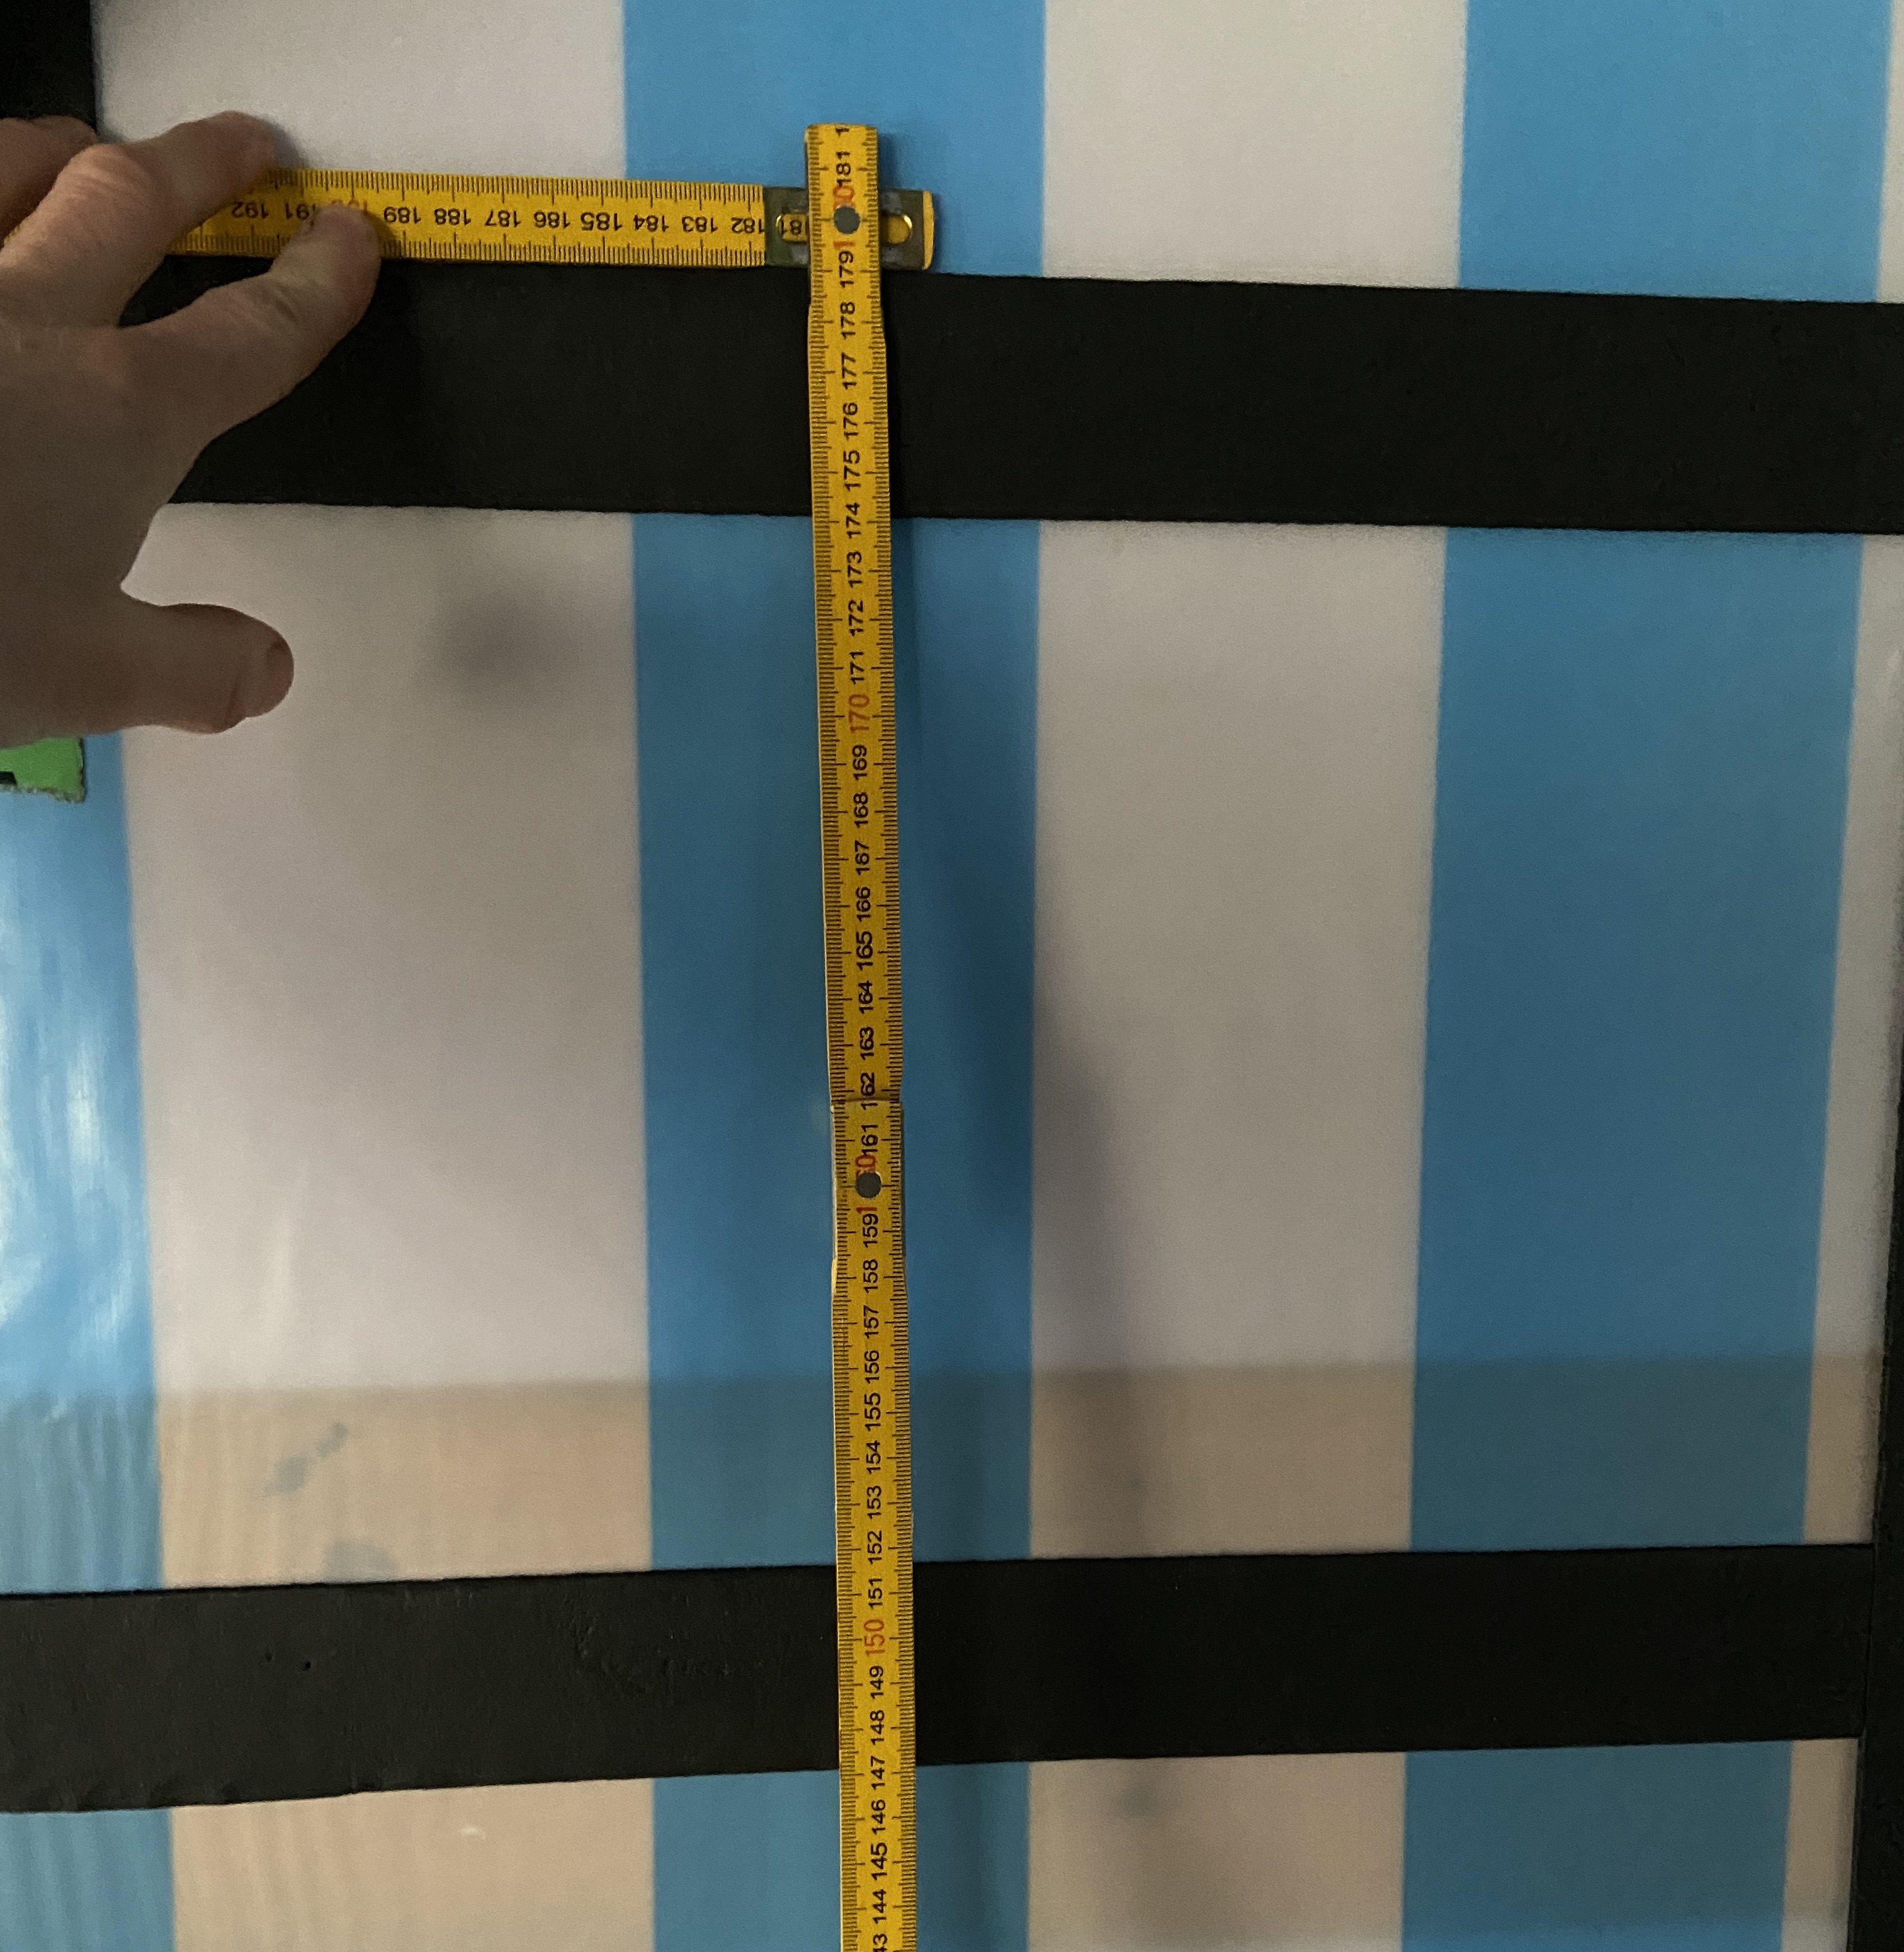
Before applying the wall cladding, I took several pictures of the position of the beams and the insulation tape to avoid drilling screws into the unprotected vapor barrier in the future.
I also applied a thick layer of insulation material on the part of the roof that hadn’t been insulated.
I was quite happy with the result. When heating up the cabin the temperature lasted for several hours before noticeably dropping.