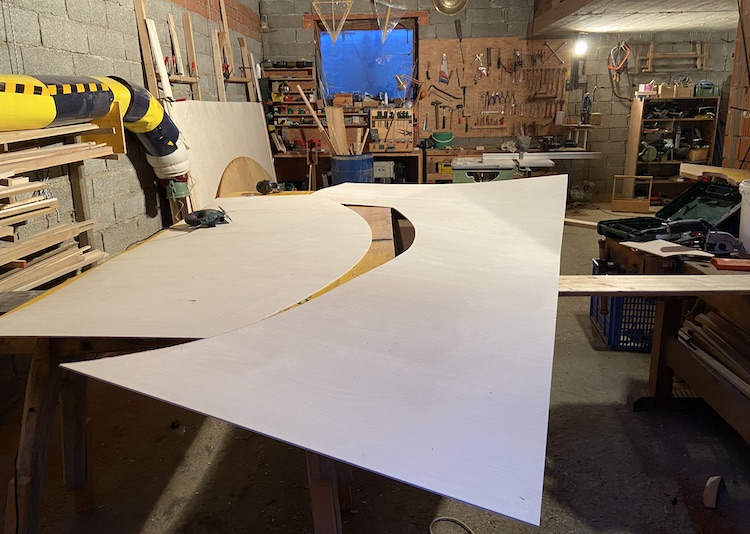
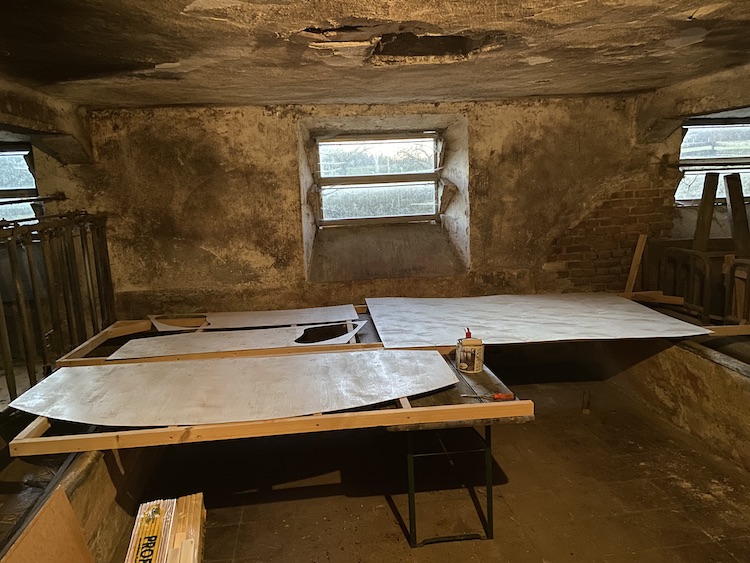
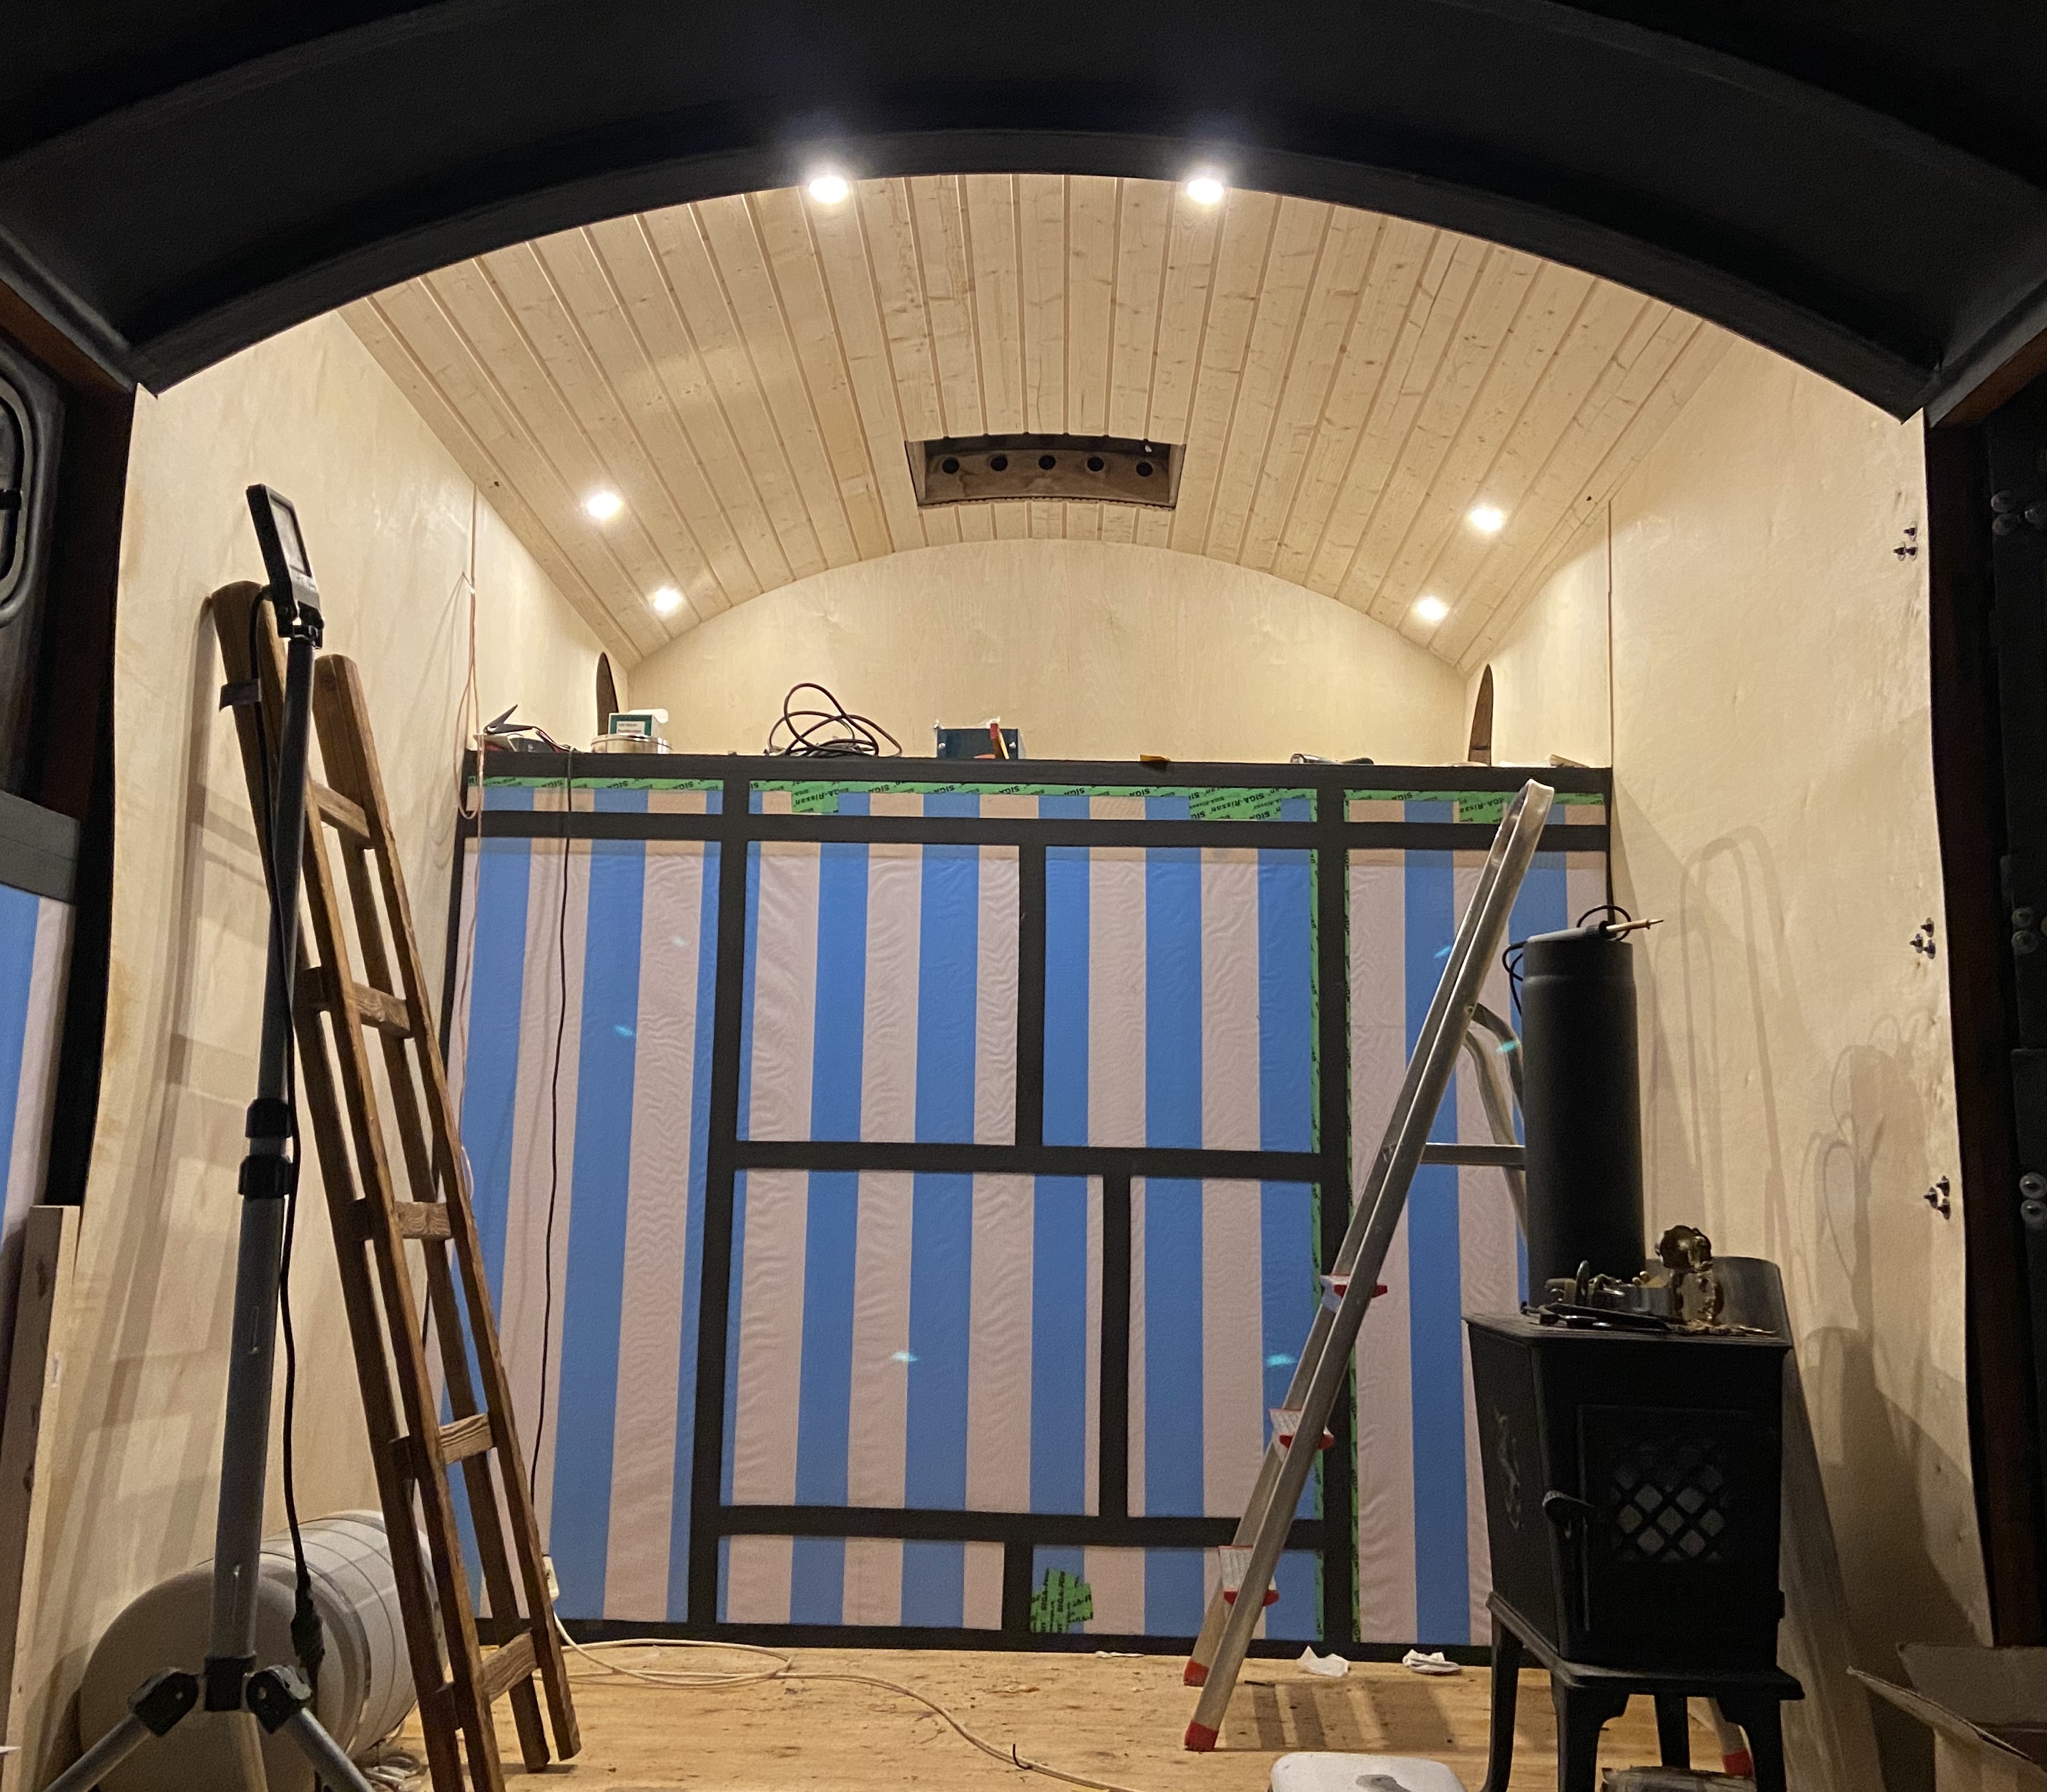
After renovating the insulation, I started cutting the wall panels out of 4mm birch plywood.
It took quite a while until the oil and wax dried in the cold stable.
While the oil was drying, I built decorative strips out of wood to cover the gaps between the wall panels.
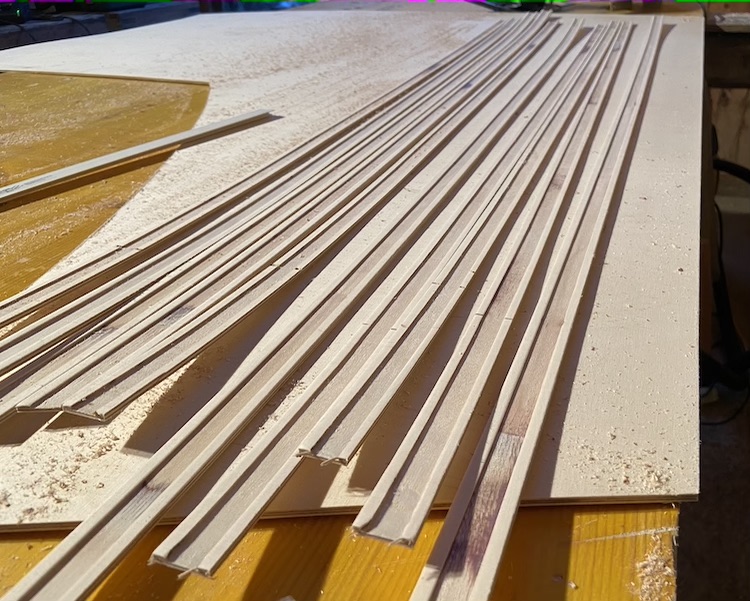
I glued the strips on guide rails that would properly hold the wall panels together.
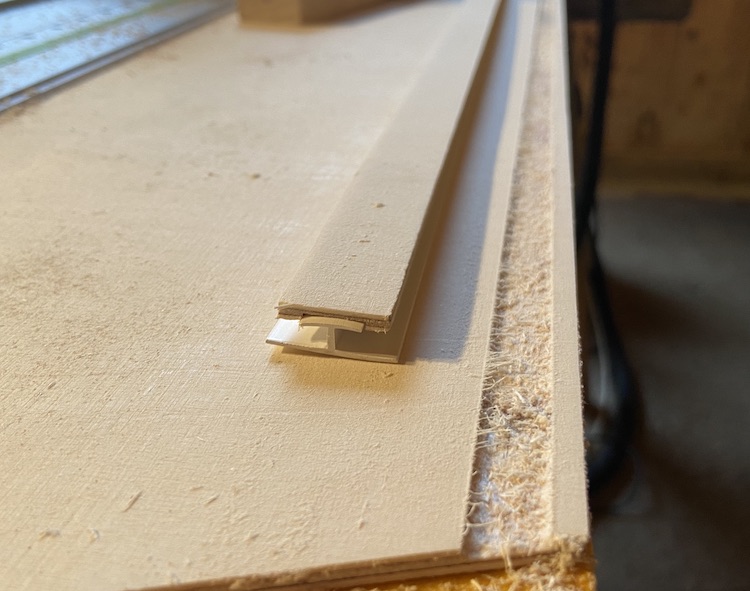
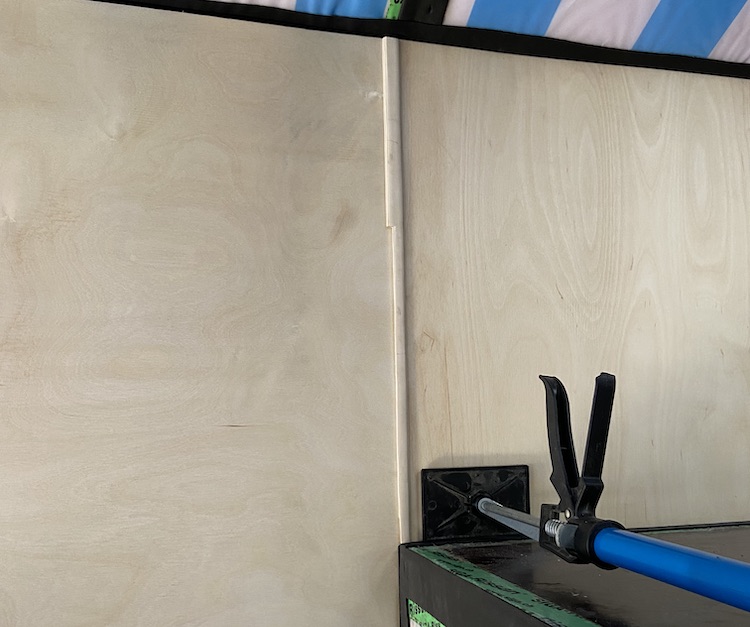
After sanding and shaping the edges,
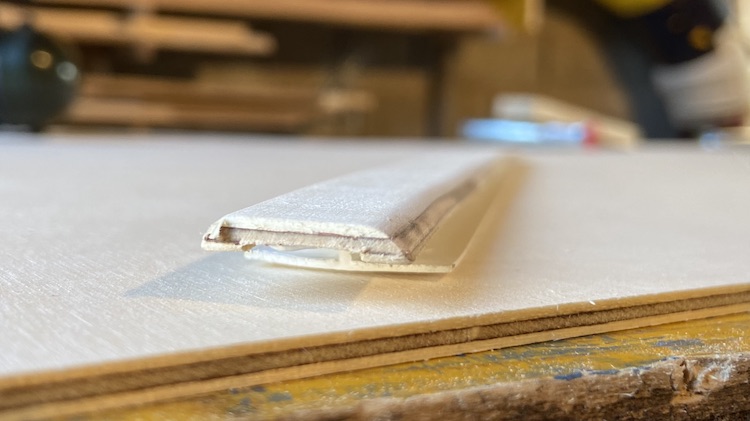
I applied them to merge the panels without using any screws.
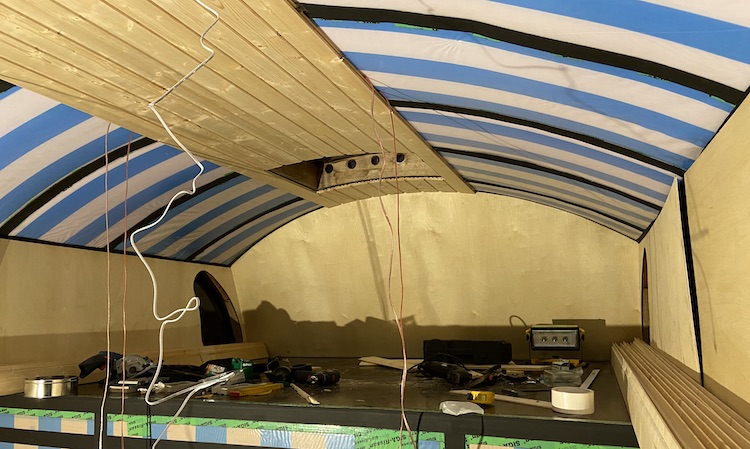
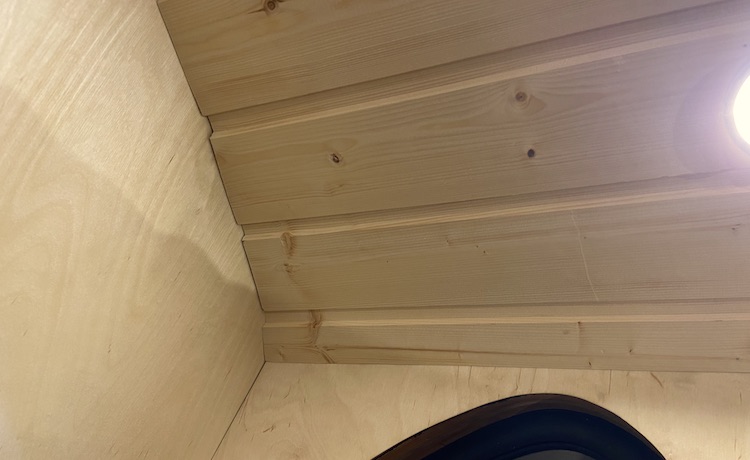
Fitting the wooden ceiling
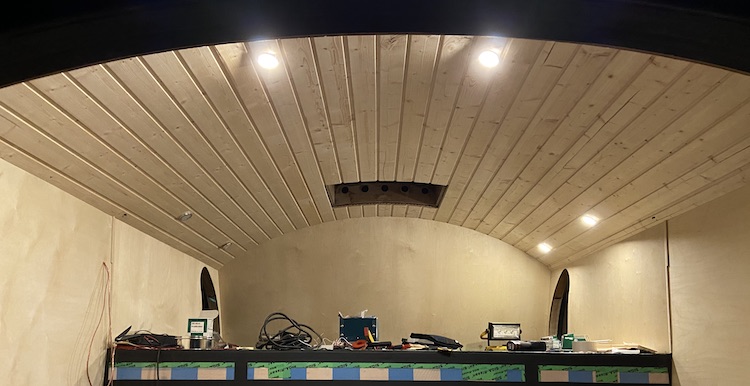
After fitting the wall panels, I started installing the wooden ceiling. I used the same wood that I used in my van as I liked the look.
I installed six LED spotlights into the ceiling of the higher part of the cabin. Two above the area where I planned to build a wardrobe and the shower cabin.

And two on each side of the bed that would allow to read a book at night. Depending on how the truck would be leveled, I wanted to be able to have over-head lights on both sides of the bed that could optionally be switched on: either on the left side,
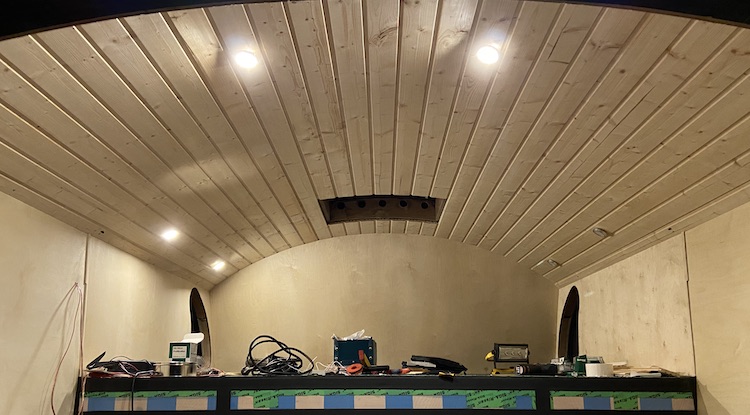
the right side,
or all at the same time.
I still had tiny switches lying around that I wanted to re-use to control the over-head lights above the bed.
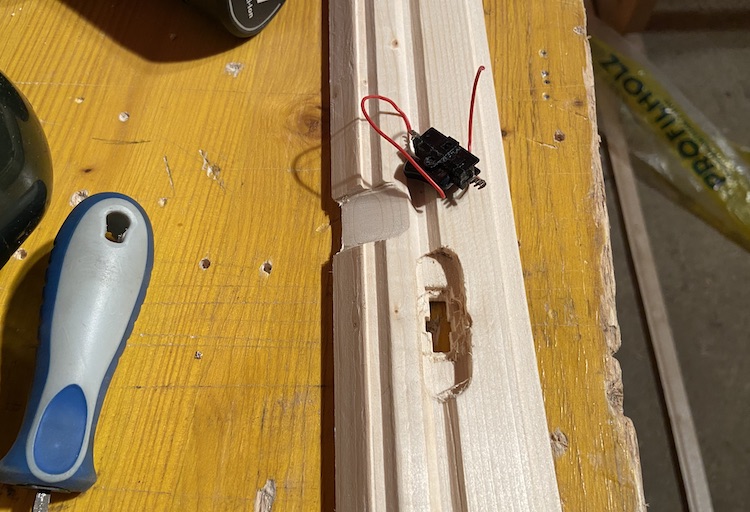
Embedded into the slats of the wooden ceiling on both sides, the switches seemed quite subtle and allowed to comfortably switch the lights on and off.
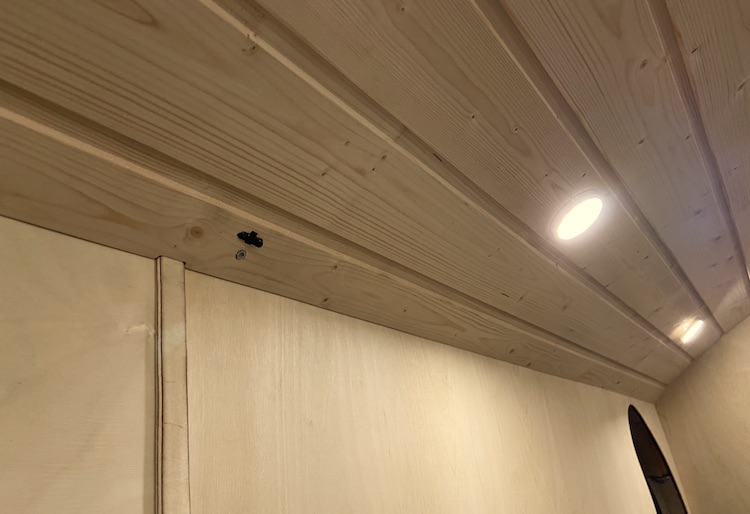
The wooden slats of the ceiling pressed the wall panels against the wall, so there was no need to drill screws into the wall. By precisely cutting the wood, I was able to avoid major gaps in the corners and managed to mount the entire cladding with much less screws than before.
After building the slatted bed base, the sleeping area felt much more comfortable than it used to be when I started the project.
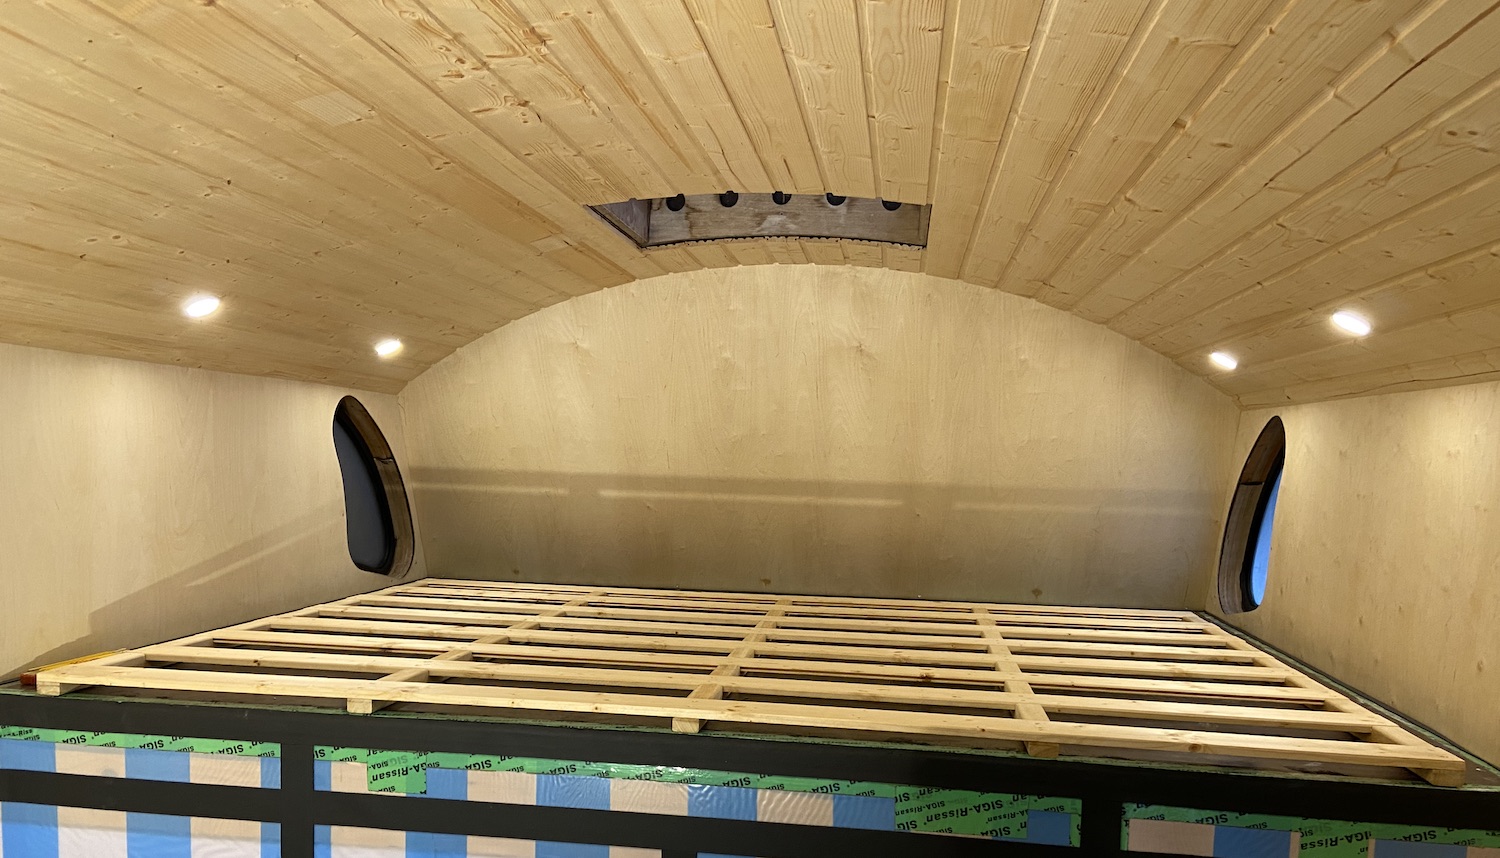
I was really happy with the result and looking forward to spend the first night in my new wooden bedroom.