Before fixing the broken roof, I wanted to further identify the root cause of the damage. Removing the rotten side panel revealed all the damage the rainwater had caused over the years.
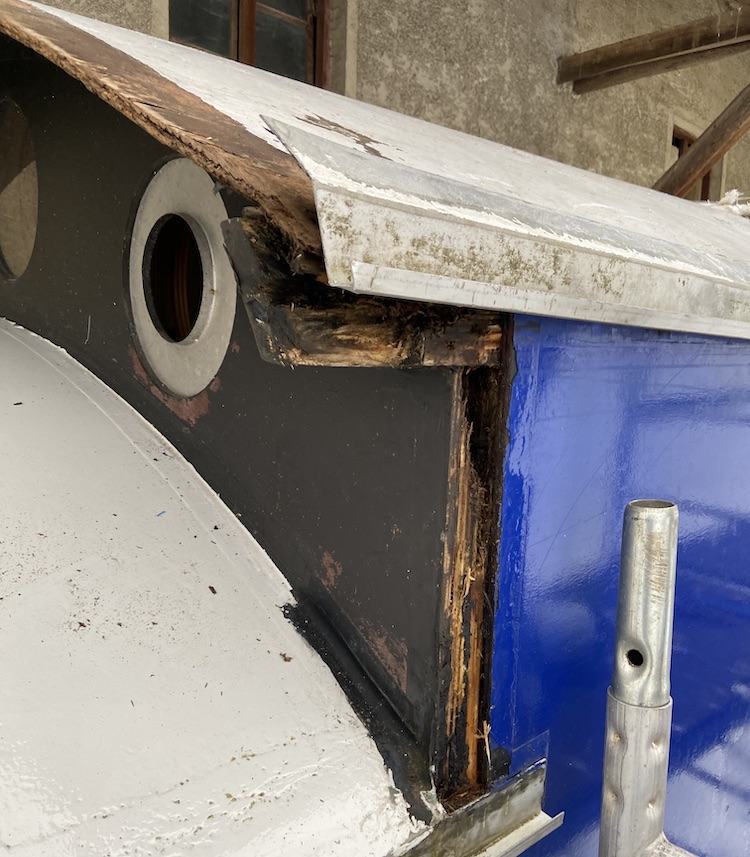
Most of the rain collected by the roof had probably flown along the edge of that side wall. The edge had been sealed with an adhesive that the wood didn’t properly absorb, so the water had seeped into the wood behind the adhesive.
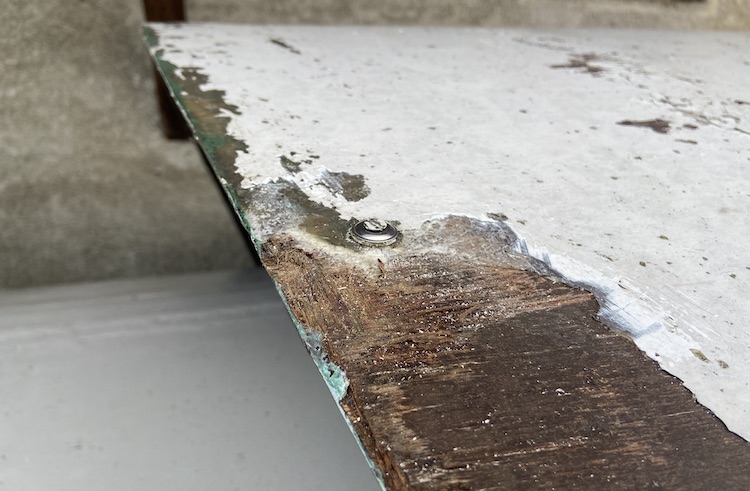
The wooden roof was also slightly rotten as water had seeped under the paint into the wood. The screw holding the chimney seemed like the one of the entry points for the water.
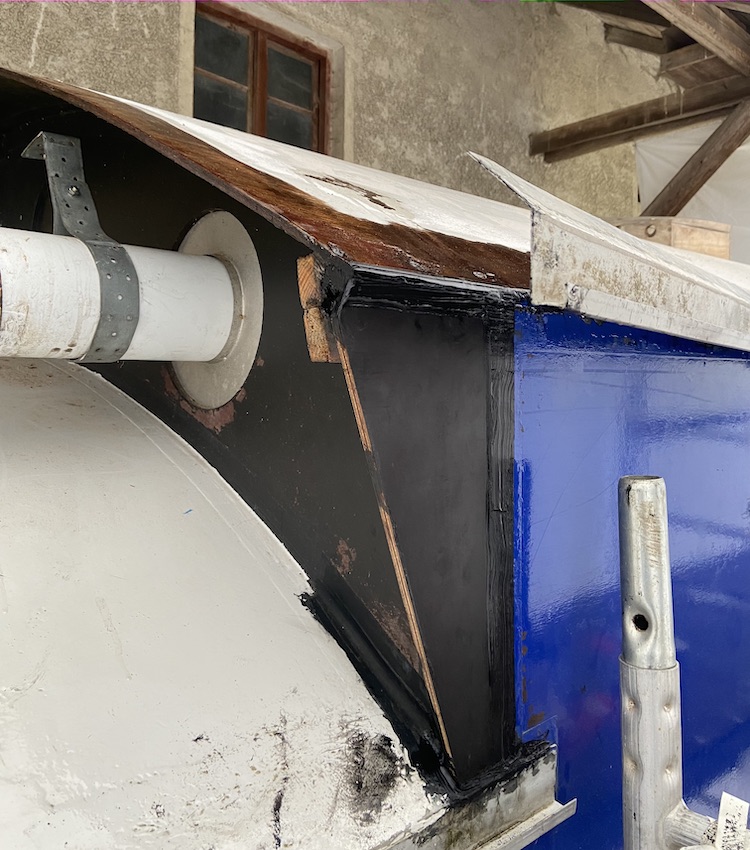
After removing all the rotten wood, I filled and soaked up the remaining wood of the backbone with epoxy resin and attached a new side panel. I also sealed up the edges of the new panel which nicely soaked up the epoxy.
Renovating the entire roof
Initially, I only wanted to fix the side panel and the are of the roof that was affected by the damaged caused by the screw. I struggled deciding where to start and where to stop, so I ended up sanding the entire roof.
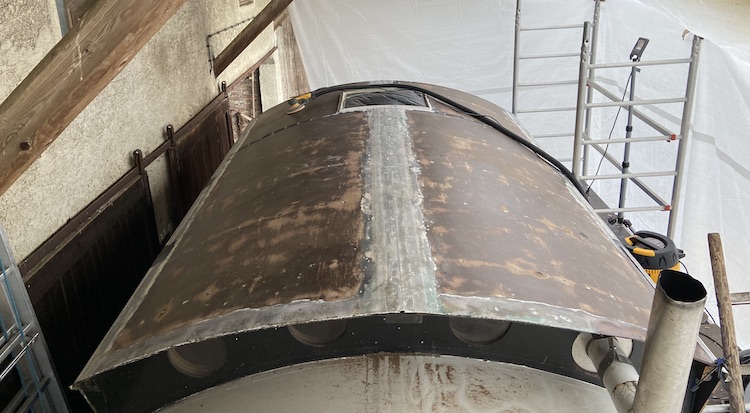
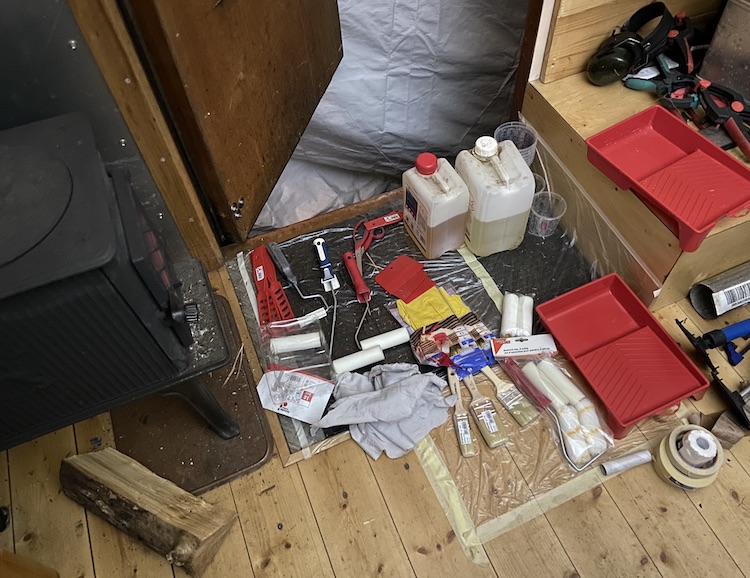
After laminating the shower in my Mercedes 508 I still had a lot of epoxy resin and fiberglas left, so I decided to use the leftovers to laminate the entire roof.
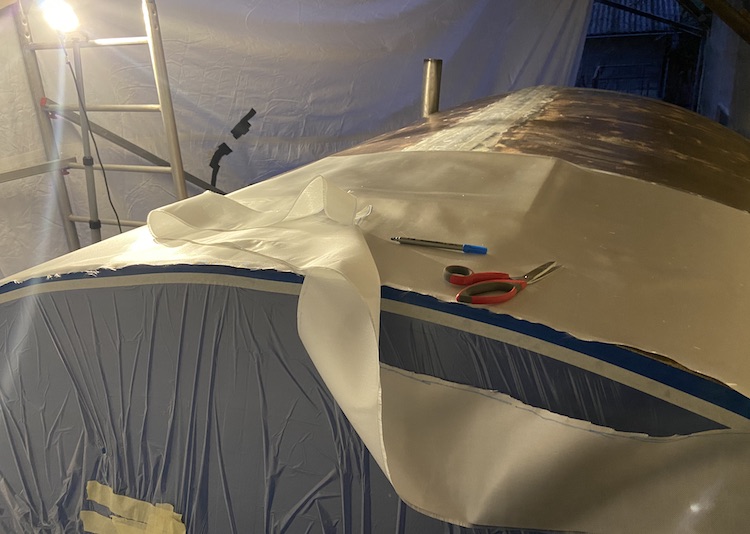
After cutting the fiberglas to size, I fired up the wood stove to warm up the roof and the epoxy resin.
The weather conditions weren’t ideal. While I was working on the roof in my gigantic “garage tent”, winter had arrived.
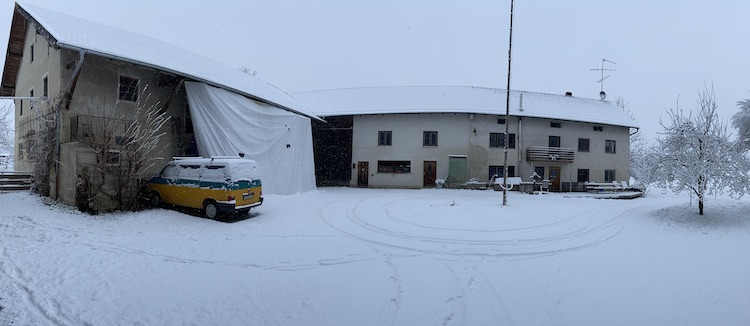
The resin wasn’t easy to process with the low temperatures. It became hardened much slower. On top of the tough weather conditions, I also had to remove the truck and the tent from the barn because they blocked the entry for a tractor delivering firewood for the winter.
It regularly rained and snowed. The epoxy was still in the process of hardening. I wanted to avoid the resin getting in contact with water, so I built a little scaffold on top of the roof that I mounted into the rain gutter.
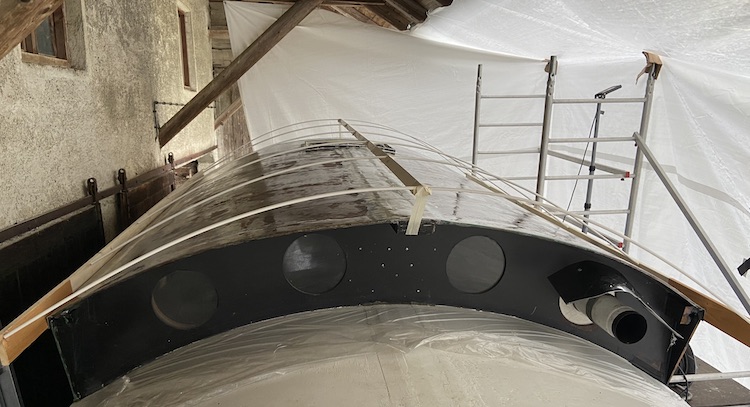
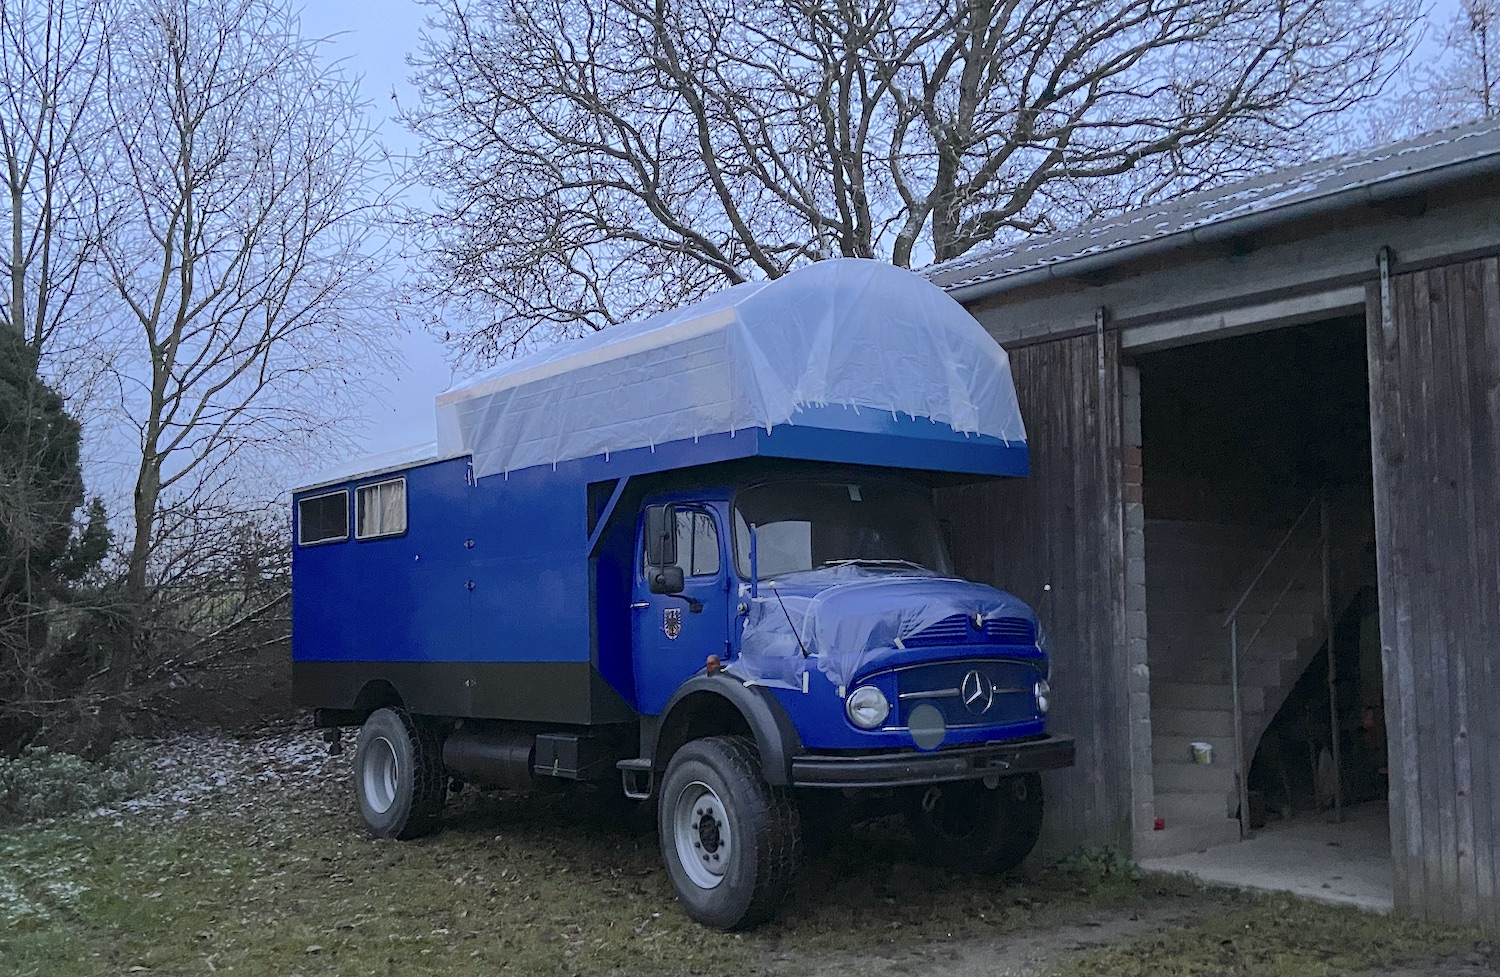
The scaffold was strong enough to hold a plastic cover without touching the epoxy under neath.
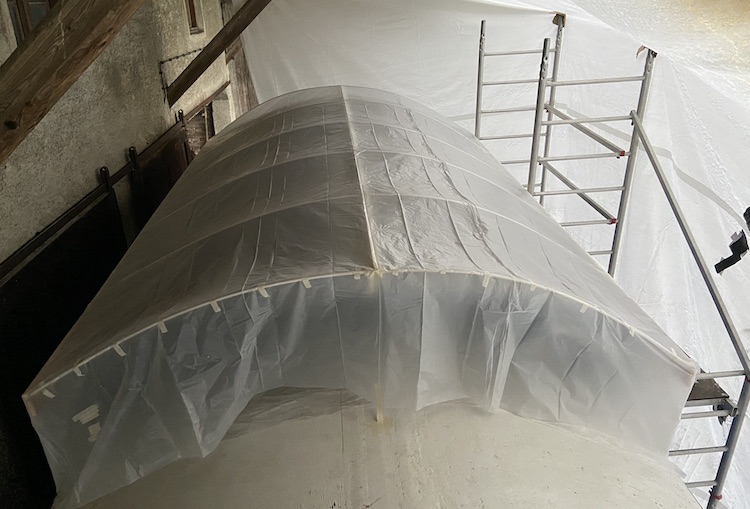
Protected by the provisional second roof, the truck could be moved off the barn while the epoxy didn’t get wet.
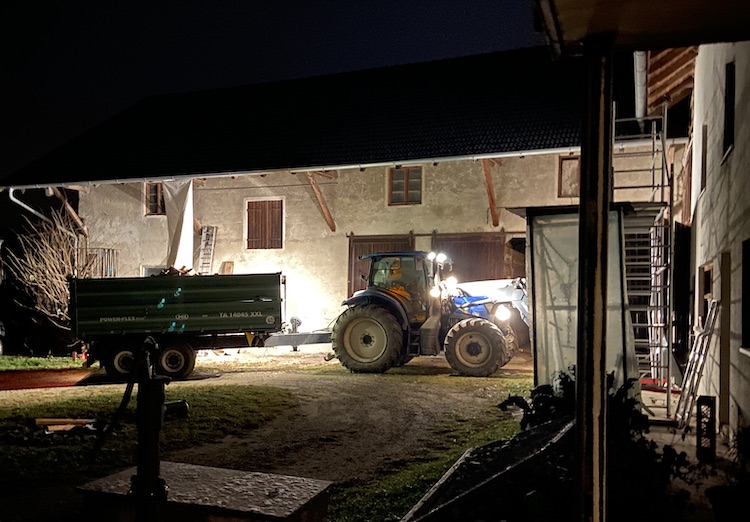
After removing the truck, the tent and the scaffold, the tractor could finally pass and deliver the firewood for the winter.
Once the wood was delivered, I could build up the “garage” again. The epoxy still wasn’t fully hardened, so I took advantage of the provisional second roof by opening the roof window of the truck and firing up the wood stove.

The warm air floated through the window and stayed under the second roof which finally allowed the resin to harden properly.

I was happy with the result but wanted to apply a second layer of epoxy before painting it. Heating up the roof with the wood stove, removing and mounting the provisional second roof back and forth seemed too much effort. It was just too cold to do all this outside in a “tent”. There were a lot of other things I could work on that didn’t require warm temperatures, so I decided to pause the work on the roof until spring.