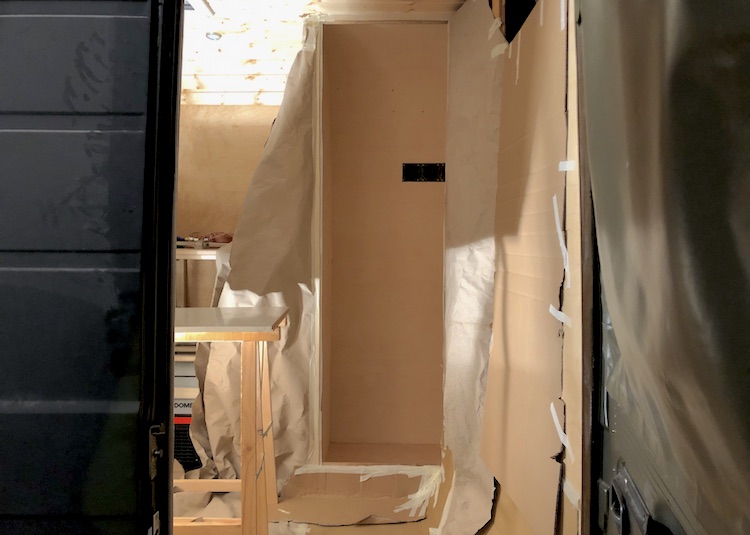
The shower cabin that I built out of plywood had to be protected from the water. I spent a lot of time researching suitable materials. I found several solutions based on PVC panels that were sealed with silicon. These solutions didn’t convince me. While driving the van, everything heavily vibrates. I was afraid that the silicone joints would eventually start leaking when using the shower very often. Pictures of cracked shower trays and moldy silicone joints made me want to look for better solutions.
Learning about boat-building
I wanted to build a long-lasting shower cabin without any joints. So immediately started reading up a lot on boat-building. A lot of boats are built out of wood and float in the water for several years without breaking or getting moldy. After watching a video of two professionals fixing a boat, I felt prepared to laminate the shower cabin with fiberglass and epoxy resin.
Preparing everything
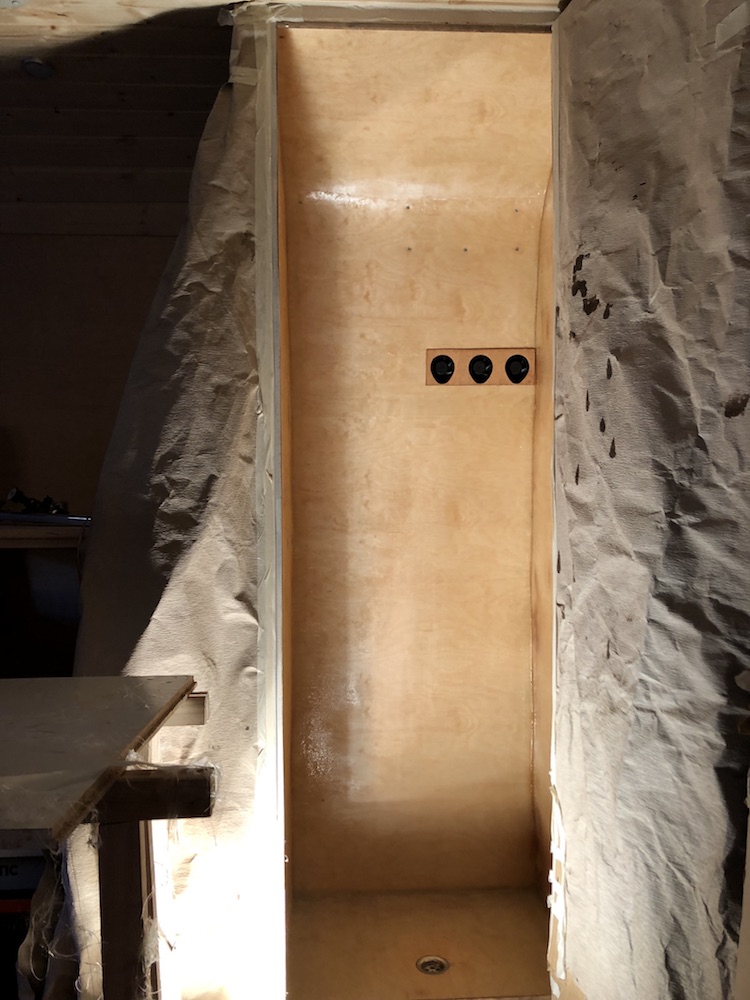
Working with epoxy resin can get really messy. Especially when you work overhead. I covered all parts of the van with old paper that shouldn’t get in touch with the chemicals.
I ordered about 5kg of epoxy resin and hardener and about 15m² of fiberglass.
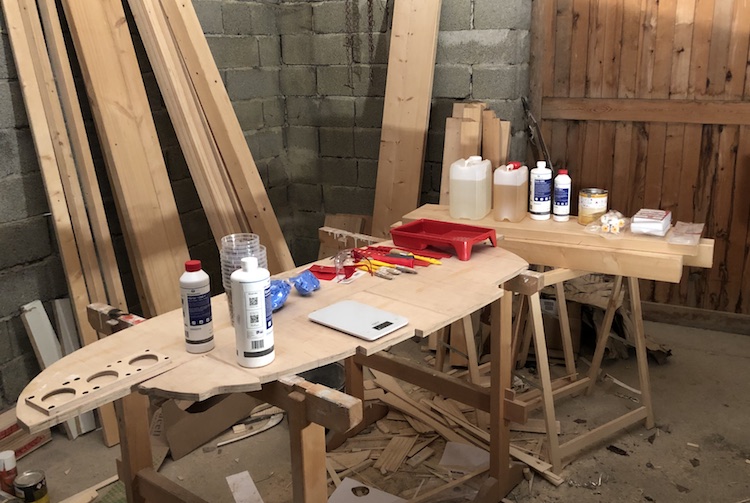
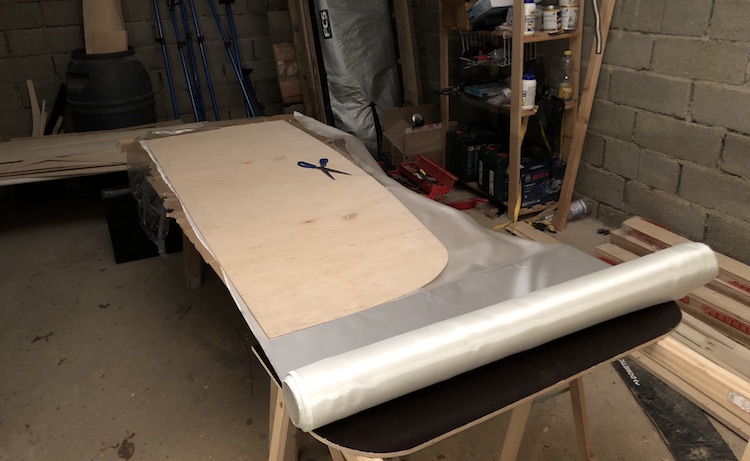
When mixing the resin with the hardener, a chemical reaction begins that causes the liquid to harden. Within the first 30 to 40 minutes the fiberglass can be soaked with the mixture and adhered to the wood. 30 minutes is not a lot of time, so I prepared all the fiberglass upfront.
I cut 8 layers for the floor for better stability. I increased the radius of the cut-out for each layer to create a slight gradient towards the drainage.
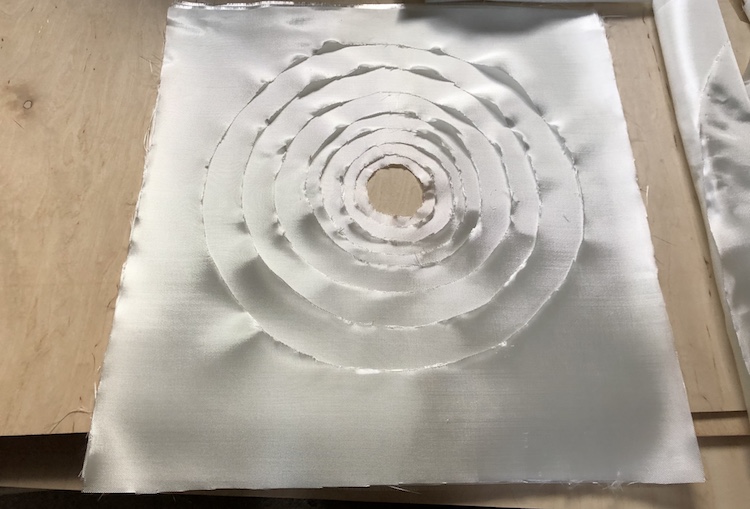
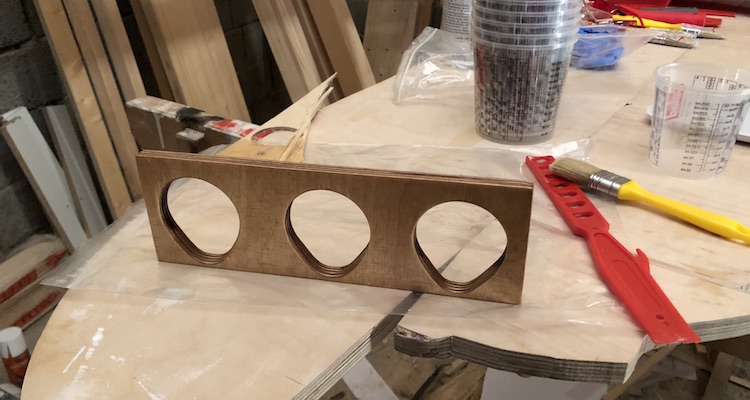
Before starting the actual work, I successfully tested the procedure with the cover for the ventilators.
Laminating the shower cabin
Before applying the fiberglass I mixed sawdust with epoxy resin.
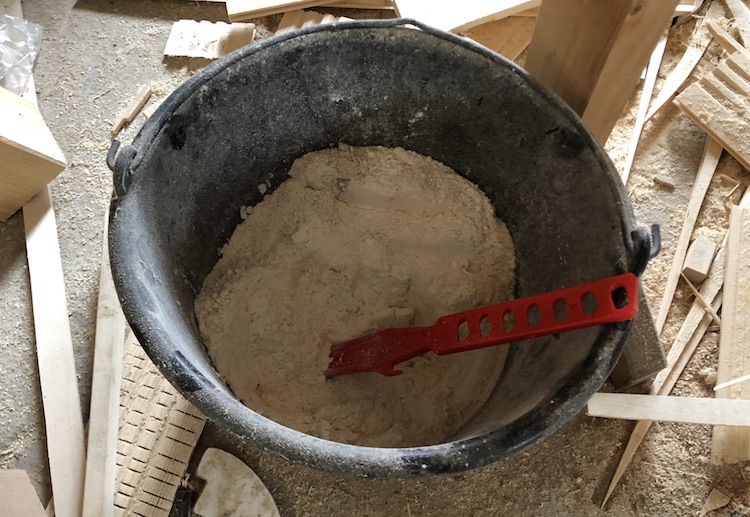
The viscous paste was perfect to close all the joints.
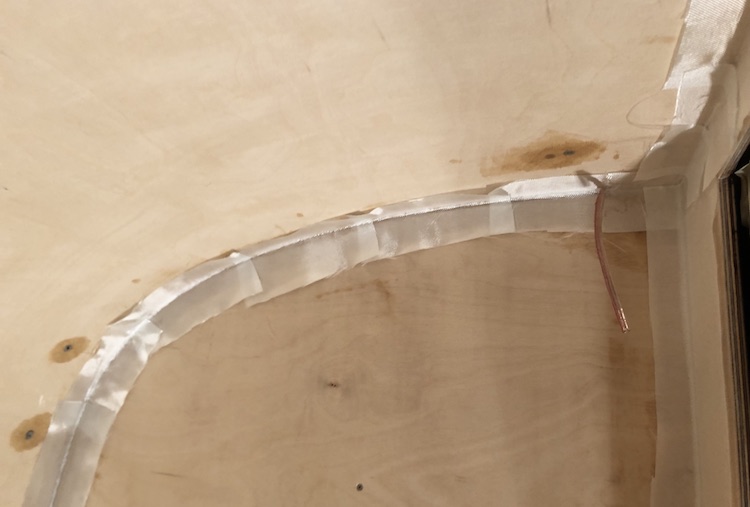
While the resin was still wet, I applied the first layer of fiberglass into all corners.
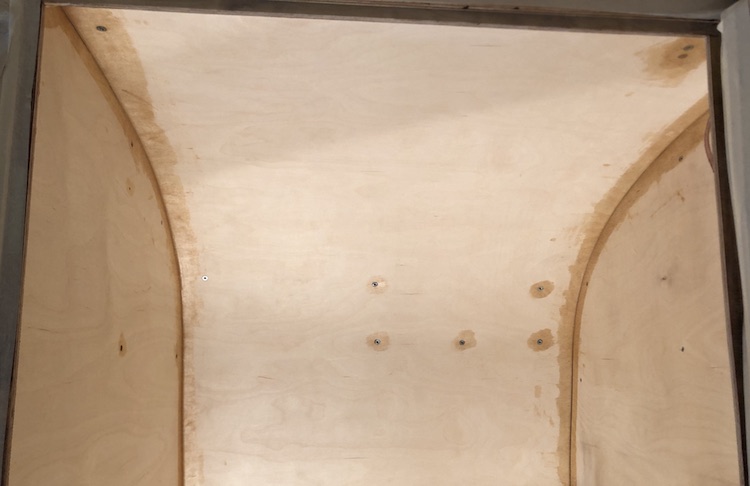
Protected by gloves and an overall, I iteratively mixed several buckets of resin with hardener and applied it to the wood and fiberglass. Once the corners were laminated, I applied larger pieces of fiberglass to the remaining areas. To make sure that all layers would properly coalesce, I had to apply each layer before the previous layer was completely dried out. The work was really exhausting and messy. After more than 12 hours, I could finally remove the sticky gloves to take a picture of the final result:
Although I applied a lot of layers on the wooden floor, it’s still nicely visible.
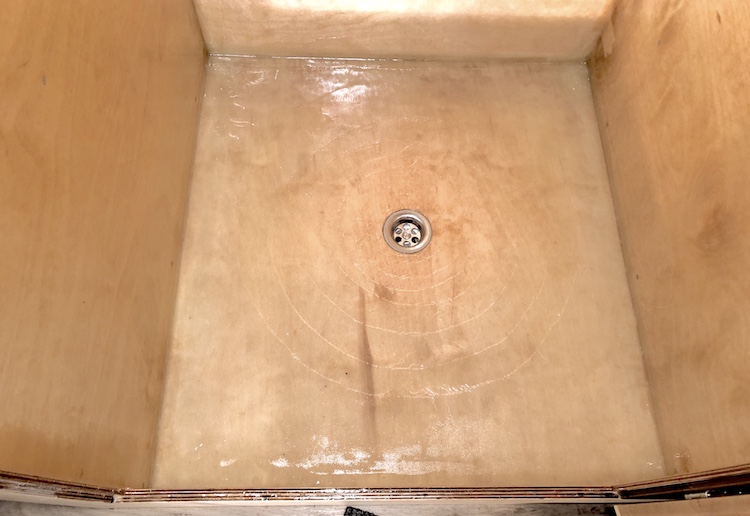
I’m really happy with the outcome of my work. Now I have stable and waterproof shower without any joints and silicone. I can’t wait to take the first shower in my wooden shower! ![]()
![]()
