After repairing the broken parts of the cabin, I was able to prepare the cabin for the first layer of epoxy resin. A seamless cover all around the cabin seemed more robust than local patches, so I wanted to follow the same approach as I applied when renovating the roof. I started sanding the front,
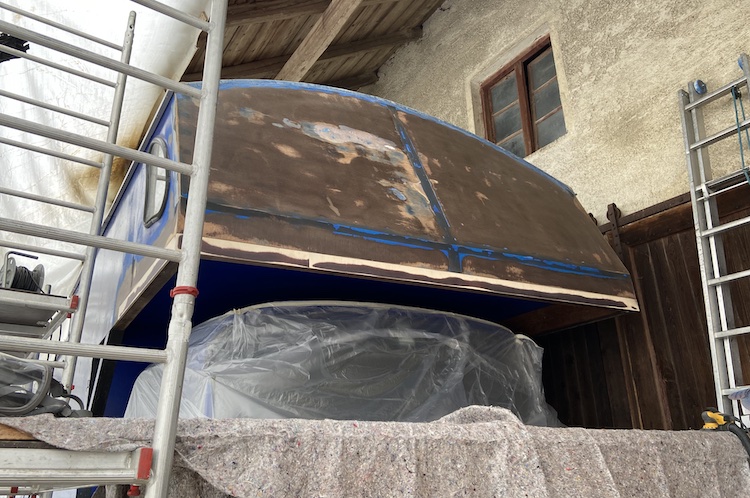
and made all my way around the cabin.
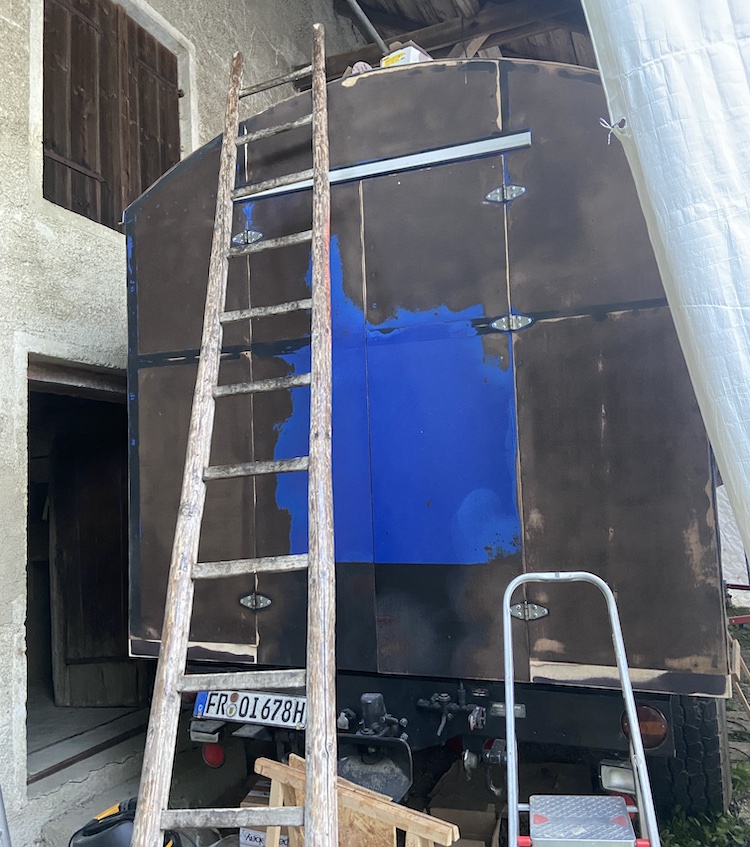
Although the old paint was a little fragile, it took me quite some time to sand the entire cabin.
Laminating the cabin
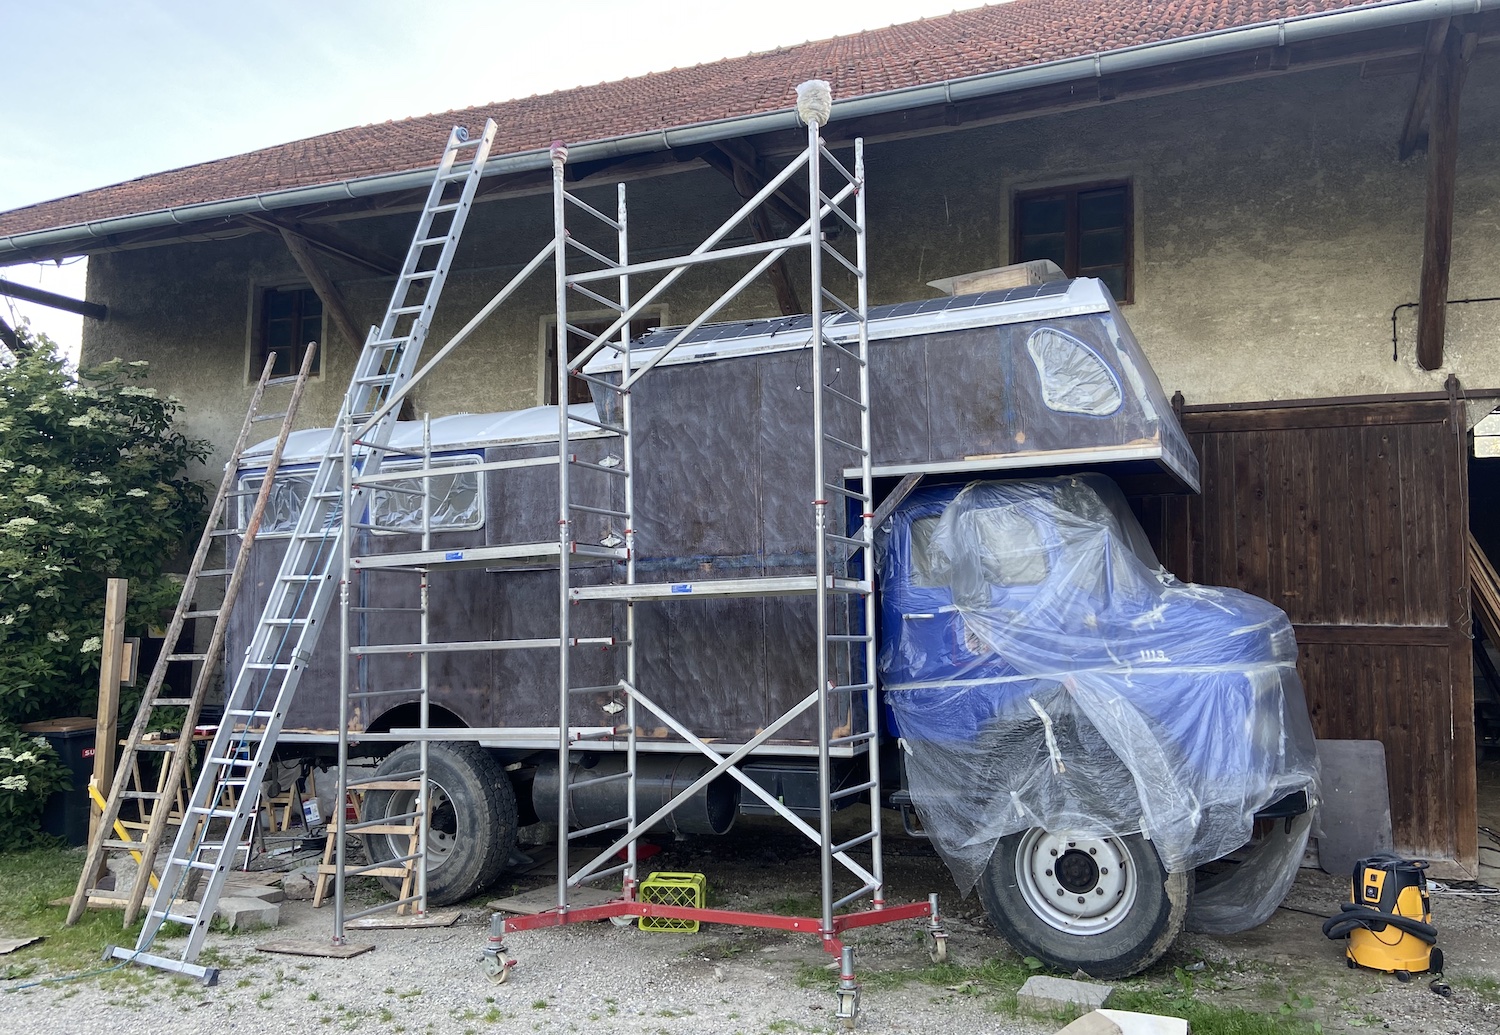
After a couple of days of sanding, sanding and more sanding, I finally applied the first layer of epoxy and fiberglas mats.
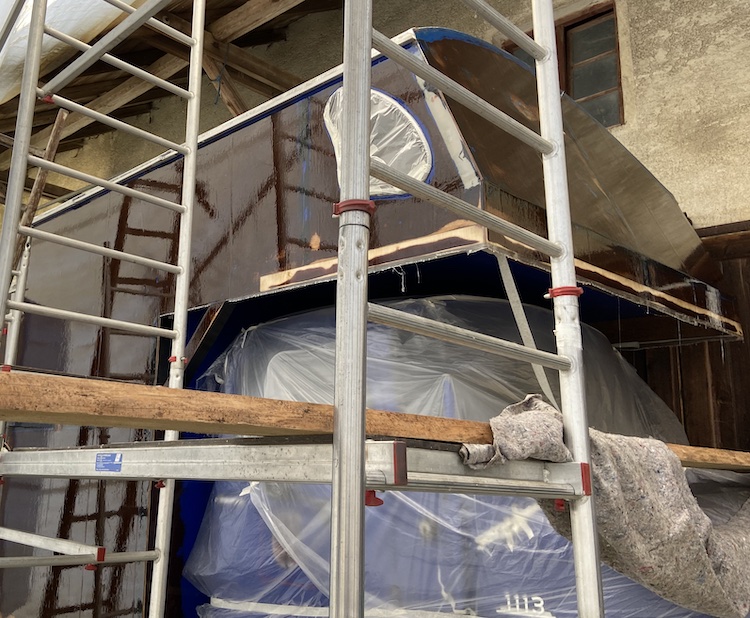
I rolled one fiberglas mat after the other from the top down to the bottom, until all walls and doors were covered with epoxy and fiberglas.
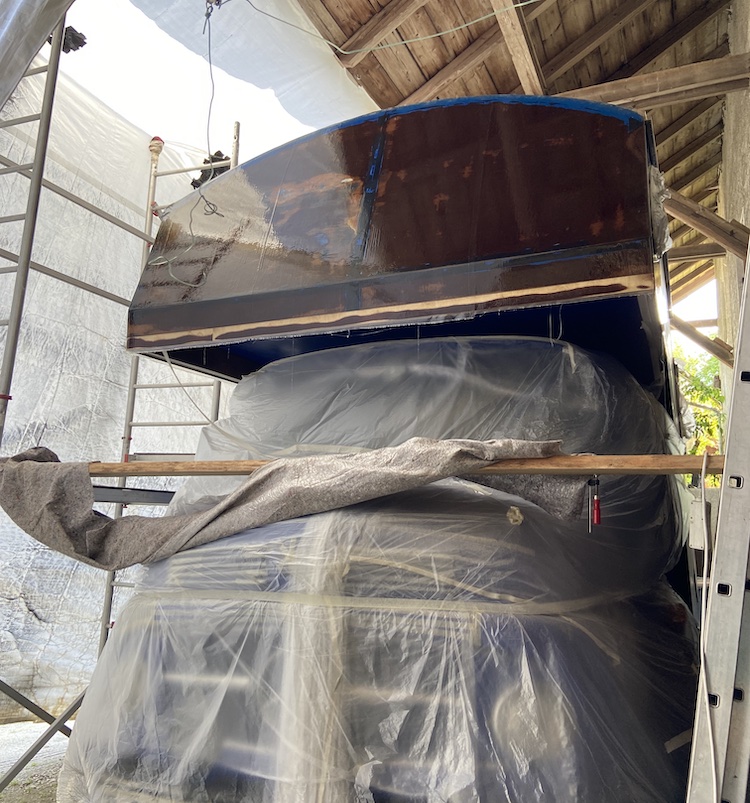
I was very happy with the progress I had made, until a heavy thunderstorm unexpectedly put my hard work into jeopardy. It poured down like crazy and I was afraid the storm would break the protecting tarp. I desperately hold the tarp during the storm, trying to prevent the rain to touch the fresh epoxy that wasn’t hardened, yet.
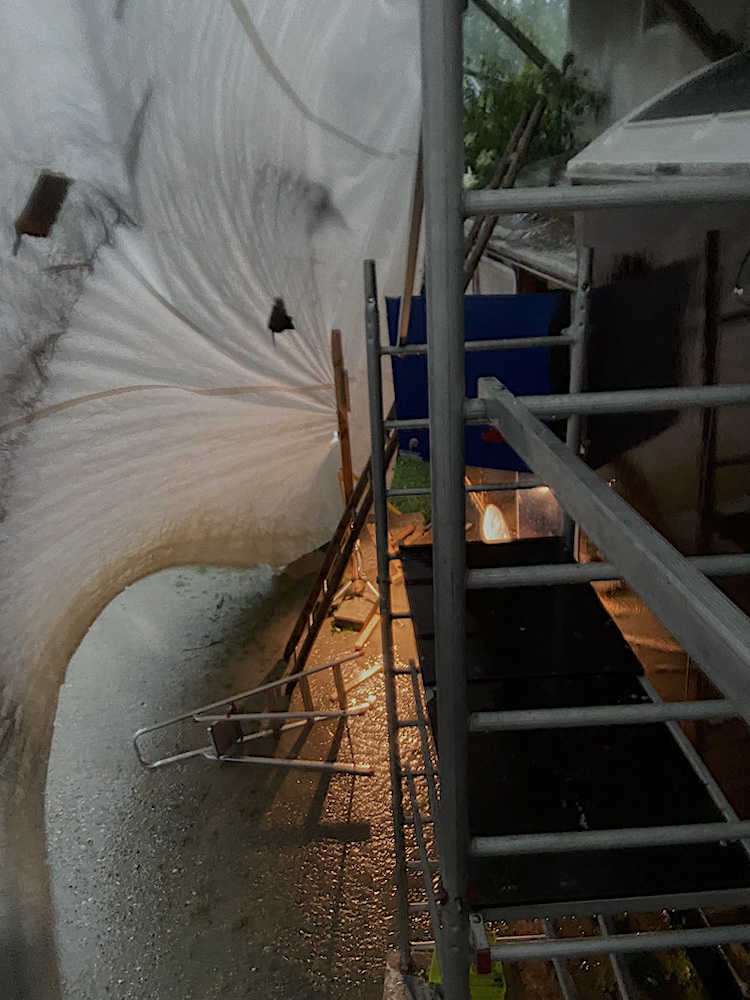
Luckily, the tarp didn’t break and to my surprise the entire cabin stayed dry. I was relieved that I didn’t have to redo all the work again. ![]()

Protecting the edges
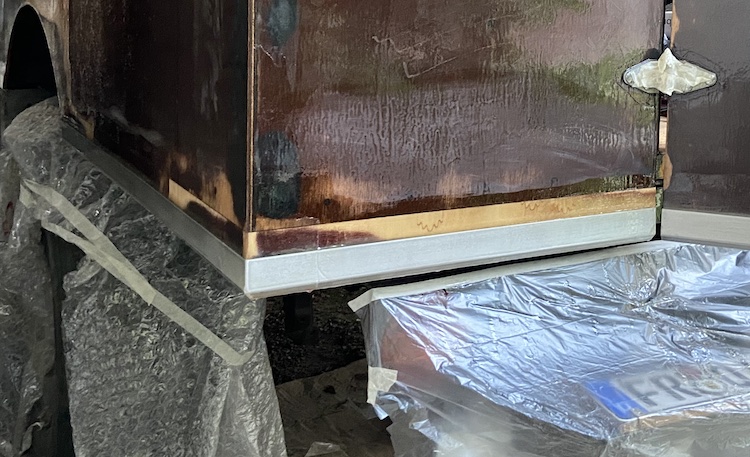
When fixing the cabin, I had to remove most of the lower edges because they were all rotten. The new edges were properly sealed with epoxy. Nevertheless, I wanted to make sure that water wouldn’t flow along the edges, so I adhered 2mm aluminum angles.
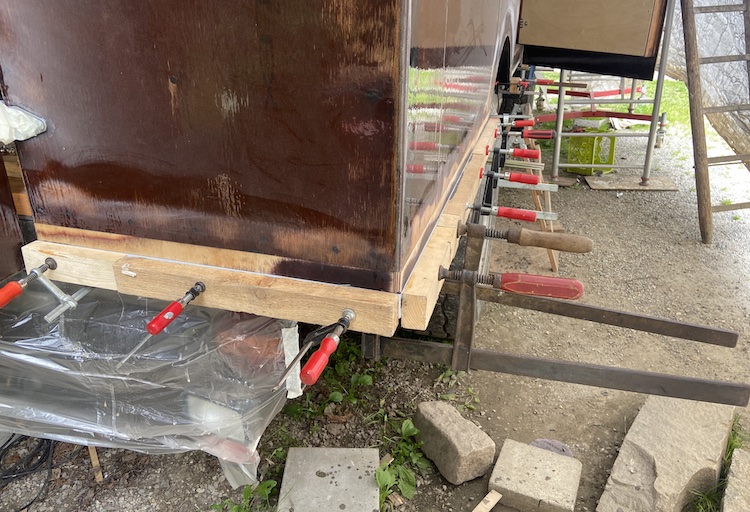
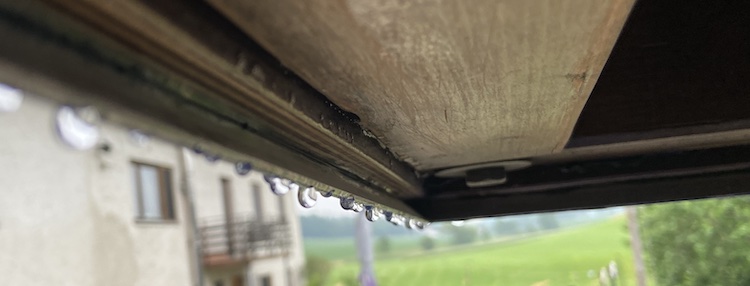
The angles were folded by 135 degrees which would keep the water away from the edges while ensuring good ventilation.
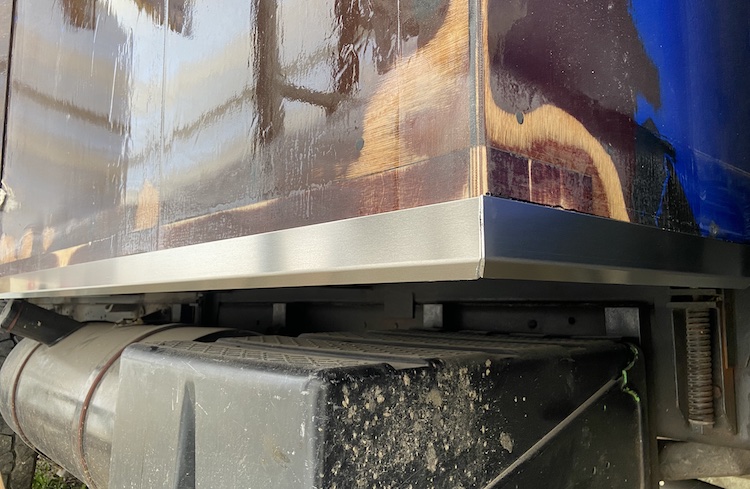
I applied the aluminum angles to all edges around the cabin.
To increase the stability and weather resistance, I enforced the corners with additional fiberglas mats and epoxy.
The construction passed the first test during a short shower of rain: The water nicely dripped down the aluminum angles without touching the underling construction.
Doing the final paint job
Once all edges were properly protected and sealed up, I slightly sanded the entire cabin again.
The cabin was finally ready for the paint job.

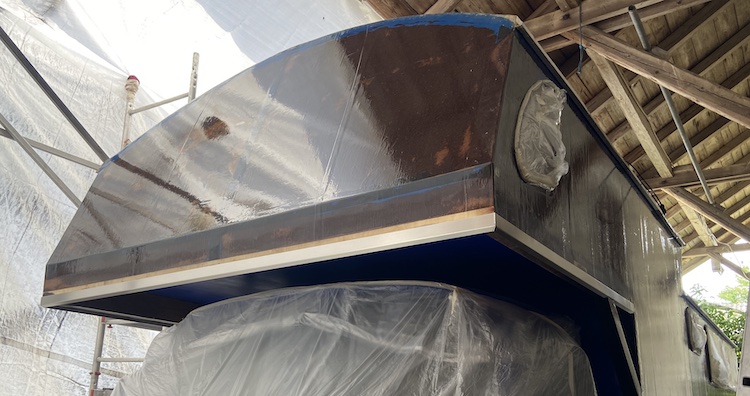
I applied two layers in one go. I kept the original design of the cabin. Once the blue paint became hardened, I applied the black stripes on the bottom around the cabin.

Et voilà! After months of hard work behind my self-built tent, the entire cabin was completely renovated, enforced with fiberglas and weatherproof.
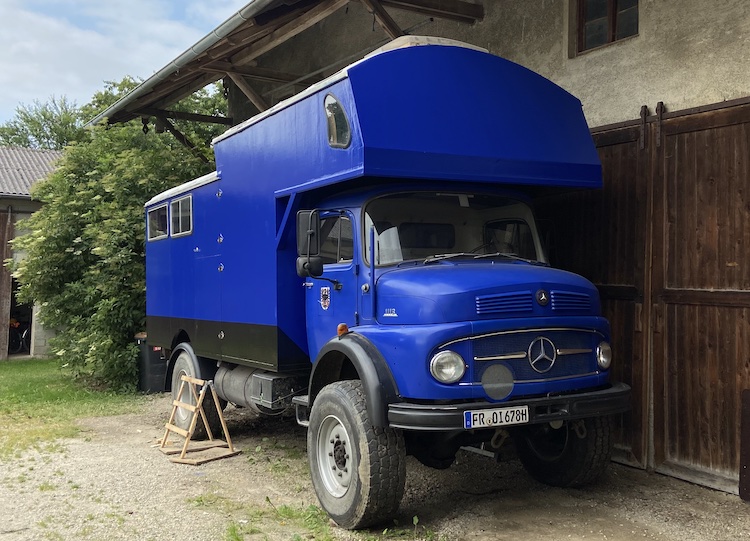
I was so happy! ![]()