After building the skeleton of the bathroom, I continued preparing the panels for the wall cladding.
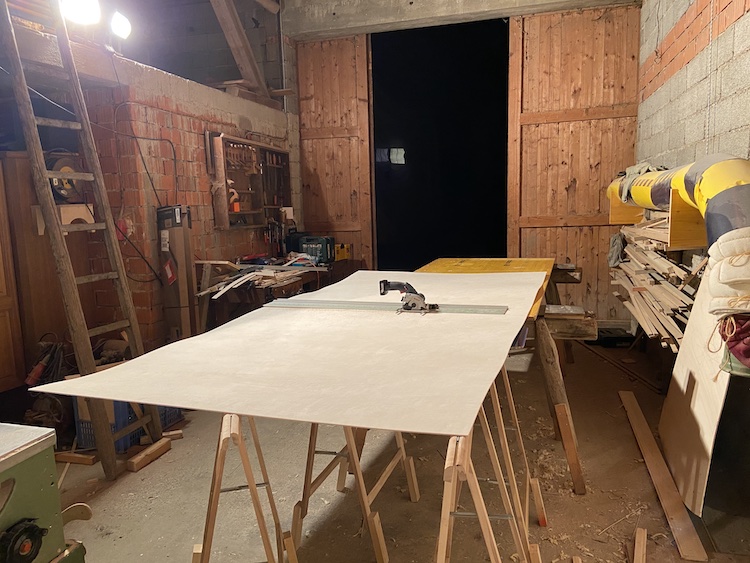
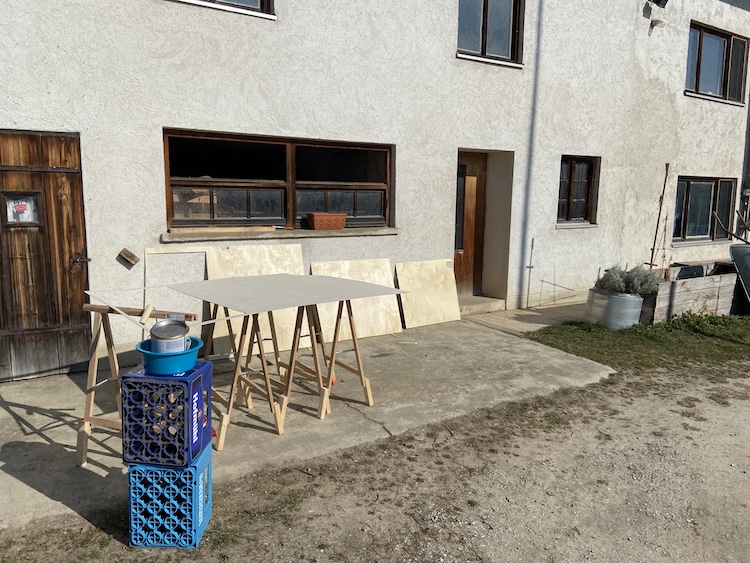
The temperatures were still quite low, so I took advantage of a sunny day to oil the panels.
Similarly, as in the bedroom, I build a bunch of wooden stripes to hold the panels together.
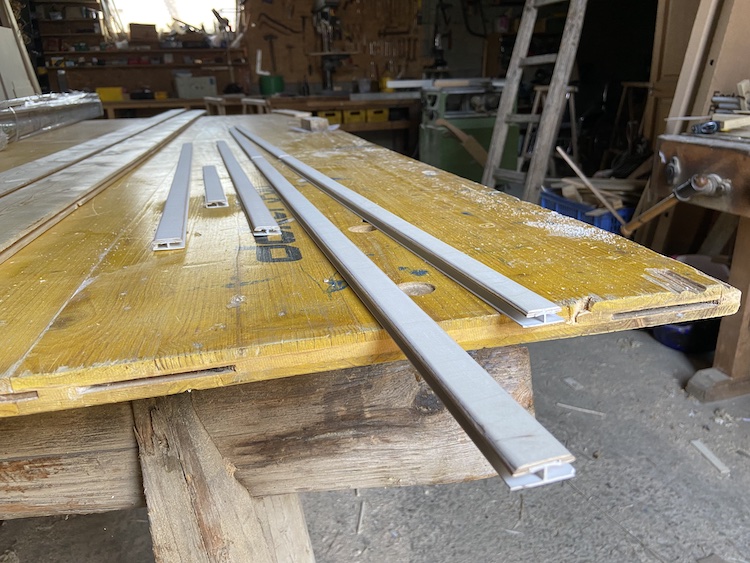
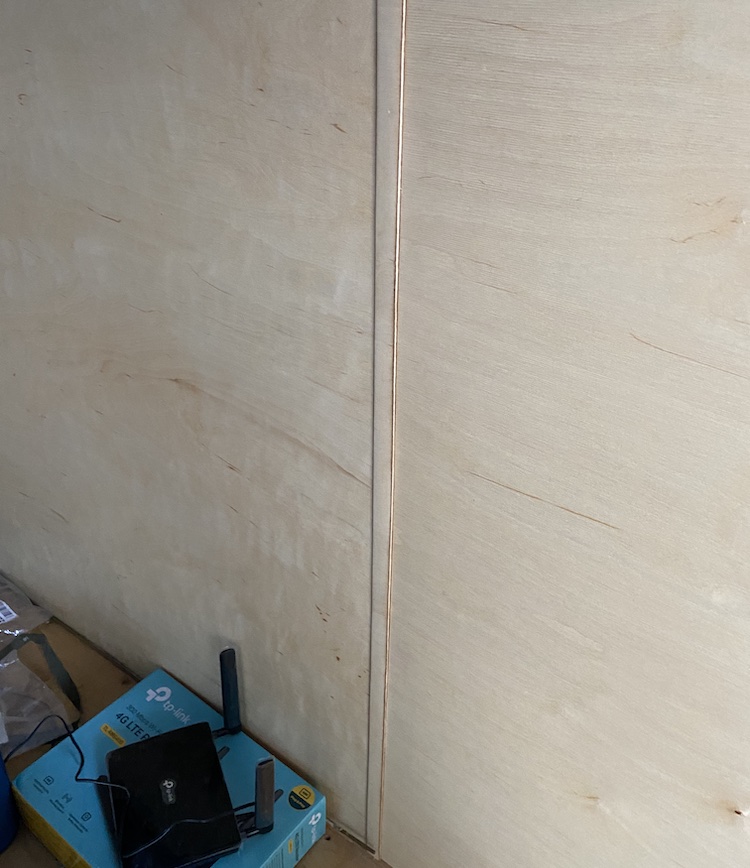
The strips nicely covered the gaps between the panels and made sure they were properly aligned to each other.
Mounting the panels
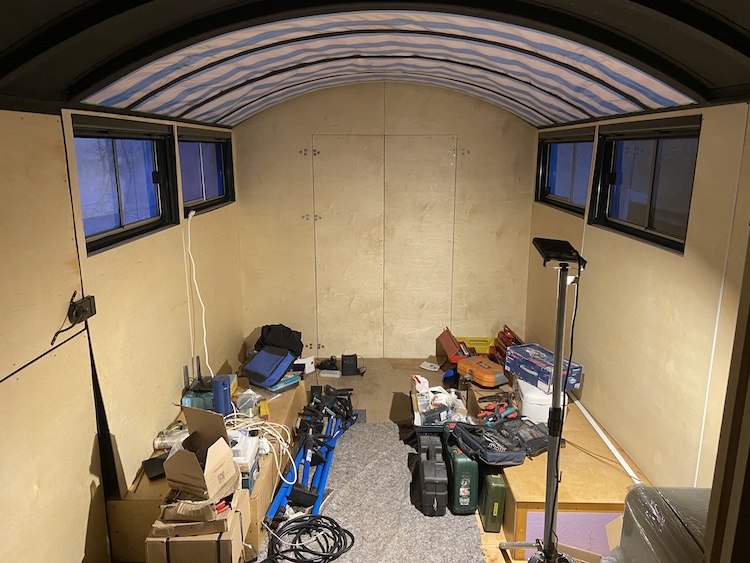
When the oil was finally dry, I put all the panels into the cabin. I only used screws to mount the panels on the doors.

All the other panels were just loosely attached to each other without using any screws as the furniture that I was planning to build would press the panels to the wall later on. So there was no need for any unnecessary screws going through the vapor barrier.
Installing a proper latch for the back door
The previous latch for locking the backdoor wasn’t very practical: it only closed the doors on the top which resulted in a little gap on the bottom. It also required a padlock to make sure the lock stayed closed while driving. While cladding the doors in the back, I took the chance to install a proper latch that was able to close the doors on the top and the bottom with a handy lever in the middle.
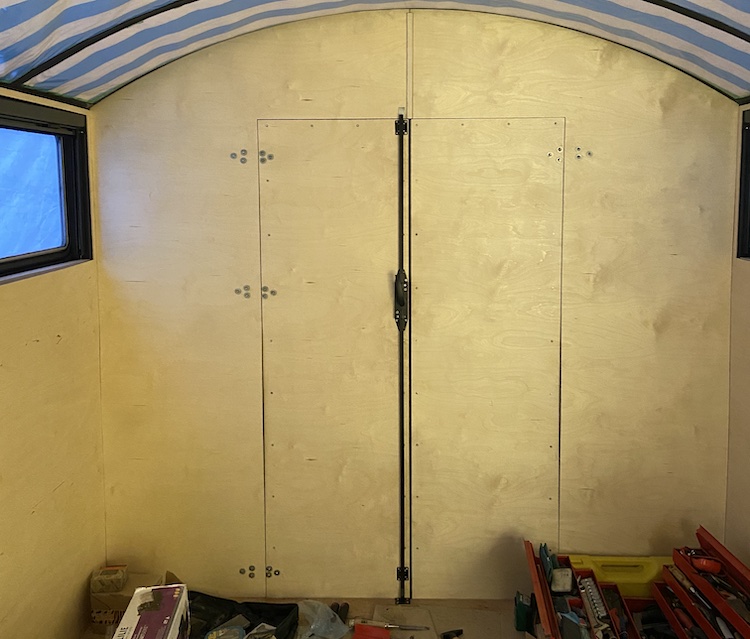
There were no more gaps when the latch was closed. Much better!
Cladding the ceiling
Once all the walls were covered with wooden panels, I continued with the ceiling of the living area. To ensure a symmetric look of the cladding, I started with a board in the center of the ceiling.
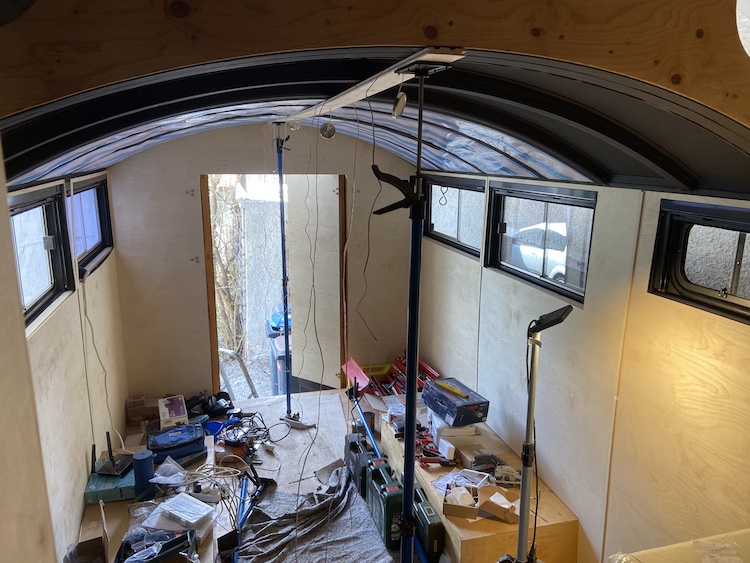
Once the board was properly installed I worked my way from the center to the sides.

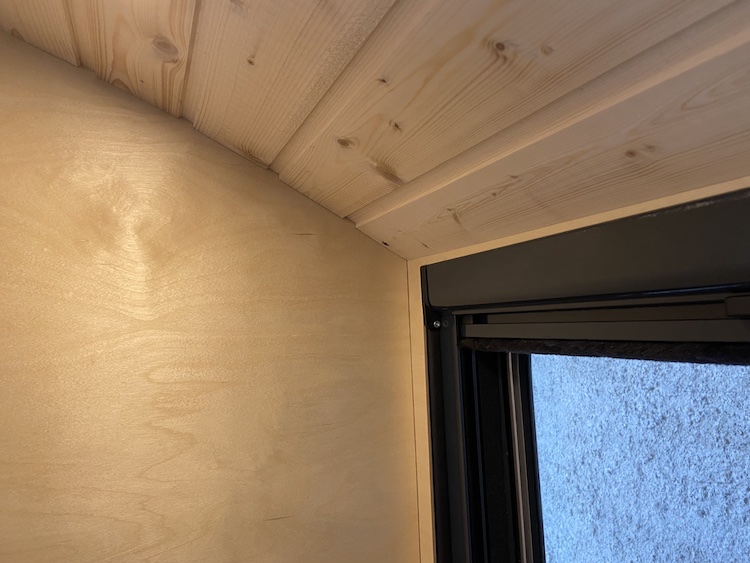
When reaching the sidewalls I had to cut the boards to size to make sure they nicely aligned.
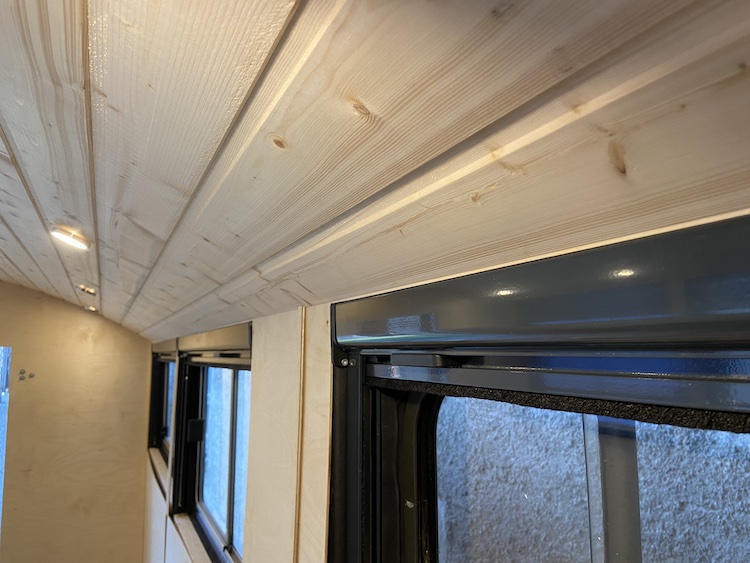
I carefully measured and cut each board to avoid large visible gaps in the corners.
Once all the boards were installed, I provisionally wired up the LED spotlights to checkout the result:
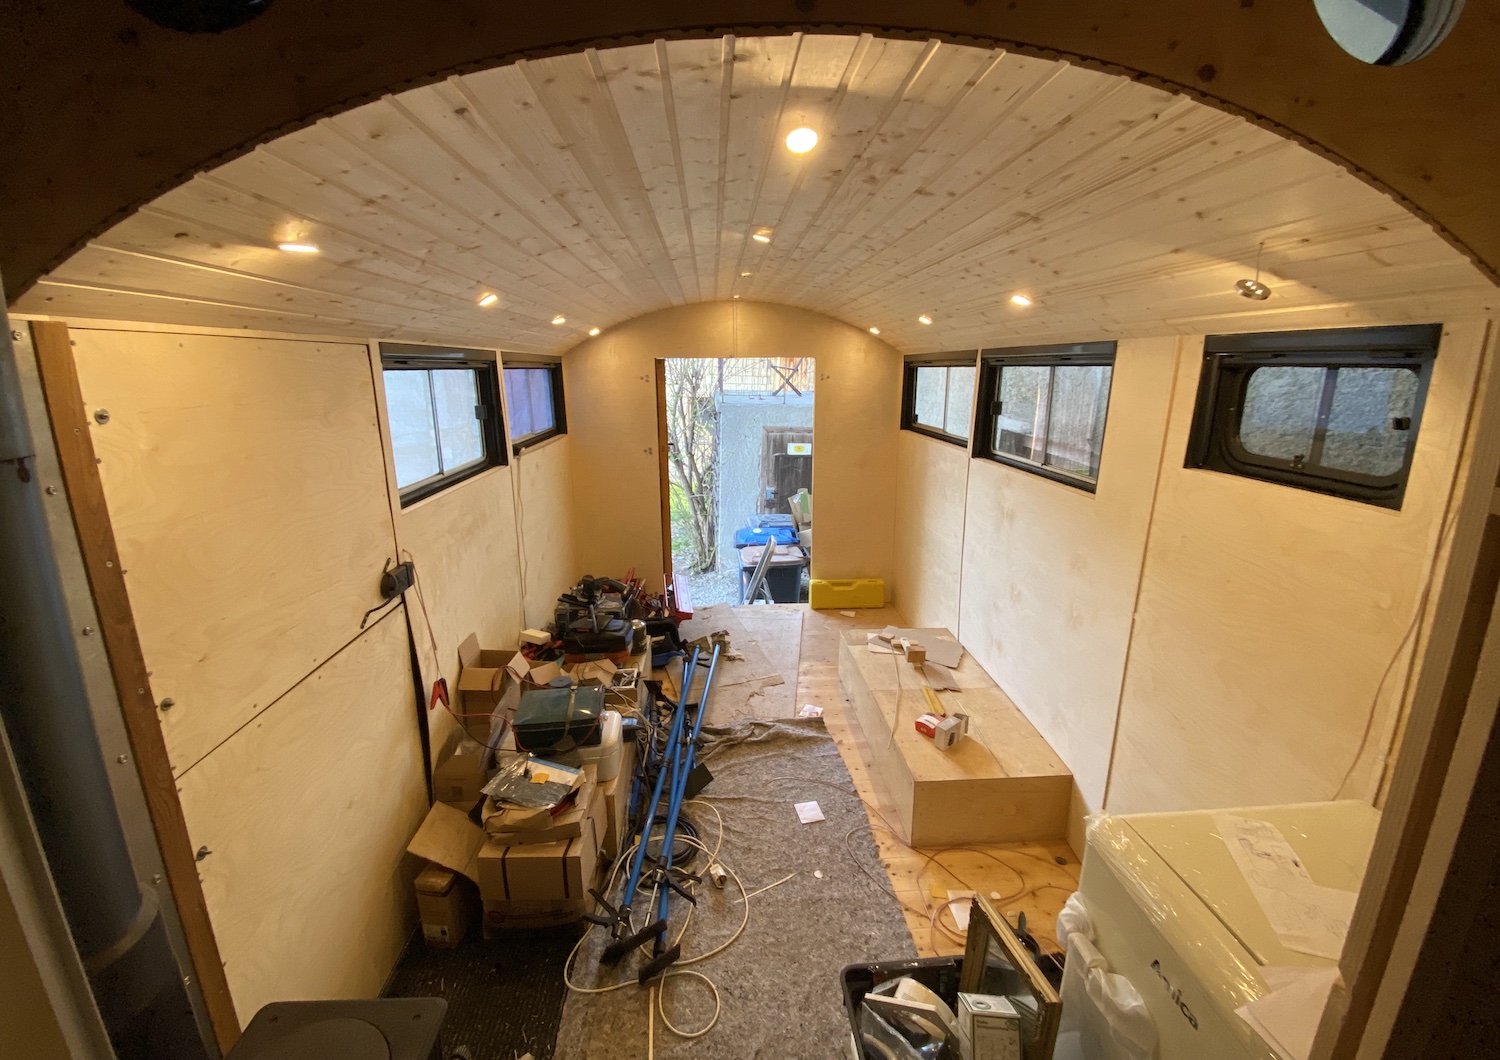
I was quite happy with the outcome. The cabin looked much more cozy. I felt like making progress!