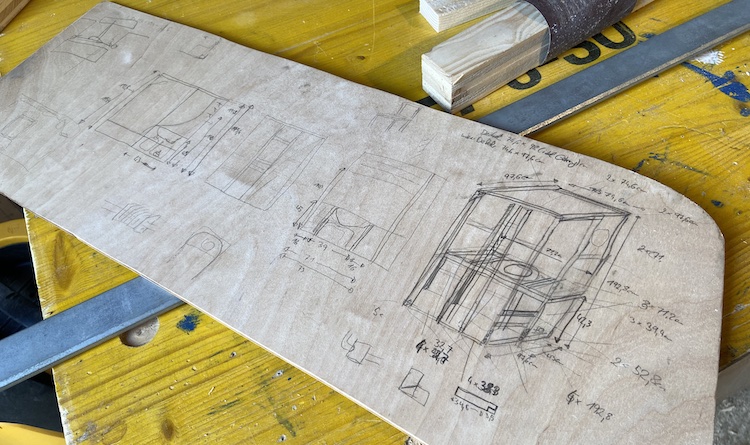
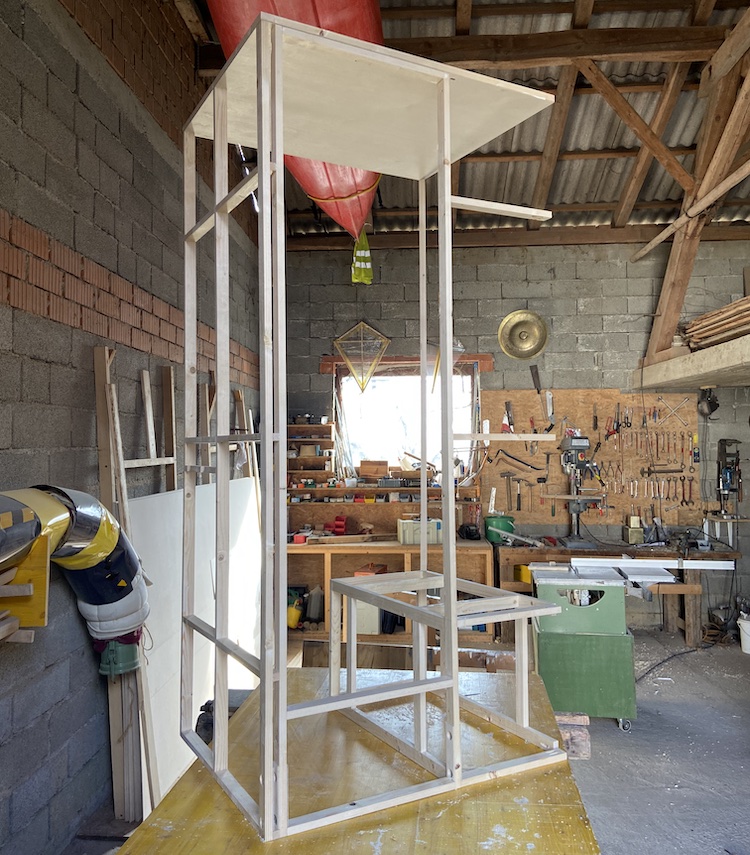
The wooden shower was one of my favorite features of my van. The space in the van was very limited, so I always had to move the wooden toilet out of the bathroom cabin before taking a shower. Luckily the truck offered much more space, so I envisioned a bathroom cabin that would provide enough space for taking a shower next to a permanently installed toilet. As usual, I sketched the rough vision in my head on a piece of wood to get a better idea of what I wanted to build: A small bathroom cabin measuring about 75cm x 98cm x 195cm.
Installing fans for better ventilation
The fans that I installed into the shower of my van had proven to be very useful to dry the shower after using it, so I wanted to install a similar system into the shower of the truck. In addition to a big and powerful fan for the shower cabin, I also bought a small and quiet fan for the toilet that was meant to run permanently.
After cutting holes into the walls, I built mounts that perfectly matched the size of the fans.
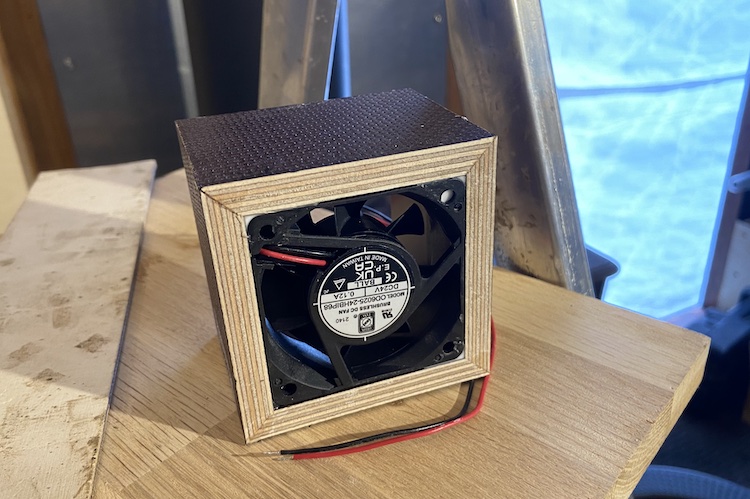
I wrapped the mounts into insulation material to avoid the humid air flowing through tiny cracks into the wall behind the vapor barrier.
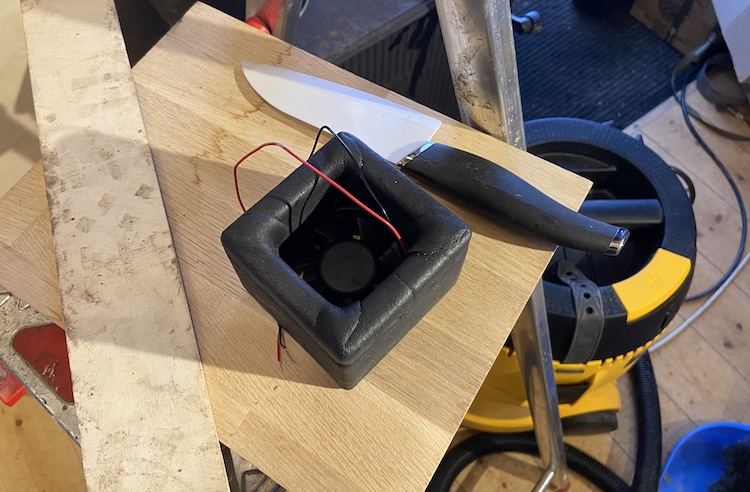
I hermetical mounted the small fan on the bottom for the toilet,
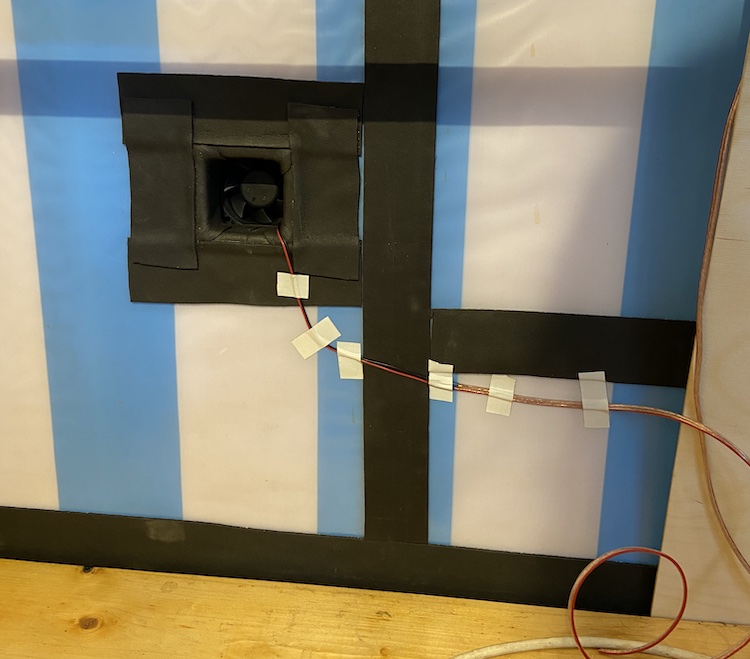
and the big one on the top to suck for the entire shower cabin.
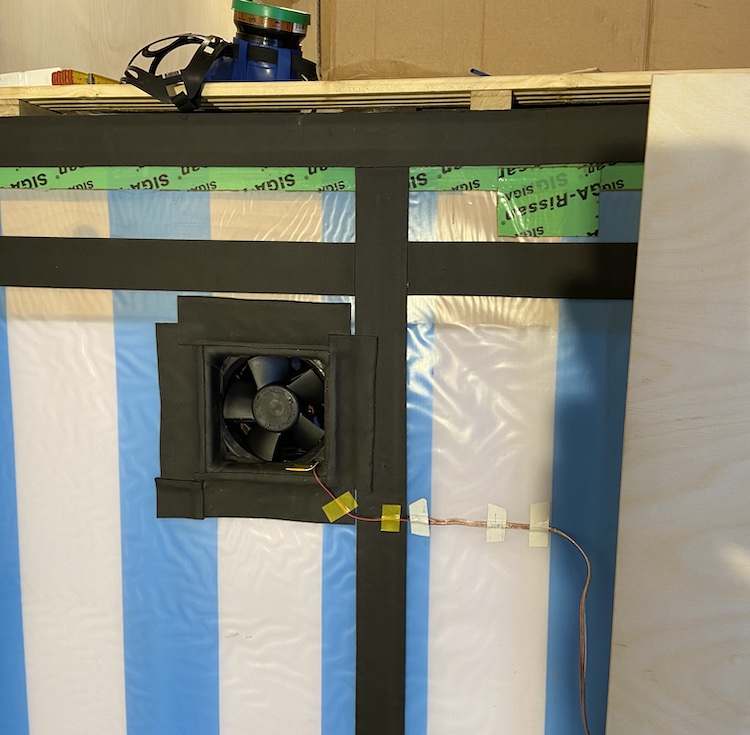
Once the fans were mounted and wired up, I could attach the wall panels.
Building the skeleton of the bathroom cabin
Similar to how I built the wardrobe, I also used dowels to connect the wooden slats with each other.
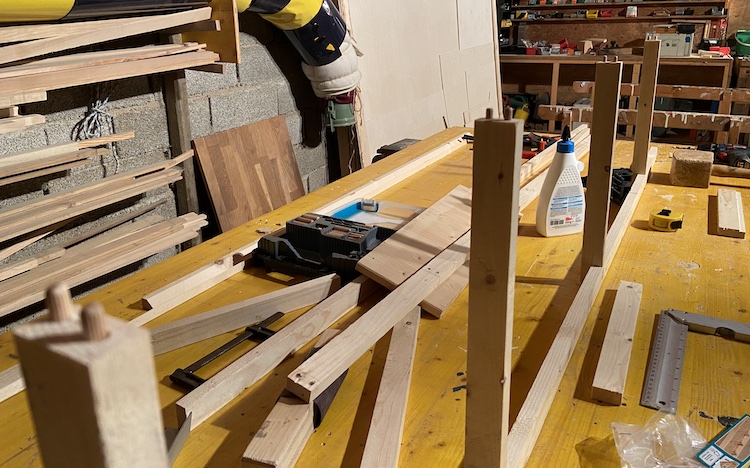
Once all the slats were cut to size and properly mounted together, I built the ceiling of the shower.
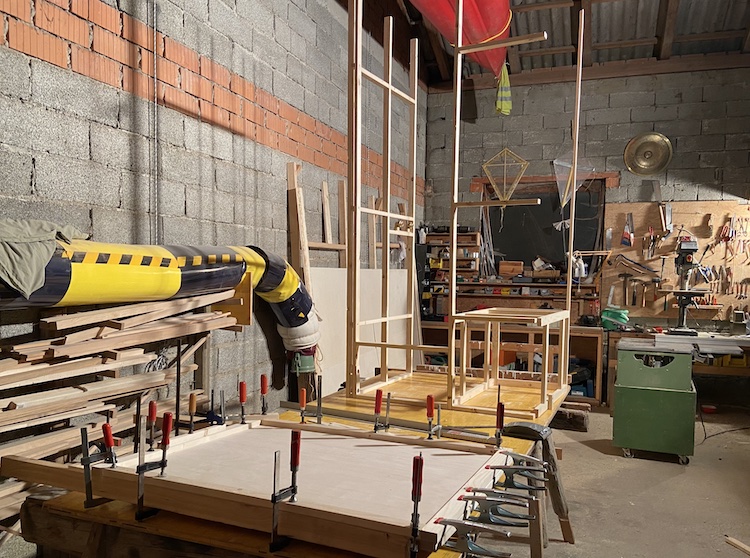
After mounting the ceiling, the whole construction became more stable and I could get a first impression of the space available in my future bathroom: the toilet on the right and the area for showering on the left:
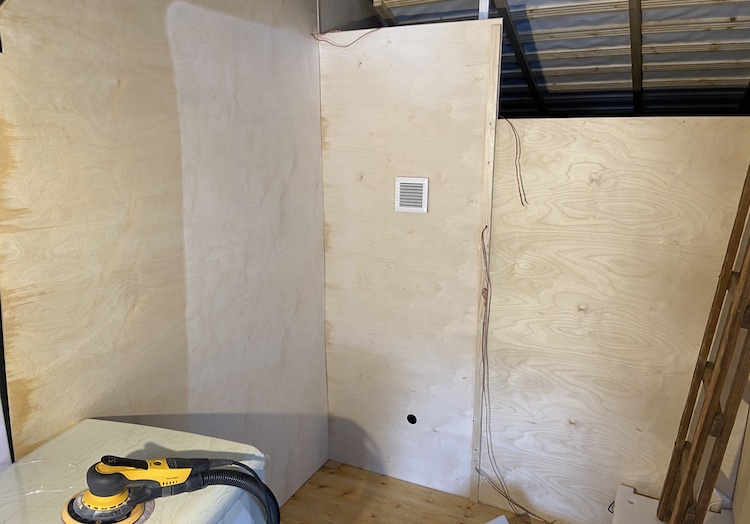
Before carrying the construction into the truck, I attached the inner walls made out of 4mm Birch plywood.
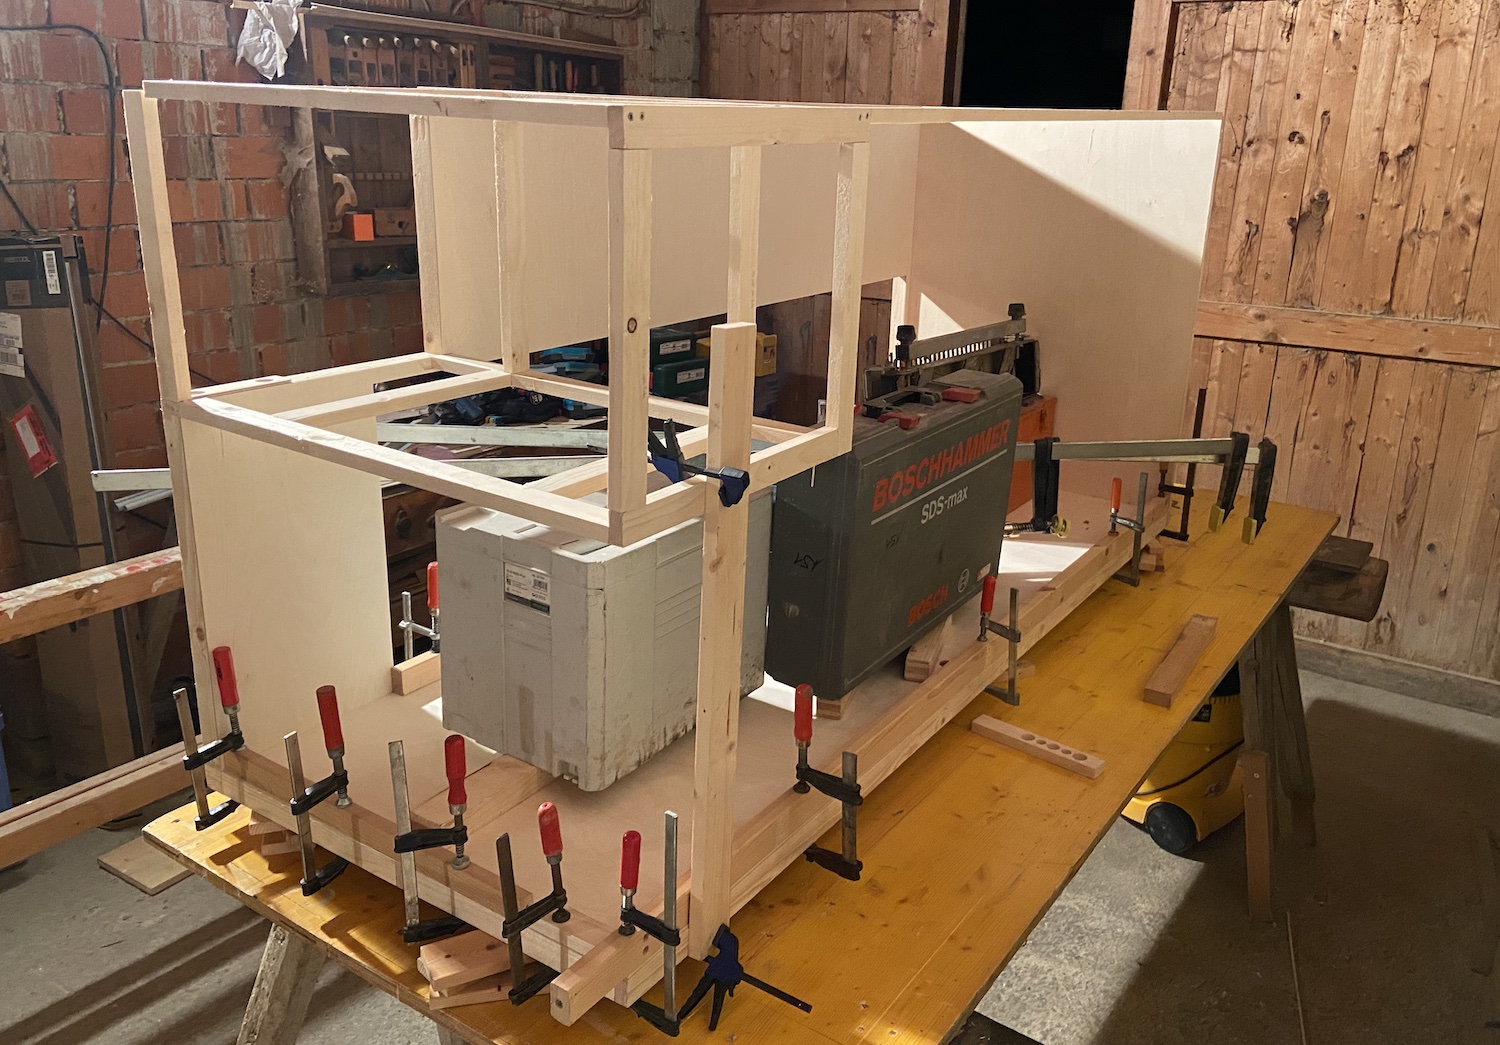
The skeleton of the bathroom was very light and ready to get installed!
Installing the skeleton
Luckily, it nicely fit through the backdoor of the cabin.
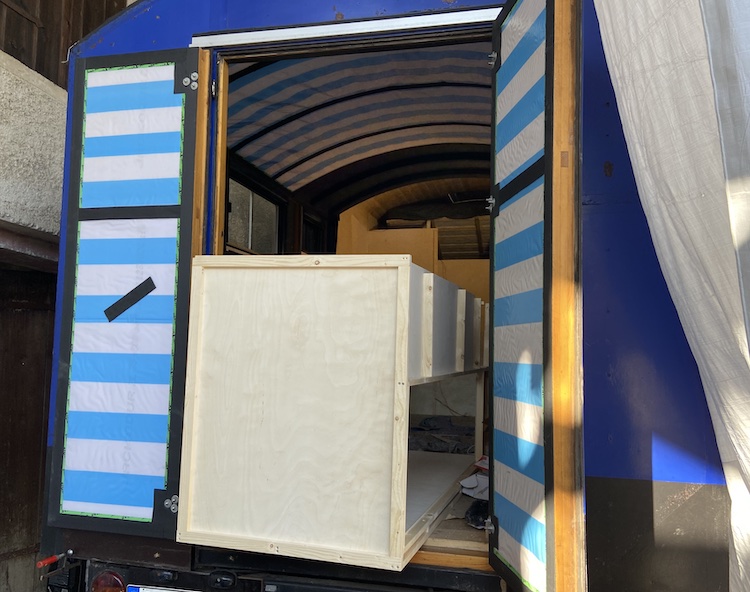
After turning it around a few times, the scaffold of the bathroom was finally installed at its proper position.
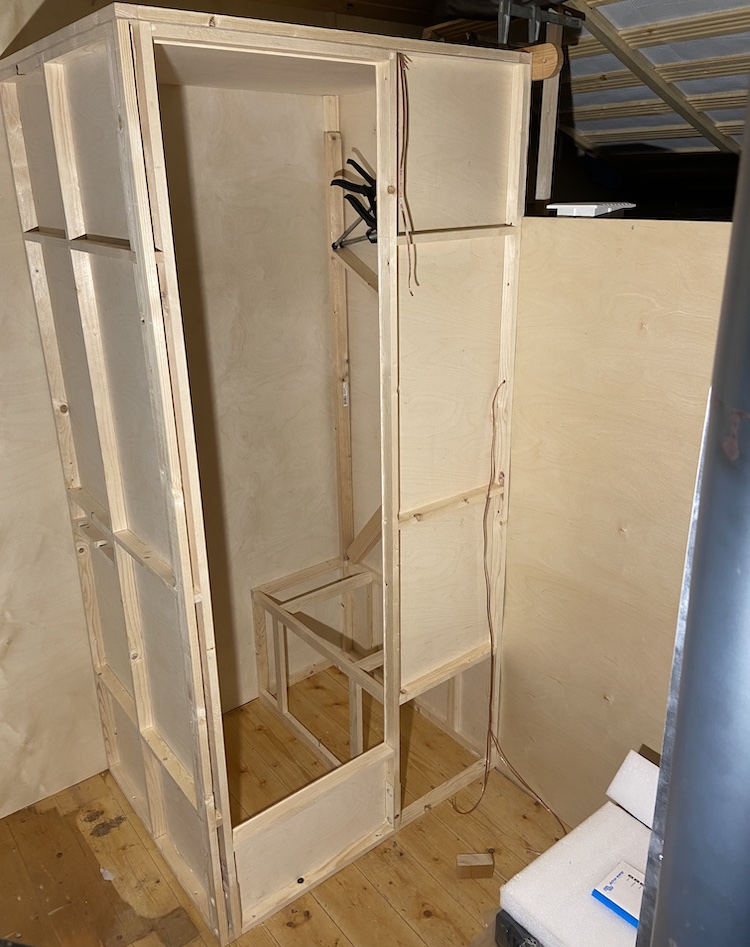
I could definitely feel the difference to the shower in my van: there was more headroom and enough space for a fixed toilet that I wouldn’t have to remove while taking a shower. I liked it!