I’ve never examined the brakes of my 508D since buying it about two years ago. I heavily stressed the brakes while driving around the volcano’s on the Canary islands. The bi-yearly general inspection was due, so I took advantage of the Corona lockdown to check my van and especially the brakes before getting it officially inspected.
Fixing minor issues
I jacked up the van in the barn of my friends and started fixing minor issues like the broken horn and the leaking connector of the speedometer cable going into the transmission.
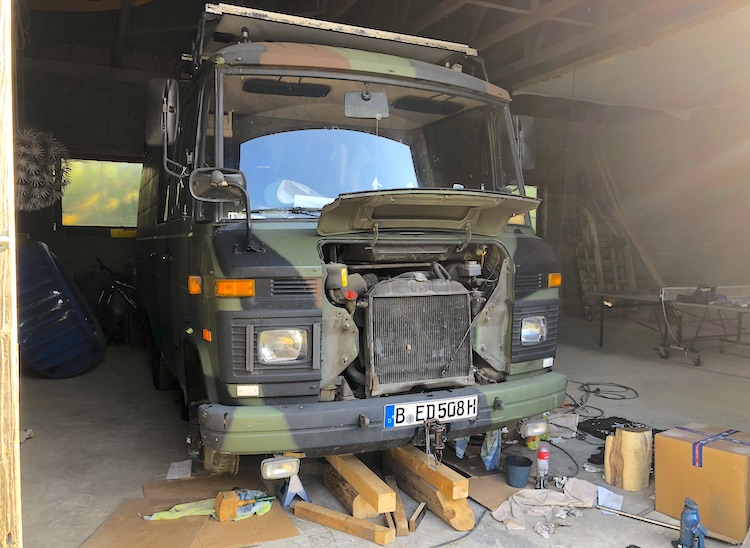
While fixing the leak in the transmission, I realized that the cover below the clutch was oily and removed it. There was a mix of oil and fat everywhere.
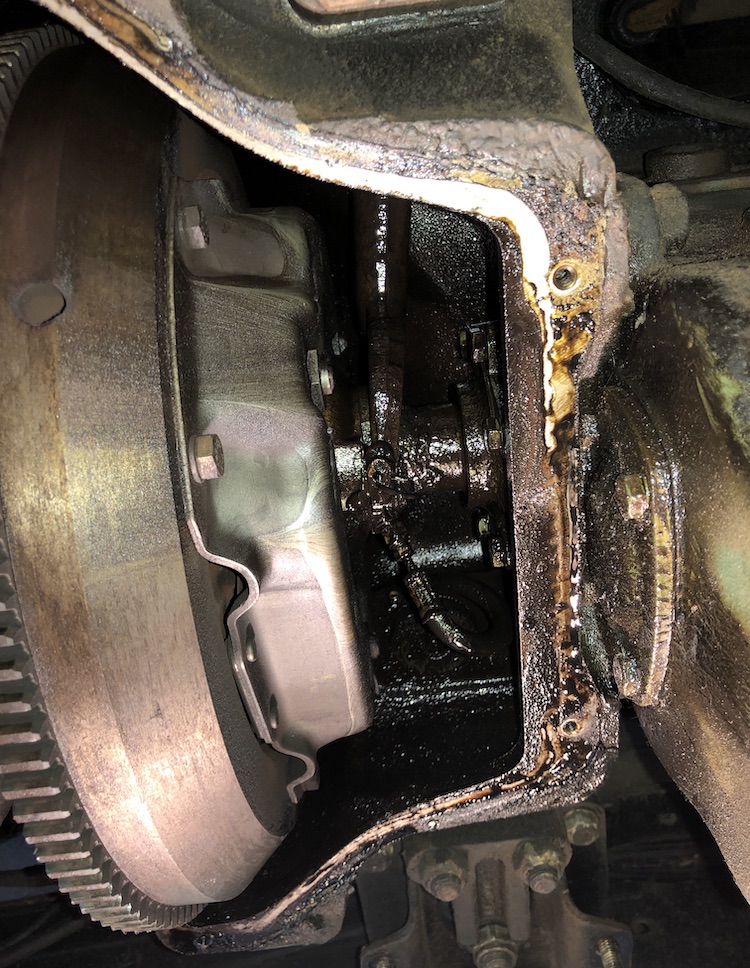
After cleaning the accessible parts, I traced the oil leak back to one of the nuts holding the oil pan under the engine.
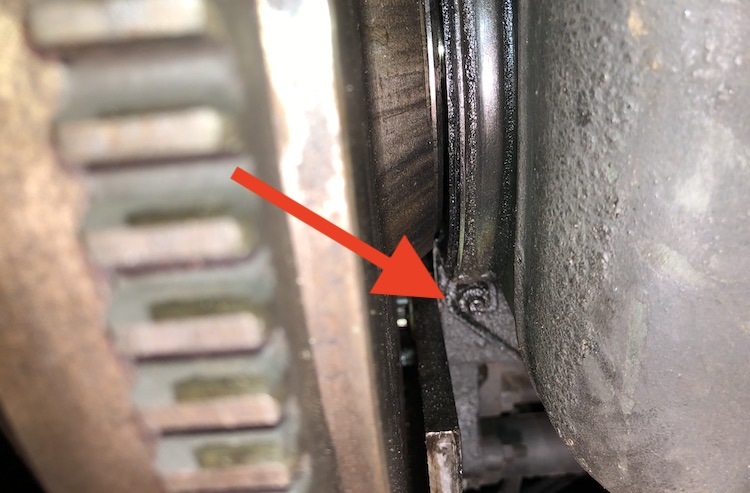
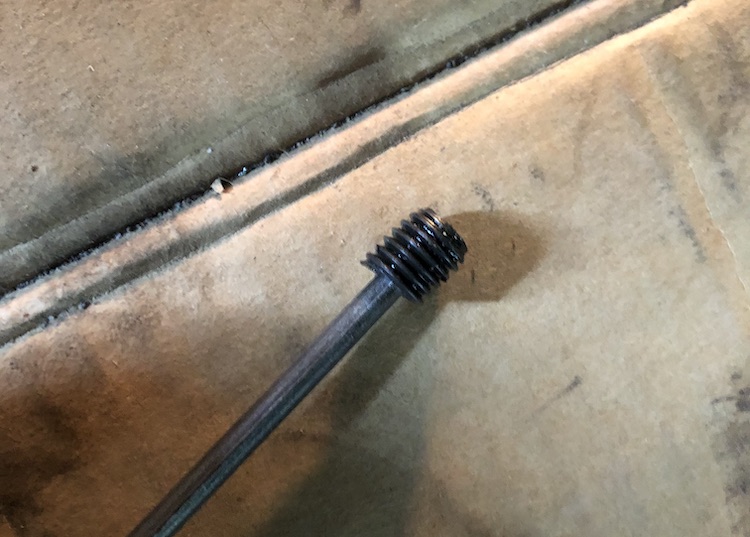
When I touched the nut, part of of the stud immediately fell out of the engine block. The stud was broken and half of it was stuck in the engine block.
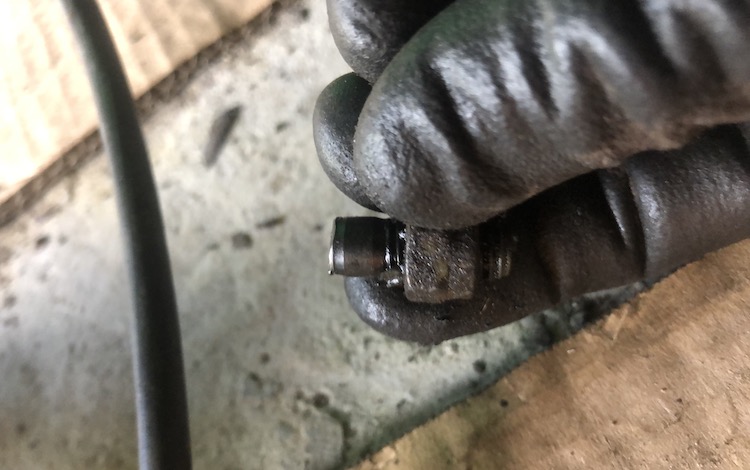
Luckily, I managed to drill a small hole into the center of the stud although it was hard to access.
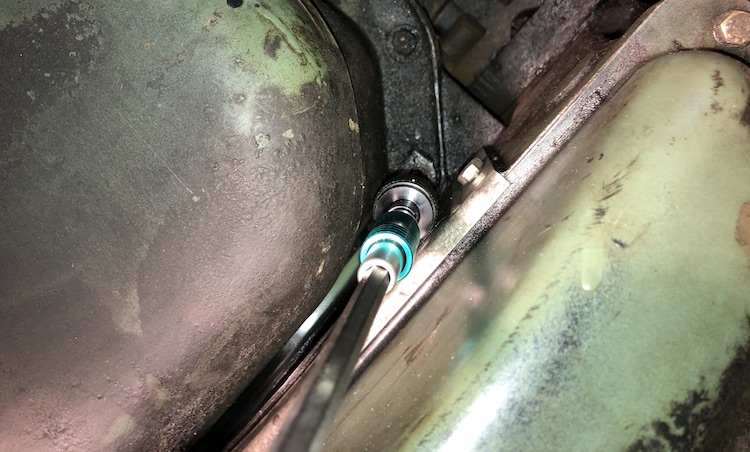
I punched a pin into the stud that allowed me to unscrew the broken stud and replace it with a new one.
Taking the brakes apart
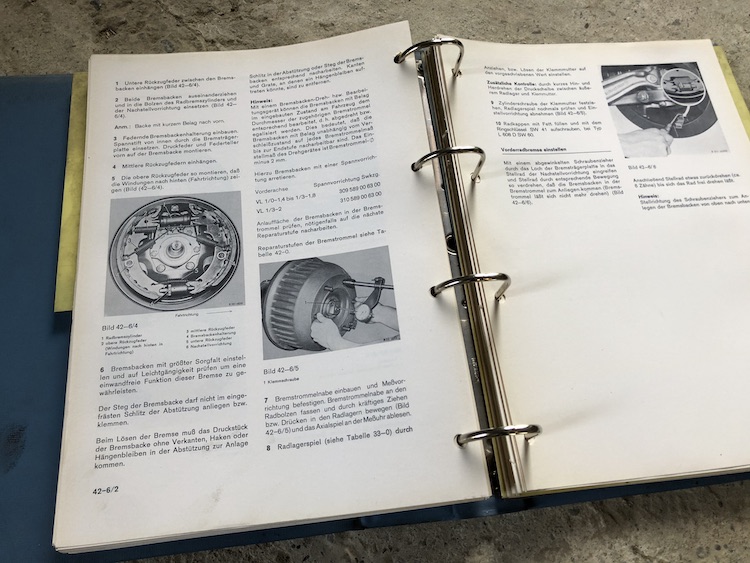
After studying an original Mercedes workshop manual from the 80s and consulting online communities, I felt prepared to take the brakes apart.
It was fairly easy to remove the wheel bearing and brake drum on the left side. I struggled much more on the right side where the hubcap didn’t move at all.
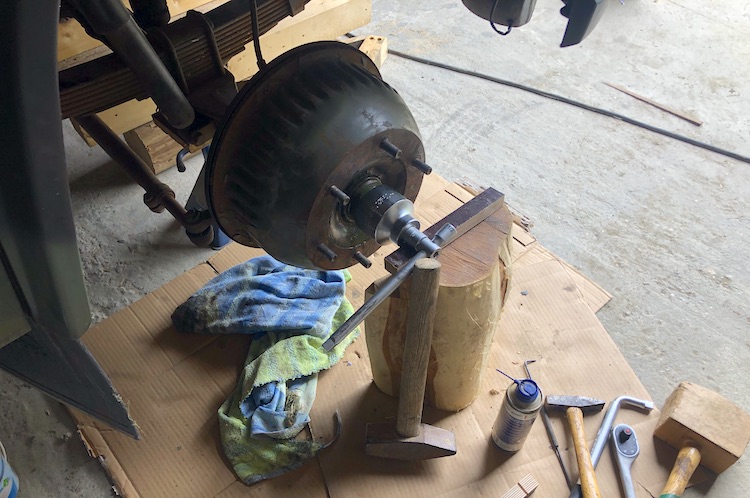
I was only able to remove it by using a burner, striking a hammer and using a huge steal lever.
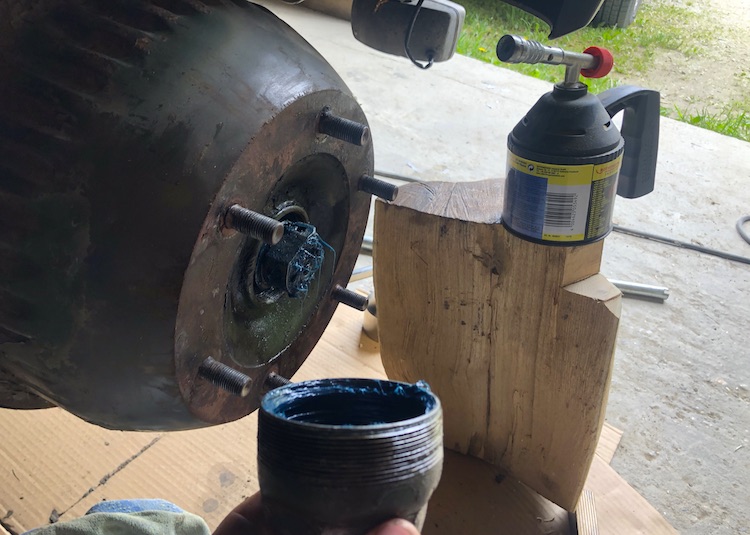
Although everything was kind of dirty and rusty, the brake pads looked quite solid.
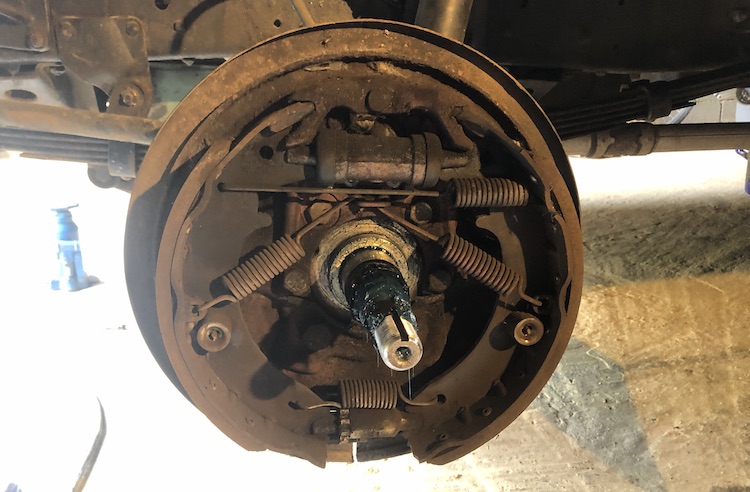
I slightly removed the rubber caps of the brake cylinders to check their consistency.
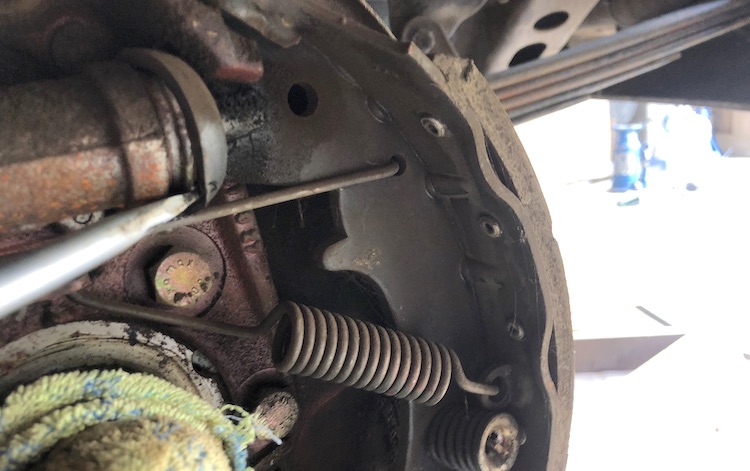
Unfortunately both cylinders were leaking brake fluid and had to be replaced.
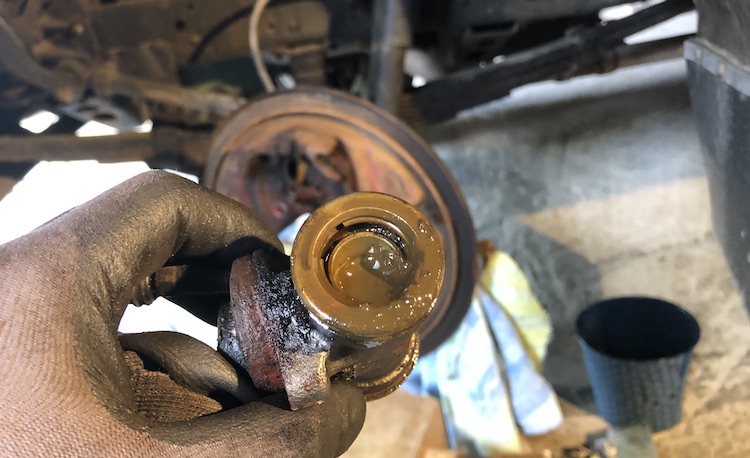
After removing the brake cylinders, I cleaned the anchor plates from all the dirt and rust,
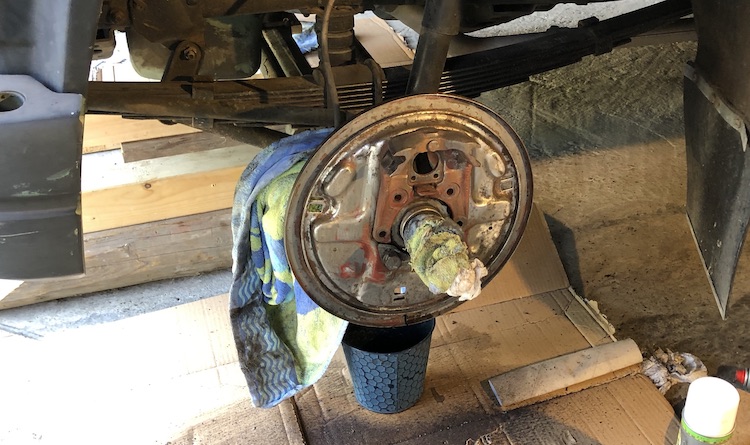
to apply fresh paint.
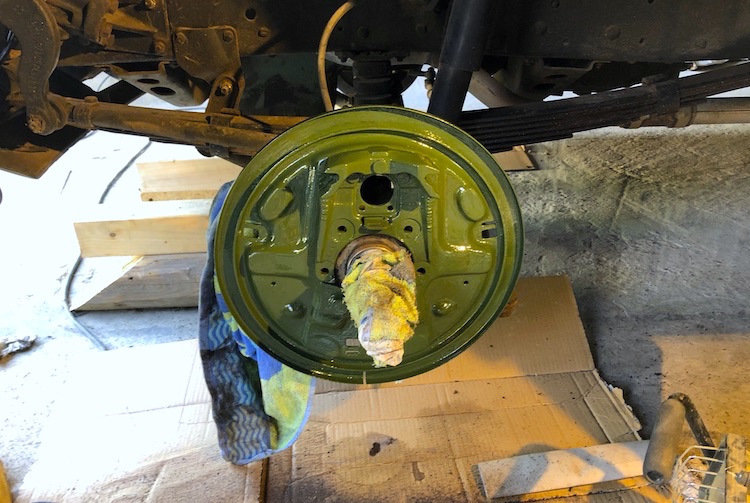
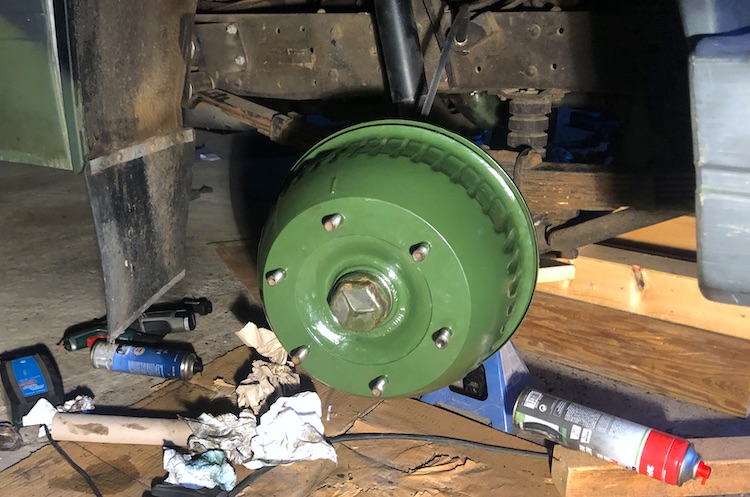
While waiting for the paint to dry, I decided to sand the brake drums,
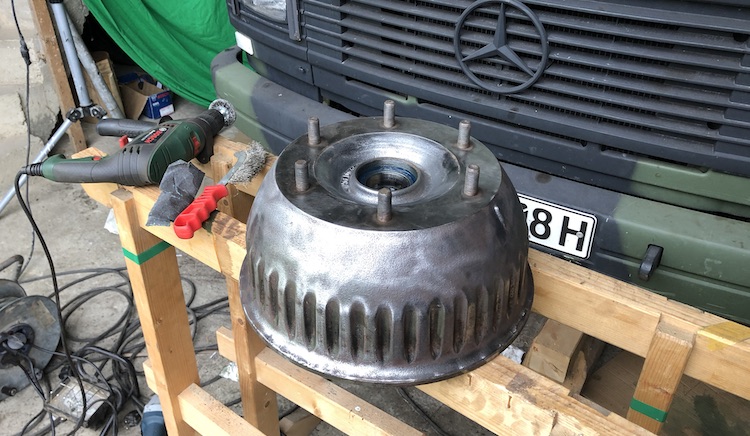
to give them a fresh paint, too.
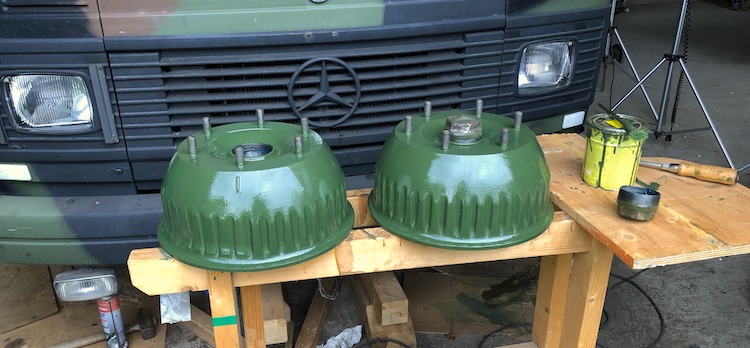
I also cleaned and polished all the mechanical parts of the brakes.
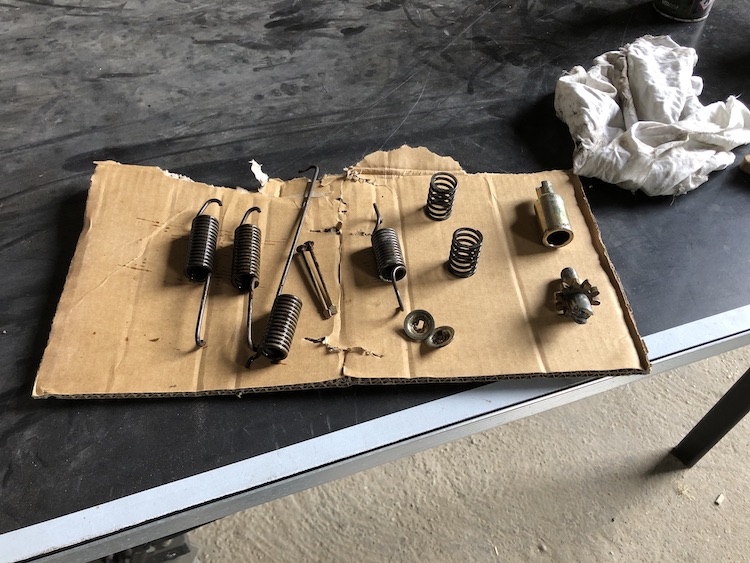
Putting the brakes back together
After overhauling all the parts, I mounted the new brake cylinders and applied copper paste on all moving parts.
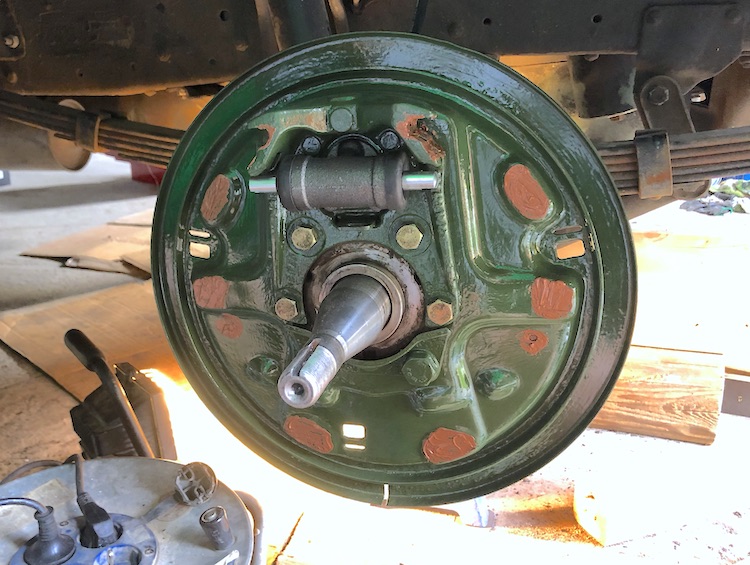
As I was already taking apart the whole brake system, I also installed new brake hoses.
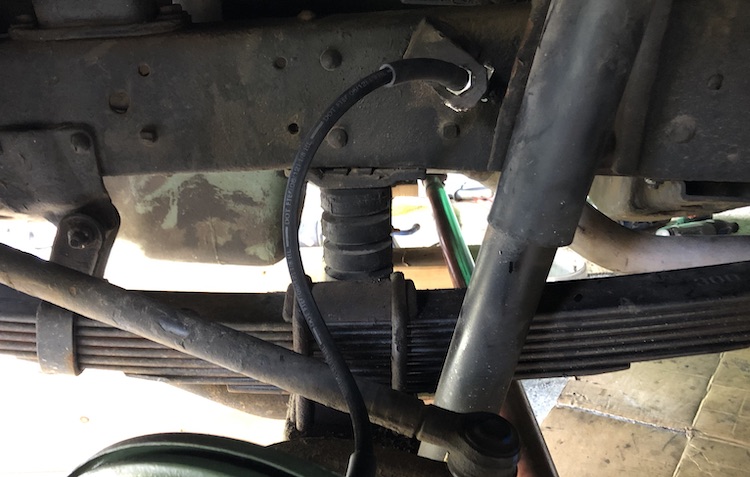
Then I attached the brake pads back on the anchor plate.
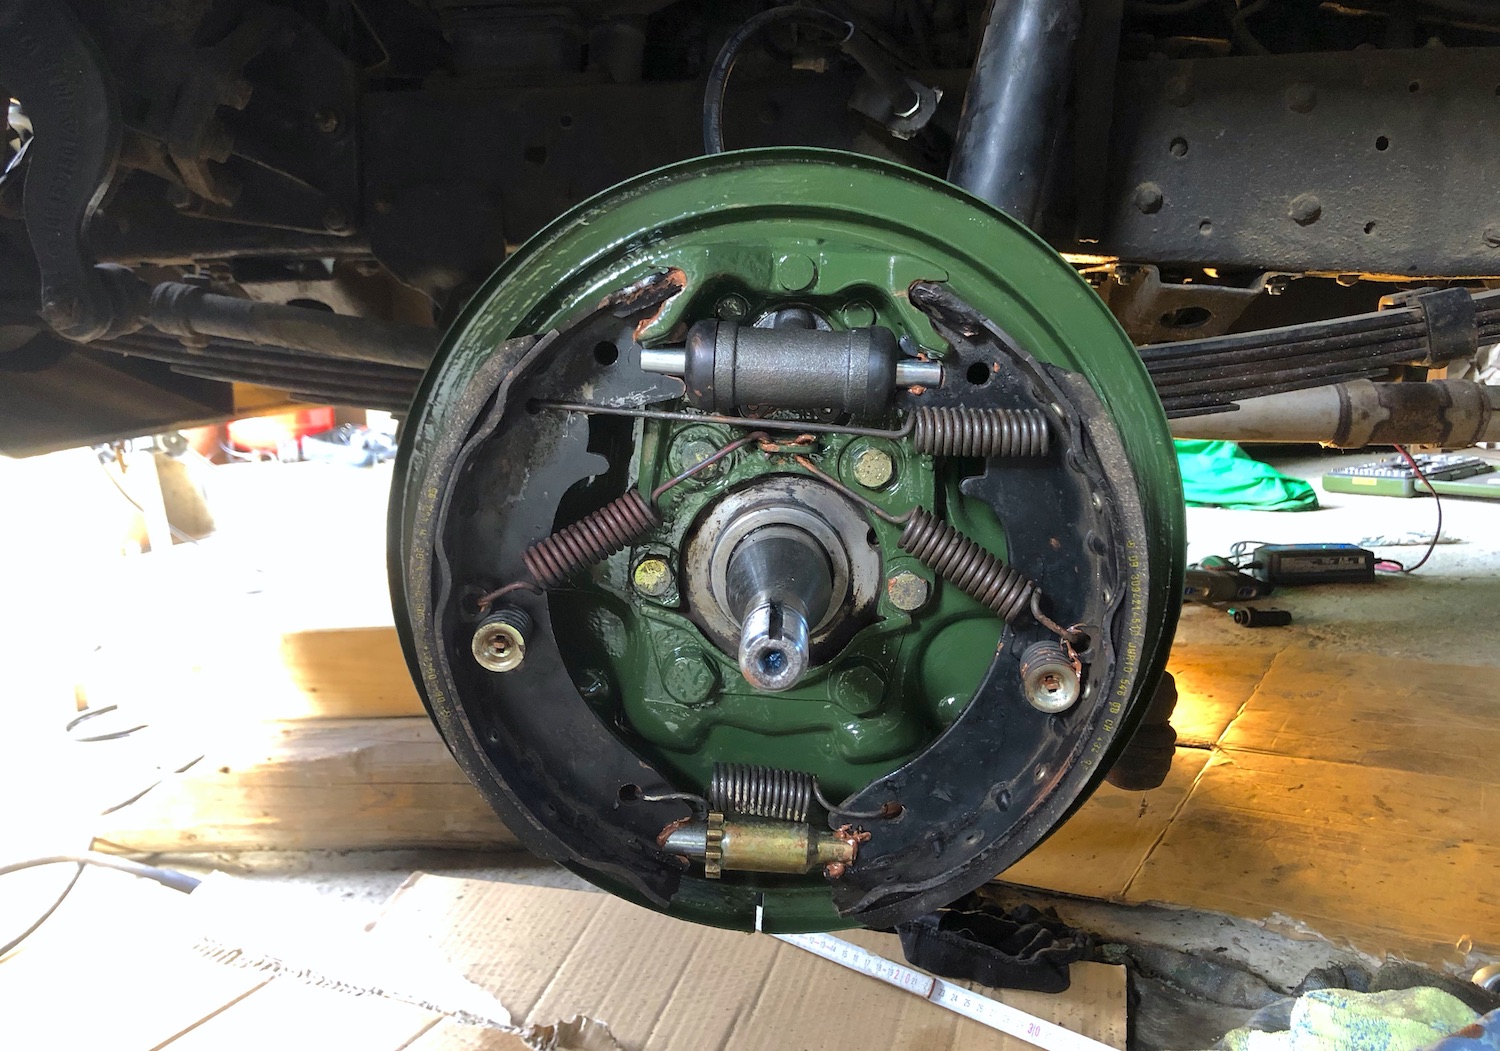
Once the brake was mounted back together, I carefully greased the wheel bearings, put the overhauled brake drums back and properly adjusted the bearing clearance.
Replacing the main brake cylinder
Once the brakes were put together, I bled the brakes to make sure there was no air in the system. Bleeding the brakes requires two persons: one person putting pressure on the system by pushing the brake pedal and another person releasing the bleed screw on the back of the brake cylinder.
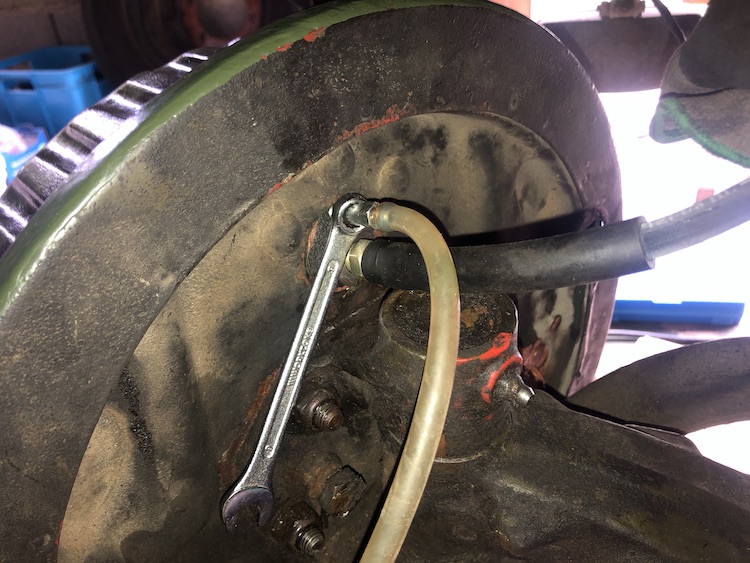
After several rounds of bleeding there was still a lot of air in the system. The brake lines didn’t leak, however the main brake cylinder made strange noises and created bubbles in the brake fluid reservoir. I also had to replace it.
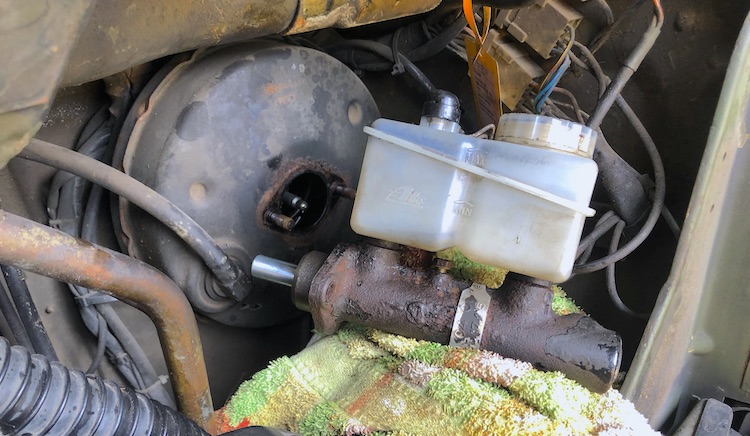
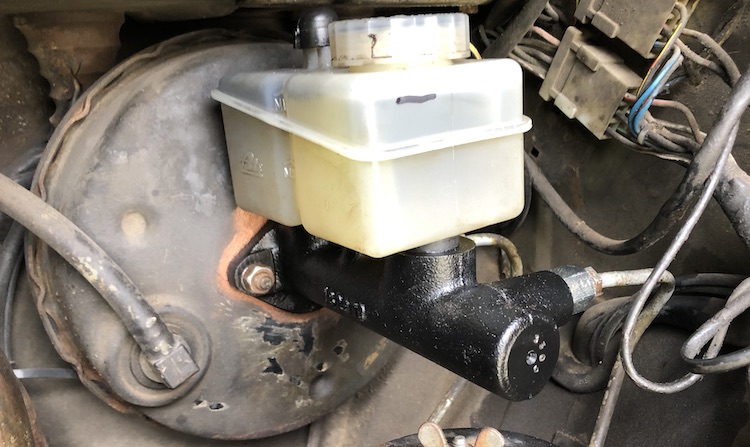
Luckily I quickly found a matching spare part.
Passing the inspection
After installing the new main brake cylinder and adjusting the clearance of the brake pads, the brake system worked like a charm again. I felt comfortable getting the van officially checked by the German Association for Technical Inspection. Apparently I did a good job because the van passed the inspection right away without any deficiencies.

![]()