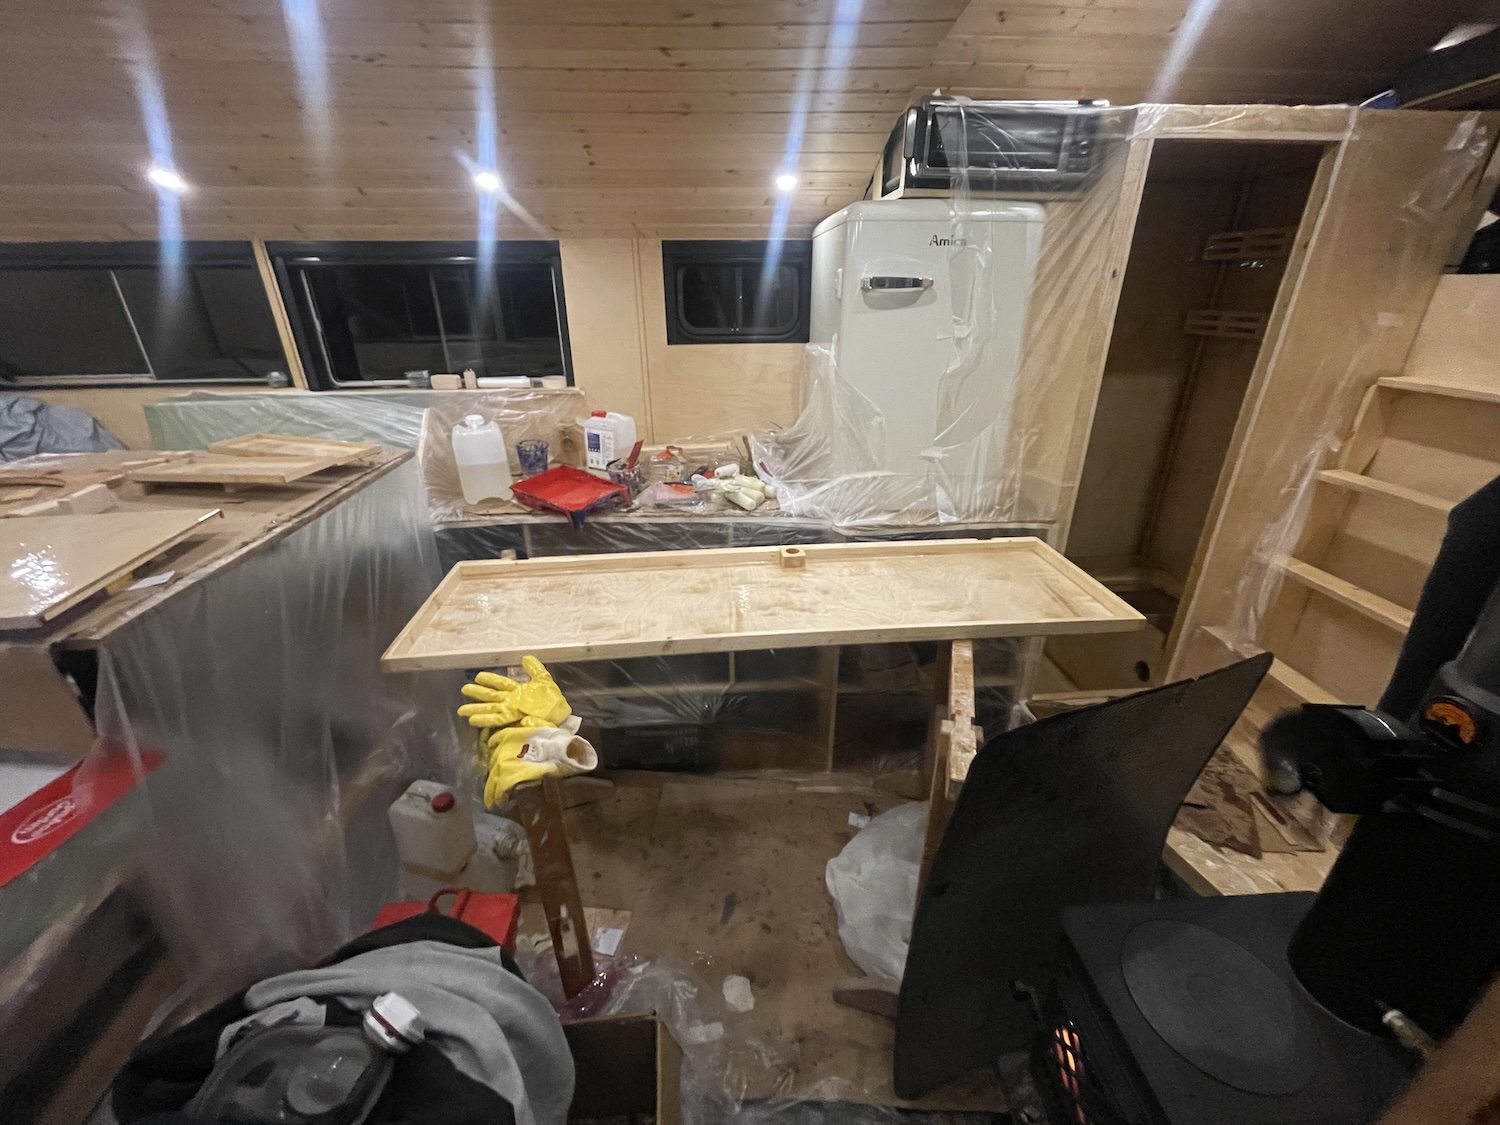
With the basic furniture units like the wardrobe, seating area, and kitchenette completed, I could focus on finishing the bathroom, which I had started constructing in spring.
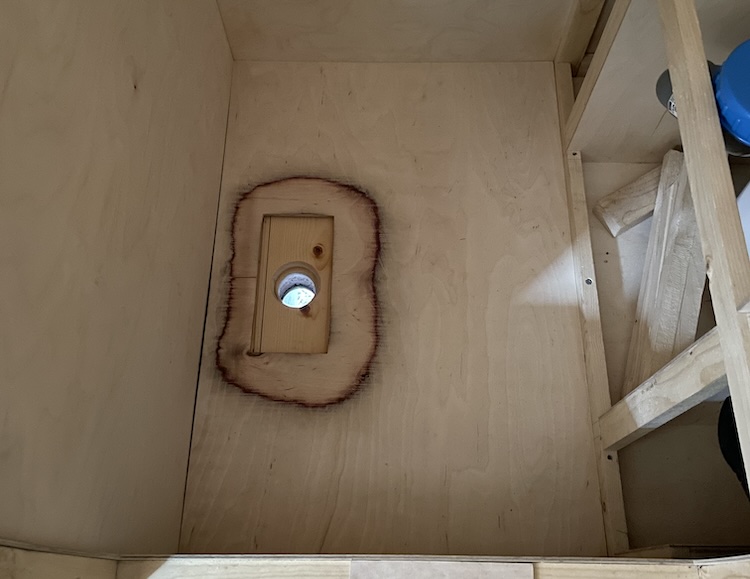
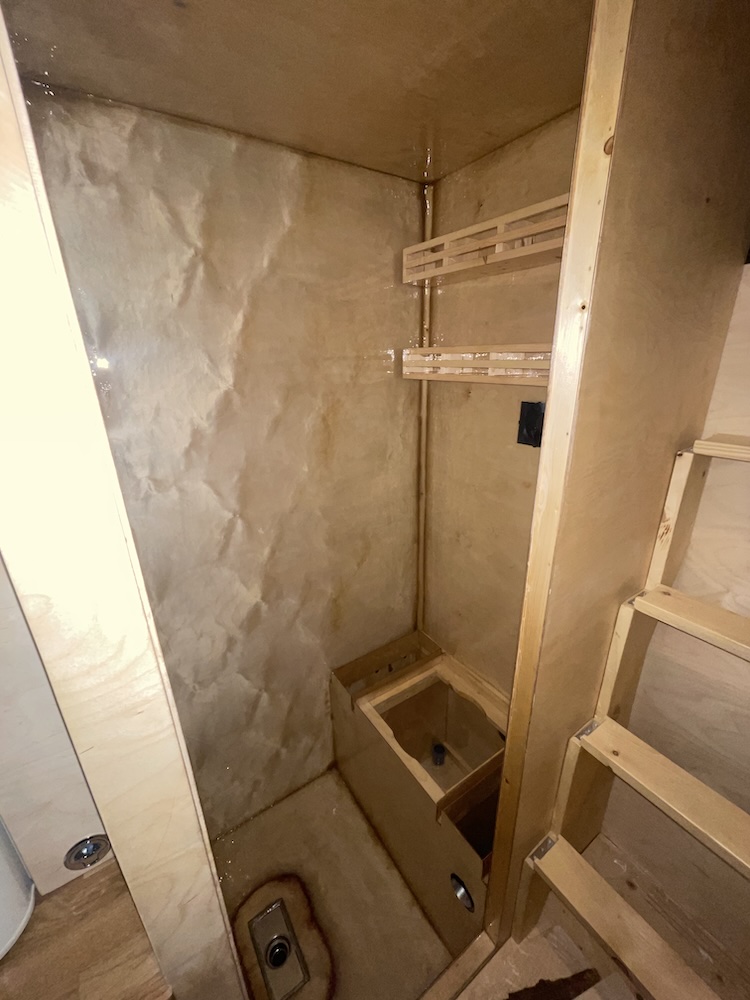
To begin with, I drilled two holes in the floor. One for the urine drain in the toilet box, making it easy to empty the urine tank from the outside.
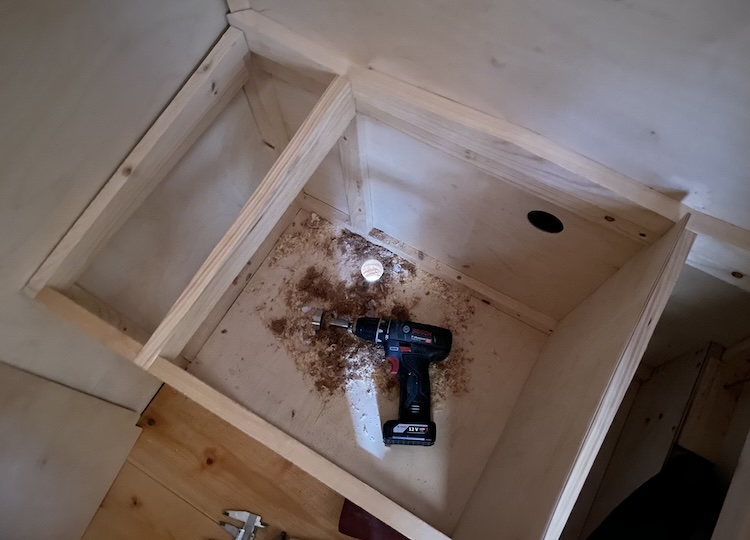
And another one for the drain in the shower.
Building the toilet
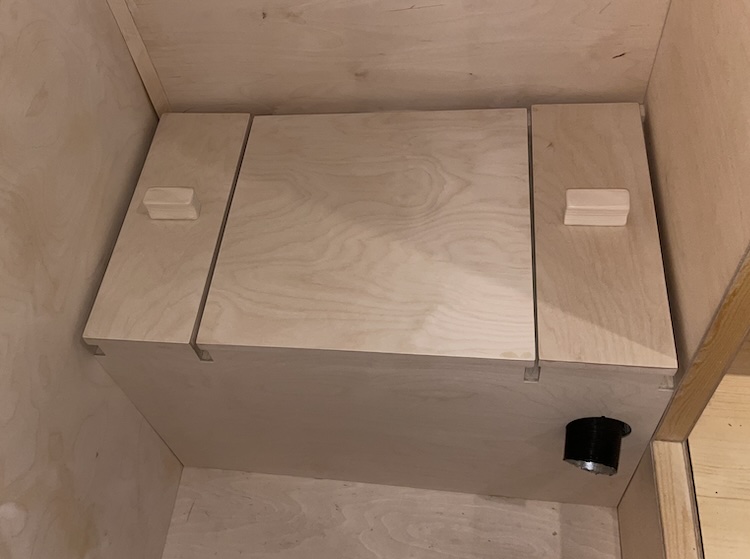
To make the most of the available space, I added walls around the toilet box, creating extra storage room for toilet paper, cleaning supplies, and similar items.
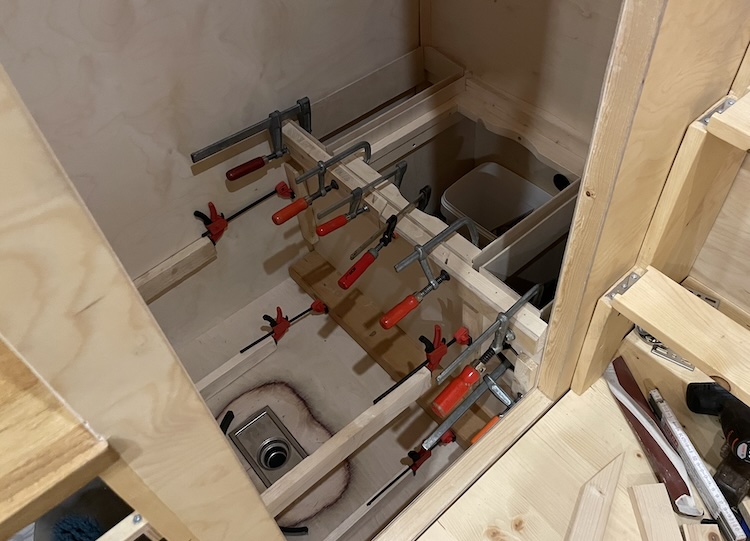
Around the toilet box and storage compartments, I constructed forward-sloping channels to ensure efficient water drainage while showering.
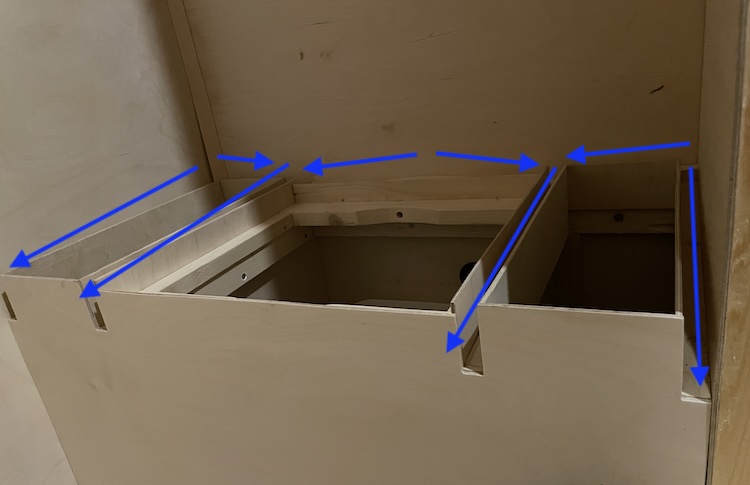
Side overlapping edges on the lids of the storage compartments were designed to prevent water from entering.
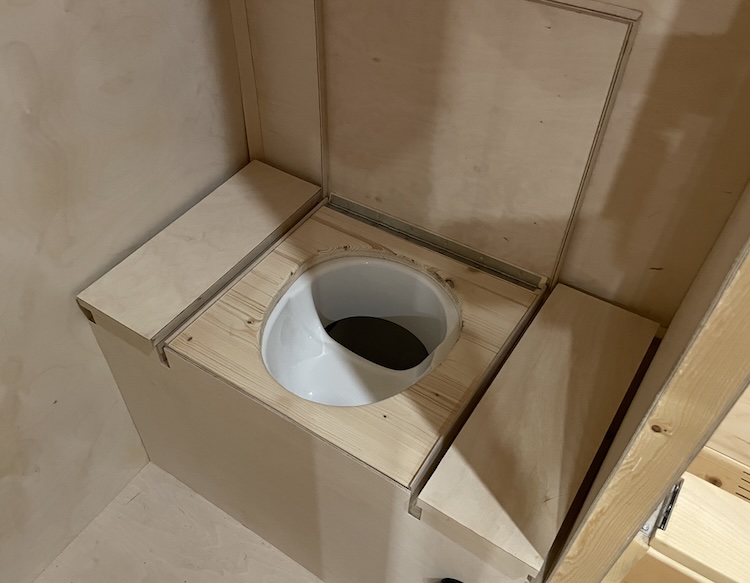
I applied the same technique to the toilet lid to ensure the toilet would stay dry during showering.
After finishing all the lids, I built a comfortable toilet seat.
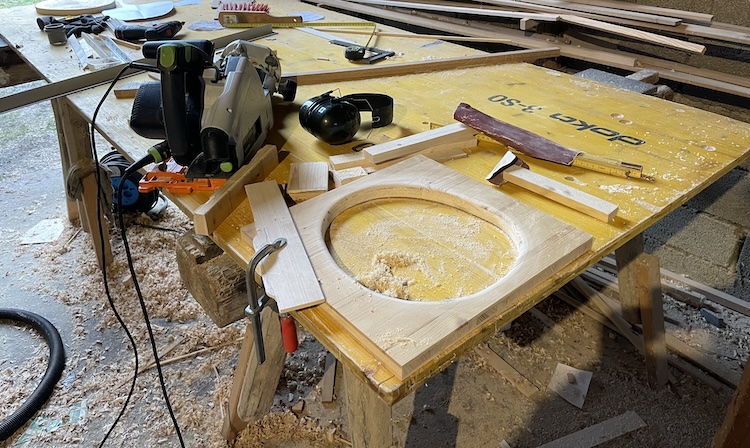
Under the toilet seat, I installed the same toilet separation kit that I had used for the toilet in my previous van.
Additional handles on the lids would make opening the storage compartments easier.
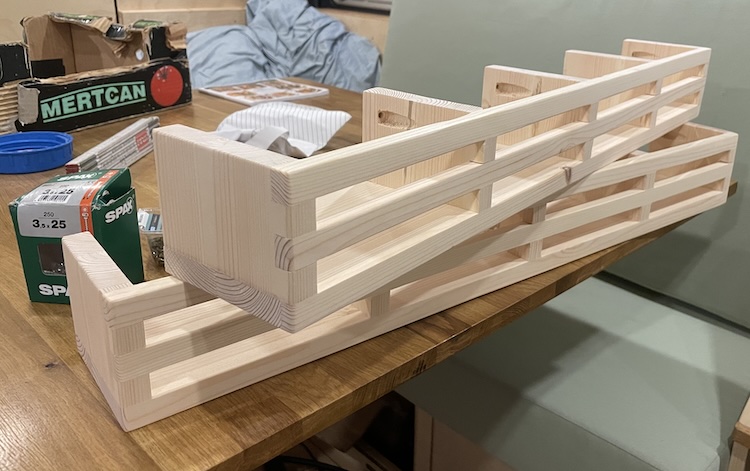
Building a shelf
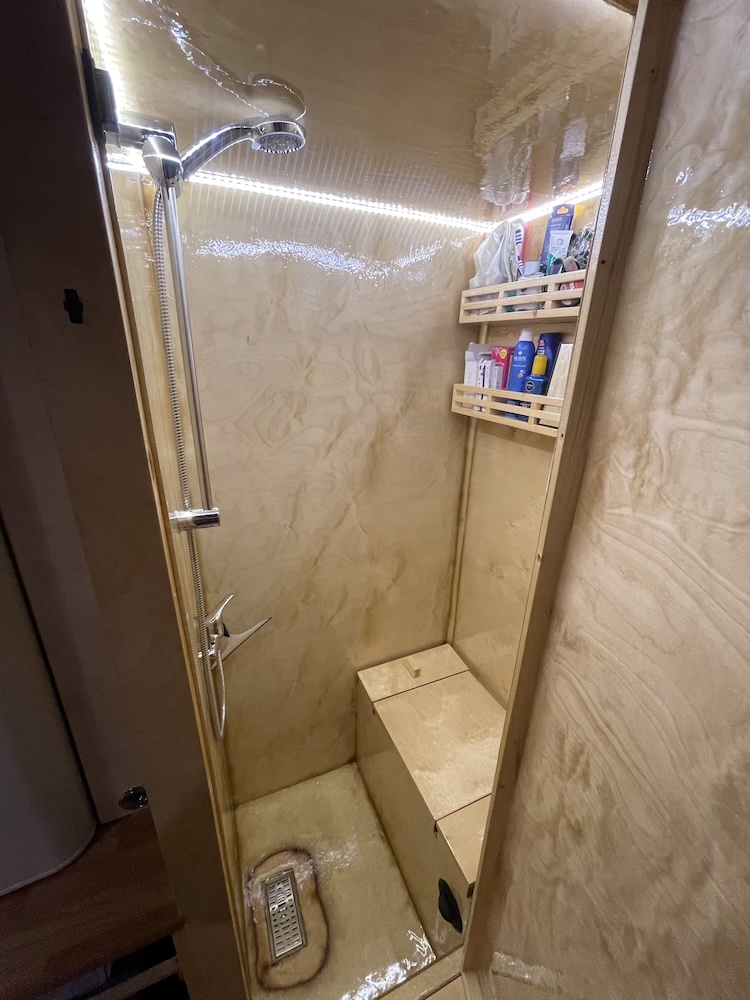
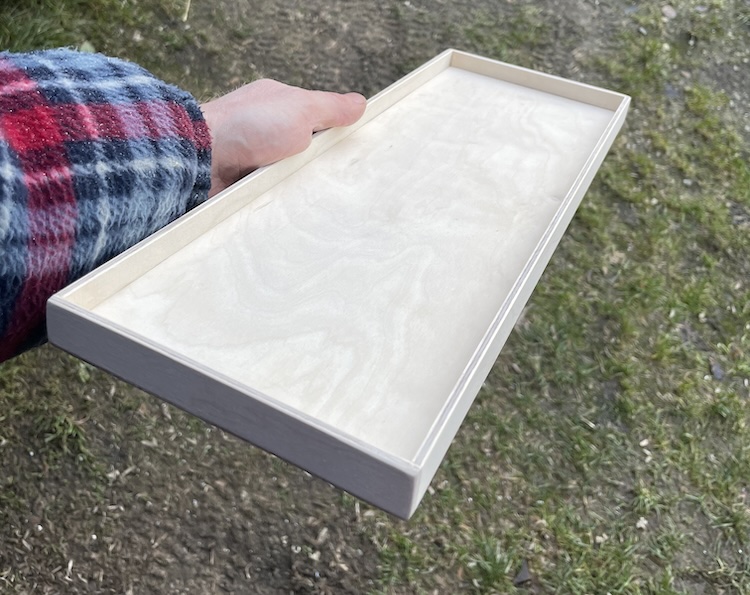
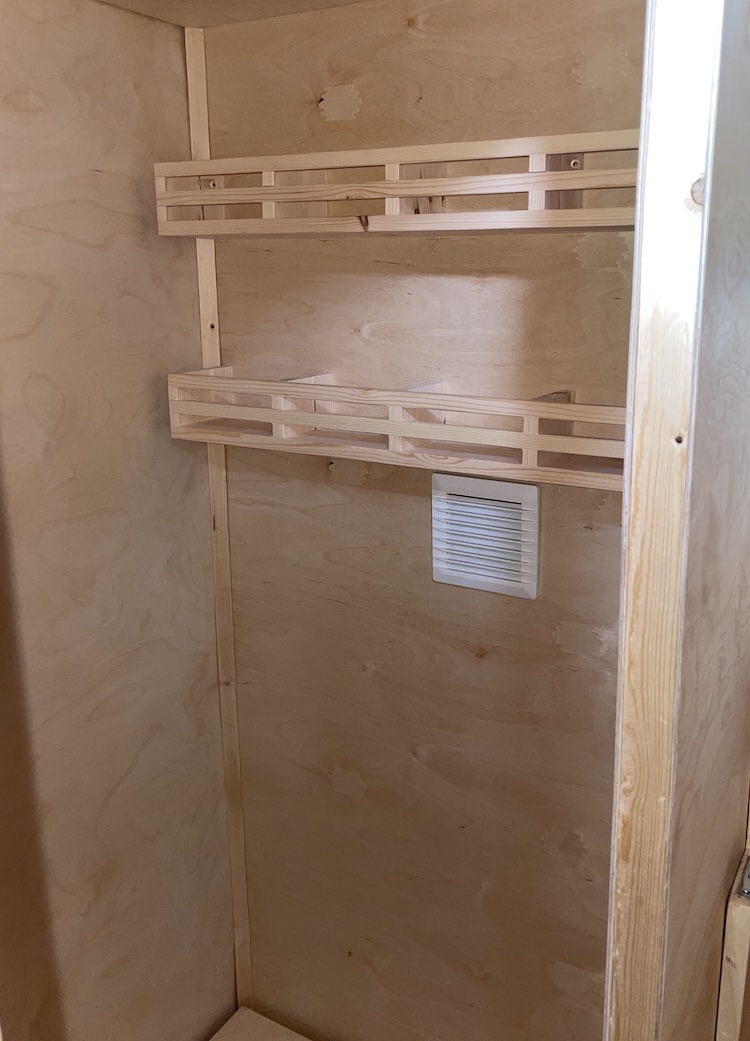
In my previous van’s shower, there was no storage space for bathroom items. Seeking more comfort in the new setup, I built two shelves out of pine wood.
Mounted on the back wall of the bathroom, the shelves provided ample storage space.
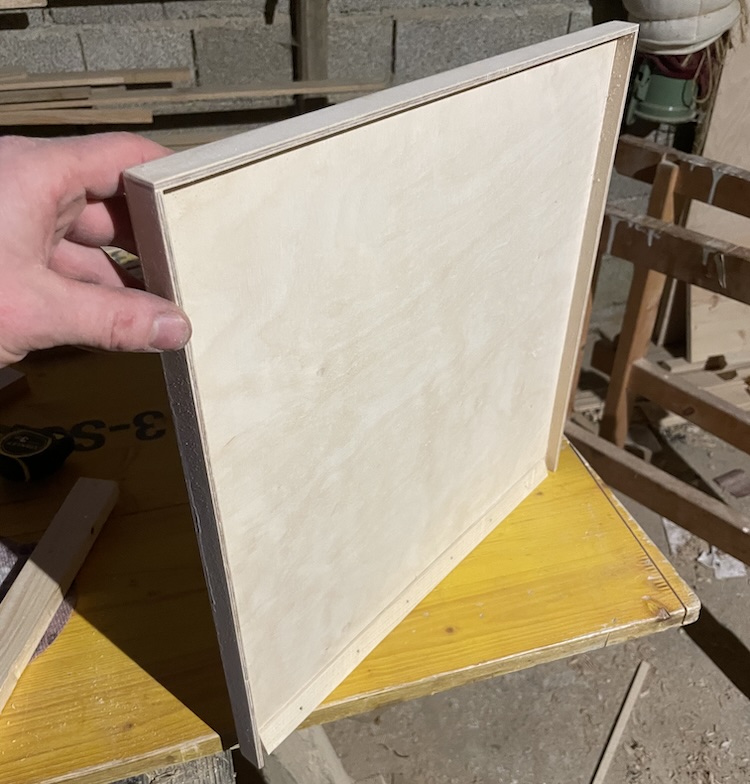
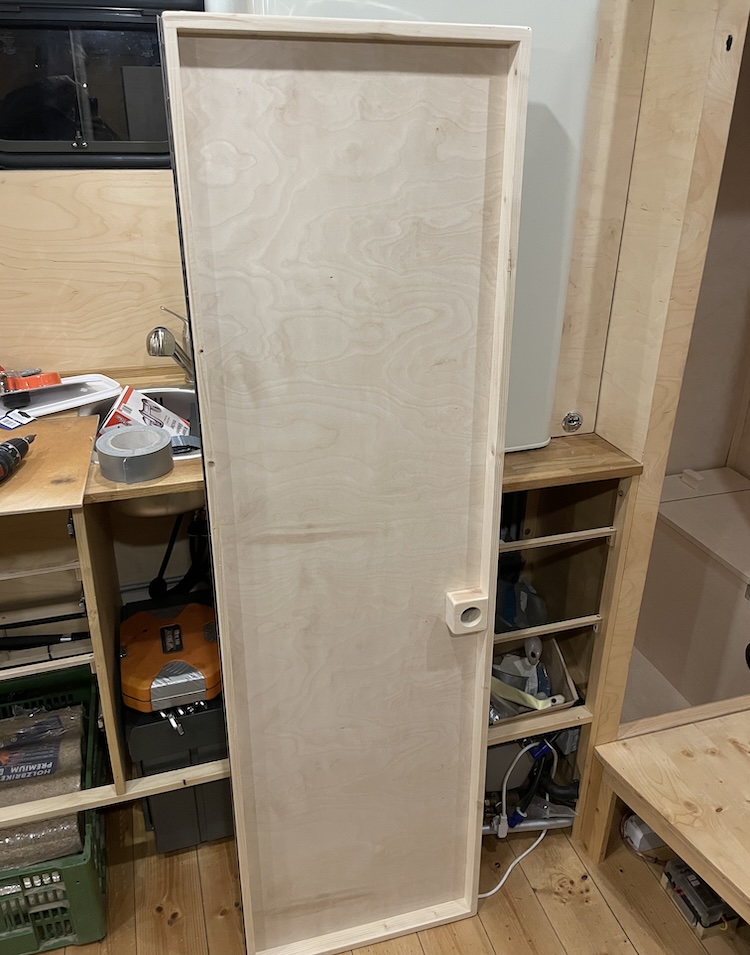
Building the door
For the bathroom door, I utilized the cutout from the outer wall to preserve a consistent wood grain pattern, ensuring a cohesive appearance. Since the 4mm birch plywood was very thin, I constructed a reinforced frame using pine wood.
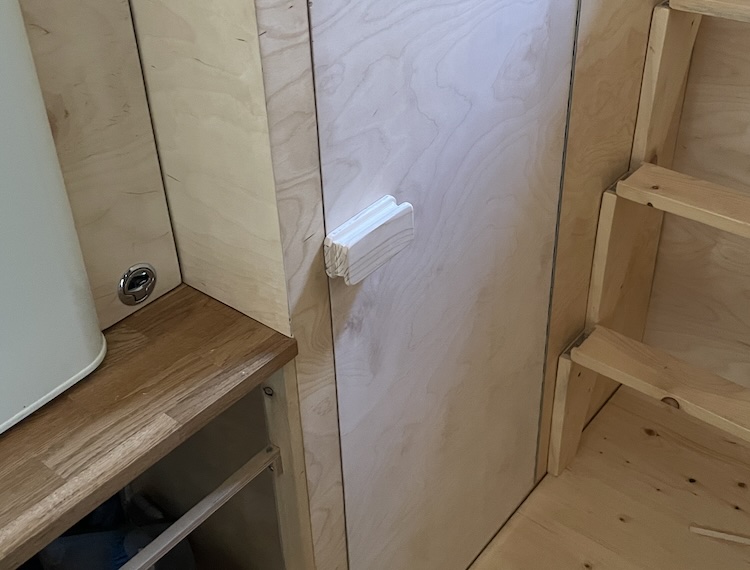
I crafted a simple rotating latch,
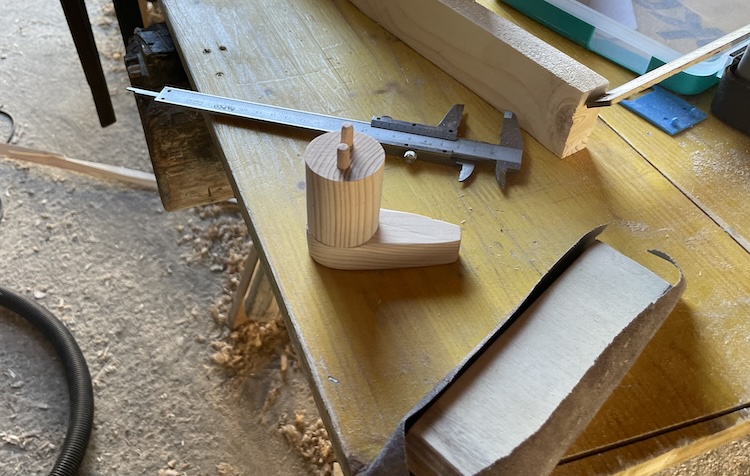
which enabled locking the door from both inside,
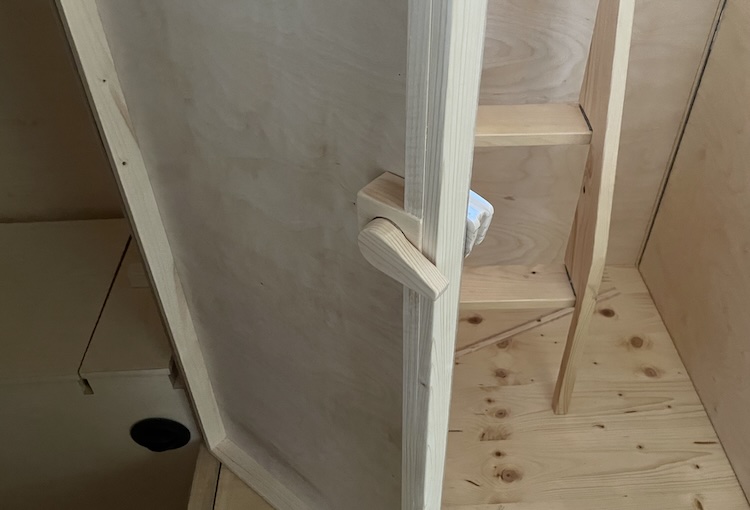
and outside.
Laminating the shower
After completing all the wooden parts, I cut fiberglass mats for each piece, the walls, floor, and ceiling.
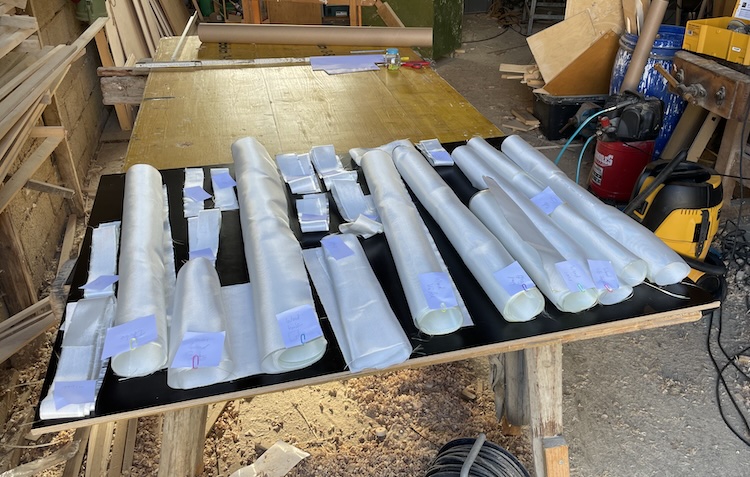
Prior the major laminating process, I prepared the cabin and carefully taped everything off.
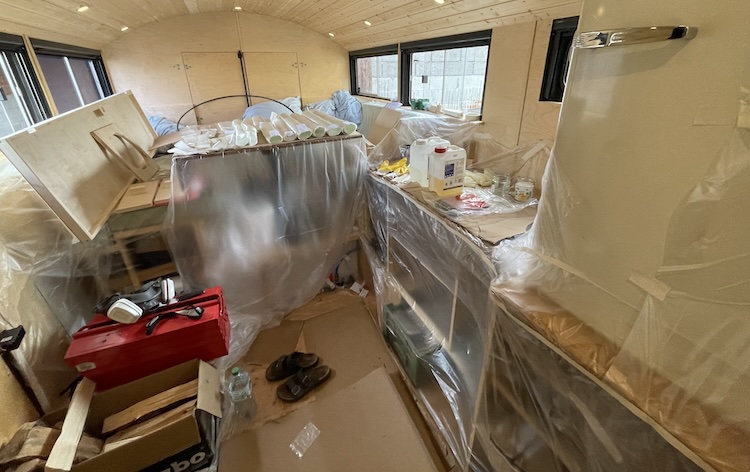
While the wood stove ensured an ideal processing temperature, I began laminating the loose parts.
And then proceeded to laminate the entire bathroom cabin.
After the epoxy resin had cured, I wired the LED lighting and installed the shower fixture. The bathroom was finally ready for use!